My Shapeoko kit arrived from Inventables while I was away at SC.
I’ve been trying to build myself a small CNC milling machine since 2009, and contemplating it for longer than that. It became clear that my original design, however educational, was a dead end sometime last year. I’d been idly watching the Shapeoko project for some time as it had similar aspirations to my design, and a couple months ago I was in a particularly mechanical mood when I saw that a batch had reached enough buyers to be produced, so I bought in for a mechanical kit to mount my existing electronics on.
The Shapeoko community is really excellent, and the kit was designed to be flexible, so I’m starting off with some suggested modifications – I’m using NEMA23 motors instead of the usual NEMA17 on the X and Y axis, because I already had some nice Lin Engineering 130 oz-in NEMA23 motors and the frame can fit them. I’m configuring for dual Y motors, which give more even force across the Y axis, and routing my belts on the outside of the frame, since I needed to buy different hardware for the NEMA23 motors anyway and this particular modification is widely recommended.
There is a gallery to document my first round of assembly below the fold (captions don’t display properly in the RSS feed).
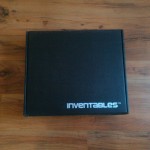
- Shapeoko kit arrived! Inventables ships a nice package.
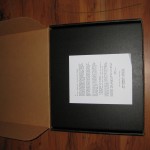
- Comes with a nice note from Edward (original designer) in the top of the box.
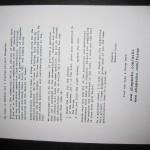
- Note!
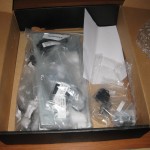
- Box of parts. Neatly bagged, big bag for kit, small bag for additional parts. Waste board on the bottom.
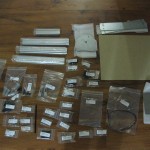
- Parts laid out. Everything is nicely labeled.
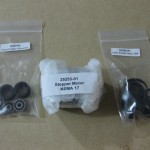
- Additional parts from Inventables.
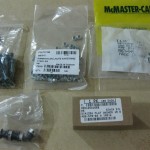
- Additional parts from McMaster Carr (everything except the pulleys) and three pulleys from SDP-SI.
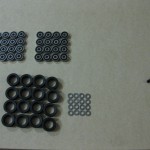
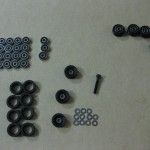
- Time to assembly-line the 16 V-wheels.
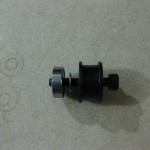
- Press a bearing into one side of the V-wheel, then stack the pair, a precision washer, and a second bearing onto a T5 bolt for alignment. Press the stack.
- Part way through the V-wheels.
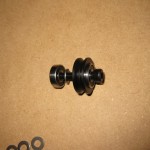
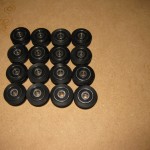
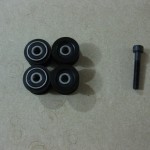
- 16 V-wheels and a bolt.
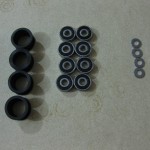
- Set up to build the 4 smooth idlers in the kit. (I have two more for a total of 6 from the non-kit parts set, doing dual Y motors).
- Same dance as the V-Wheels, except the bearings can only be inserted from one end.
- 4 smooth idlers. Note the protruding-bearing and recessed-bearing ends.
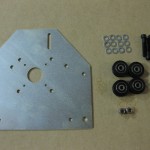
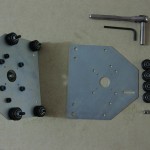
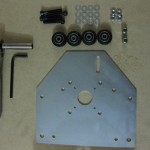
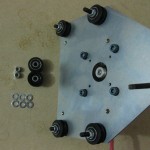
- Set up to add V-Wheels to an endplate.
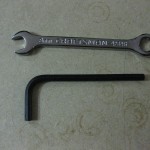
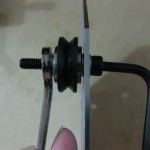
- 8MM wrench and 4MM Allen wrench to assemble. I got a 8MM deep socket and 1/4″ ratchet out shortly thereafter because it was easier to hold nuts with.
- Apply V-wheels directly to the top holes.
- Put eccentric spacers in the lower holes. Mine required some gentle persuasion to insert. I don’t suggest this method, see pictures 29 and 30 for a better alternative.
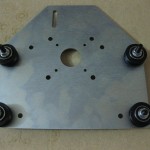
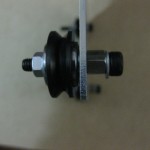
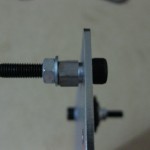
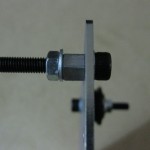
- V-Wheels on carriage. Note tilt because there are spacers in the lower pair eating up some extra bolt.
- Spacer stack correct.
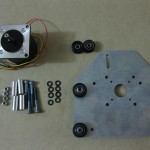
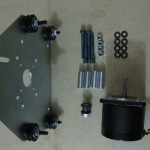
- Now to add a motor. Most of these parts are NOT part of the kit. 1/4″ bore MXL Pulley (SDP-SI #A 6T16-018DF2508, $5.81/ea, beware of shipping), M5x.8-40mm cap screws (McMaster #91303A099), M5 washers (McMaster #98269A440), M5 locknuts (Mcmaster #90576A104), M5x25mm aluminum spacers (McMaster #94669A093). To attach a NEMA23 motor. The Idlers are standard.
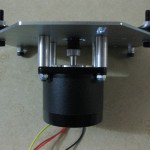
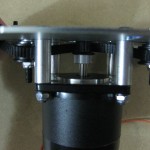
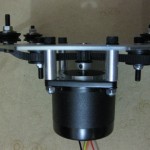
- Motor attached. Configured for outside belt arrangement. Washers between cap and plate, and between nut and motor.
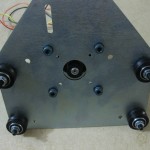
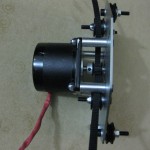
- Alternate view of finished Y plate.
- Add a pair of smooth idlers. These are the usual parts, but with no additional spacers.
- Initial idler-pulley alignment is definitely not right.
- Better now, just had to adjust the pulley on the shaft. I’m not sure that the direction is ideal, there may be a better set-screw bond with the pulley flipped, but the access to the set screw is bad. Also, gotta love mixed units- 1/4″ shaft, M5 screws, some SAE-sized setscrew head.
- One Y-Plate assembled, now to build out a second.
- Same parts assortment as before.
- The eccentric spacers don’t go into the hole easily.
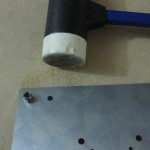
- Press the spacer in, don’t beat it in. Use a screw, two washers, a nut, and a bolt, then drive with a ratchet and allen key. Safer and cleaner.
- Add another motor for dual-Y goodness.
- The pulley is flipped from the other plate to see which fits better. Adding smooth idlers – this pair of idlers is the extras from Inventables for dual-Y. It looks like they aren’t strictly necessary (there are some other belt configurations that work), but good to have.
- The plate occludes the set screw with the pulley flipped, so same layout as the other side.
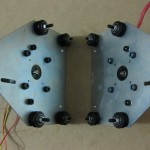
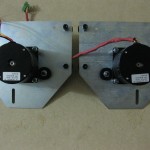
- Matched Pair of Y plates.
- Matched Pair of Y plates – Alternate view.
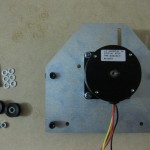
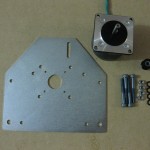
- Gather the parts for the X motor.
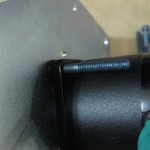
- FUUUUUUU. I forgot the X screw layout would be different when I ordered parts, so I have like $10 of extra aluminum spacers, and no screws with a short enough shank for the X axis.
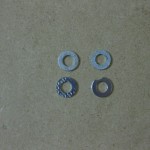
- One thing I am not impressed with in the Inventables kit is the M5 washers. These are the most unacceptable ones I’ve pulled out of the bag so far. I’m not going to run out rejecting the shitty ones because I bought 100 nicely finished black oxide M5 washers from McMaster, but these are not usable.
After hitting the problem with the motor screw I decided to call it a night and do some reading for a workaround and/or pick up some more short M5 bolts before continuing… also to see to the other things I should be doing when I’ve been out of town for a week.


Pingback: Shapeoko: Part 2 | PAPPP's Rambling
Pingback: Shapeoko: Part 3 | PAPPP's Rambling