This continues from where I left off in my previous post Shapeoko: Part 1.
I alternated my Sunday afternoon/evening between tackling my grading backlog and building pieces of the Shapeoko. This pattern works well for tapping since they are both exceptionally tedious tasks, but in different ways. Gallery with captions below the fold:
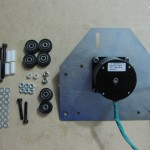
- Fortified with four hardware store M5-.8x16mm bolts, continue with the X axis. From here on out whether I sorted through kit M5 washers or used the nice ones from McMaster is kind of based on whim. Also note Nylok nuts.
- Double-stacked washers to just slightly exceed the face depth of the NEMA23 motor.
- For a nice motor to X plate fit.
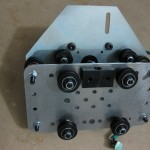
- Now to add the various wheels to the X plate. Lots of washers.
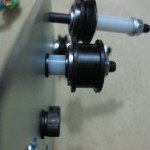
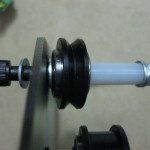
- The smooth idlers are the top of a rather deep stack.
- The X V-wheels are strung on to the M5x55mm bolts and allowed to dangle until they mate with the Z plate.
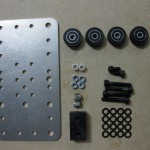
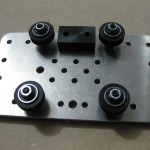
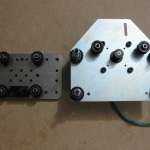
- The Z plate and its various parts. The finish on the Z plate isn’t nearly as good as the other sheet metal parts (the others are spectacular, this is merely ok). I think the others are custom and this is a generic makerslide part.
- Z plate assembled. The M5x10mm SHCS that hold the little Delrin nut/block for the Z axis only make it like half way through the block, which feels a little precarious.
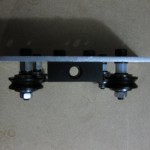
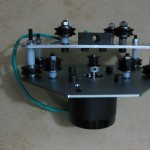
- Alternate view of Z plate, showing how everything lines up.
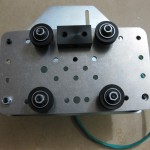
- Connect X and Z plates on the pre-staged V wheels.
- I made the connections one bolt at a time by lining the two plates up, sticking a wench in, lowering the bolt on my finger, removing one nut and washer pair, then pushing it through and reassembling around the Z plate. Not a fan of the oversize holes (presumably for using the generic plate in the other direction) on the low side of the Z plate.
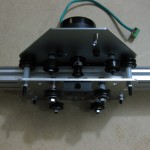
- X and Z attached.
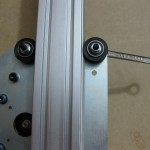
- View of the X-Z assembly with all the innards visible.
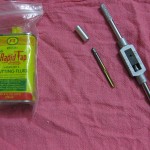
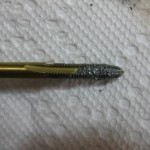
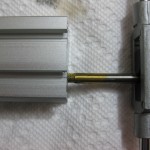
- Time for tapping. I’ve used that RapidTap fluid before for tapping and drilling, and it works well, but reeks a bit. I was hoping to use a spare 25MM aluminum M5 spacer as a guide, but it was just too narrow for the shank of the tap. Also, while the taps in the Mibro set I got are nice, that tap wrench sucks, it kept working itself loose.
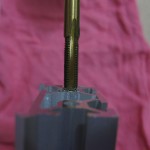
- Lubricated tapping action! In three turns, out two turns, in three turns, out two turns, or at least until it gets stiff and it has to be backed all the way out to extricate the sticky, sharp aluminum crud building up in the tap.
- Material is being removed in this operation, and, at least with aluminum, the flutes get clogged pretty quickly. I was averaging two full remove and clean cycles per hole, which isn’t bad.
- I wasn’t paying terribly close attention to how deep I was tapping each hole, I figure only about 8mm of bolt ends up in there, so running until there were 3-4 threads visible on the tap was probably overkill.
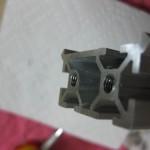
- Threaded Makerslide. I blew out the holes with some canned air at the end (which ejected a nice blob of gunk), then chased the threads with a spare bolt to be sure.
- I roughly adjusted the tension on all the carriages before assembly, to the target “just tight enough that spinning the wheel opposite the one with the eccentric spacer always moves the slide” tension suggested in the wiki. One of them put up a fight, and I foolishly had some tension on the slide while I was yanking on the ignition wrench.
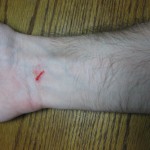
- Which lead to first blood for the project. Grazed my wrist when the eccentric spacer suddenly decided to move (I was working it with a wrench…) enough for the foolishly-under-tension slide to shoot through the carriage. Nothing serous, and you aren’t really working on a project until it hurts you.
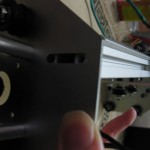
- XZ Carriage on X rail.
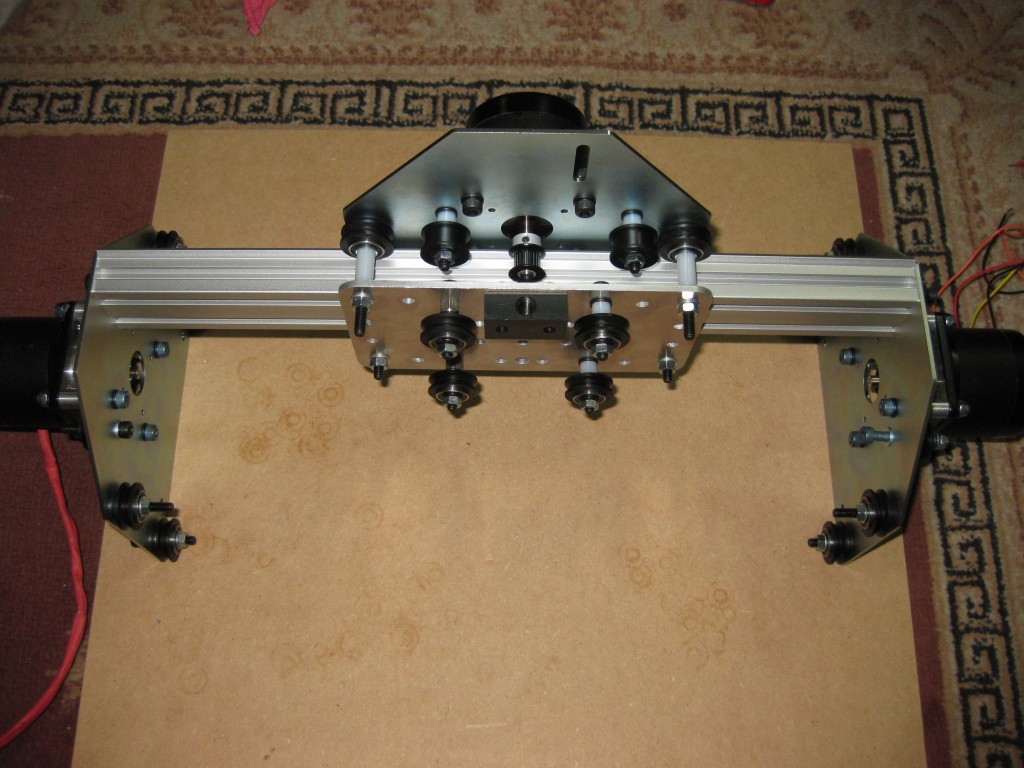
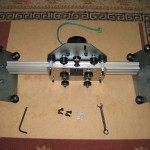
- Joining the Y plates to the X rail. Note that the smooth idlers on the right-hand Y carriage are limply hanging on too-long bolts because I forgot about needing an extra pair of M5-.8x30mm SHCS for the extra pair of smooth idlers. I may end up not needing them depending on how I adjust the belt configuration.
- The (apparently new) slotted design for the attachment between the Makerslide and the end plates makes alignment pretty easy.
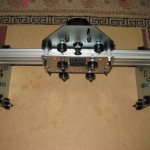
- I haz a gantry.
I also haz a pile of grading and laundry to see to. More Shapeoko fun later.

