
I’ve been working with a number of Anycubic Linear Kossel / Kossel Plus (whatever branding they’re using when you look) 3D printers for the last couple months, including one I bought personally. While I’m overall extremely pleased with them, there are a whole bunch of notes, fixes, and improvements I feel like should be collected somewhere.
We’ve had one in the KAOS lab (that we bought on a whim just to play with a delta style machine) for about 6 months. It more than checked out, so since then, my adviser bought one personally, I bought one (From Anycubic’s Aliexpress store, via the US warehouse) personally, we got a second for the lab, and one of the people TAing for a class I’m managing labs for bought one … they impress, so they proliferate. If you’re looking for a <$200 printer, no contest, buy one of these, they’re superb machines that blow the old Wanhao i3 variants out of the water at the low end.
Some really good things about them first:
- $185 to your door at time of writing.
- It’s built around proper linear rails!
- Anycubic has a very effective magnetically attached micro switch probe for automatic leveling that instantly puts it ahead of most cheap printers.
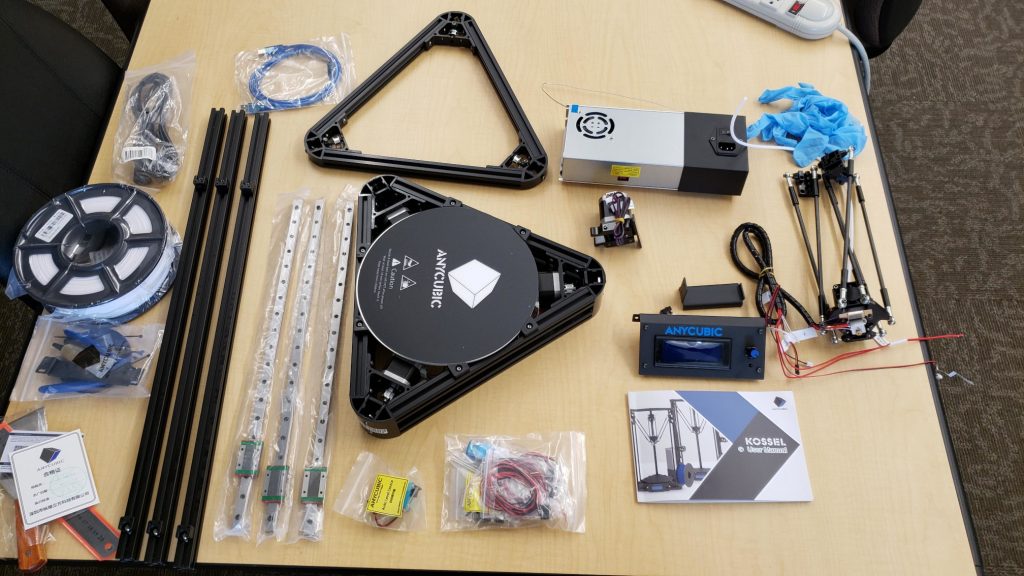
- The kitting is superb.
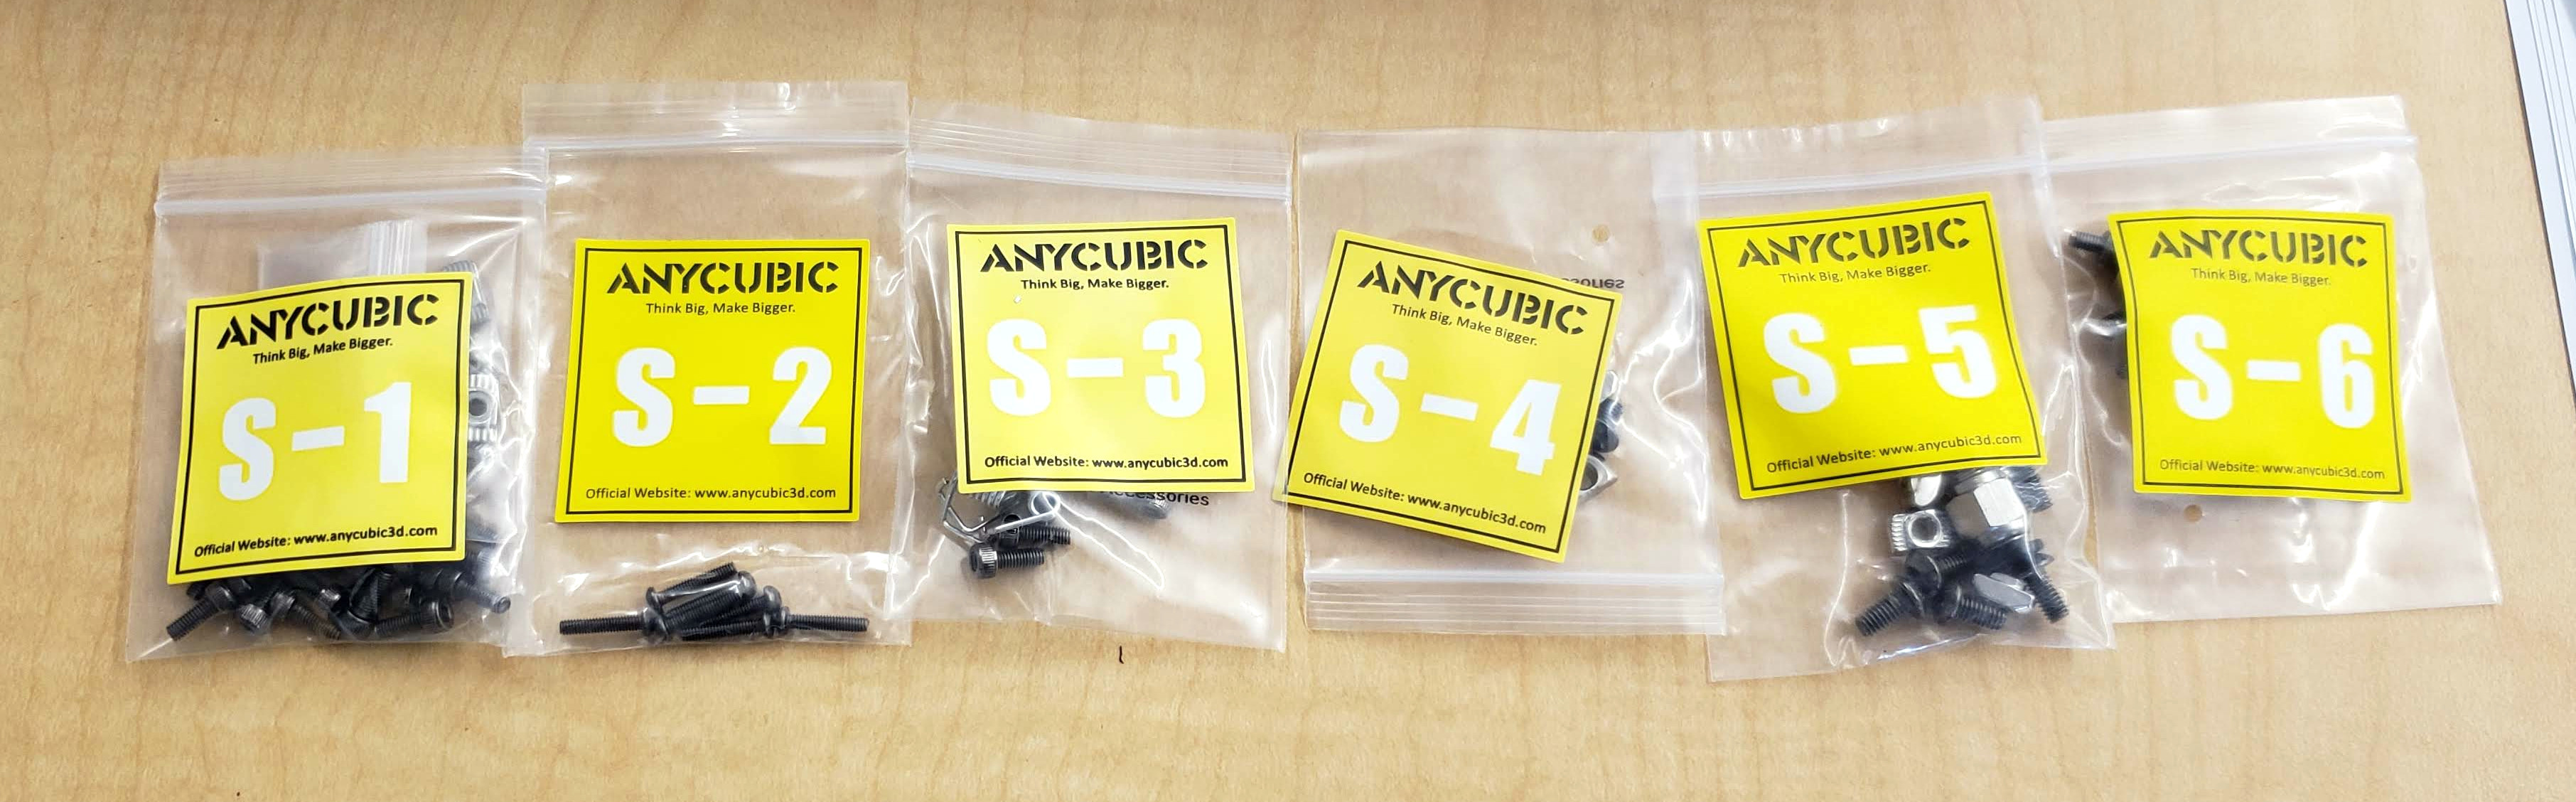
It comes with all the tools needed to assemble and run it, everything comes in nicely-labelled bags, the instructions are generally clear, etc. - The included TriGorilla (NOT-pro) electronics are nothing fancy (MEGA2560, socketed A4988 drivers, running at 12V, etc.), but are fine and well supported by Marlin.
- For a 12V system, the bed heater is very quick – it helps that the bed is non-moving, enclosed, and there is a layer of some kind of insulting mat underneath.
- Being a delta, it is prone to minimal adhesion/calibration hassle and good part finish, since it has a non-moving bed, no obvious visual correlation for axis motion artifacts, and isn’t practical without a probing system.
- Because it is a nice polished implementation of a fundamentally open-source design, cheapened by economies of scale, it checks both the cheap and hackable boxes.
Do pay attention to what you order, they sell (sold? it seems to be gone) another version that use[sd] wheeled carriages instead of linear rails, and by all appearances it is significantly inferior (smaller working volume, much wobblier) for not much less money.
Assembly Notes
- Have some paper towels for degreasing on hand, the rails are packed in some gross corrosion protection oily substance that you’ll want to wipe off. This is why the kit includes rubber gloves.
- Do not let the bearings slide off the rails. Be careful how you hold the things. Pop the black bumpers off at the last moment before installing the rails between the stops. Re-packing the bearings is possible, but not a great time. I had one come off in shipping, which was able to be re-packed without even breaking into the spare balls they include, but it is not ideal.
- There are 19 holes on the linear rails, it isn’t a problem but the instructions act like you can center some screws. Just pick a side for the extra hole, it’ll be fine. Some of ours are 6 up, some of ours are 7 up, doesn’t seem to matter.
- The flat nuts that hold the vertical members to the frame might fail to tighten until after the screws bottom out unless you spin them into alignment before install.
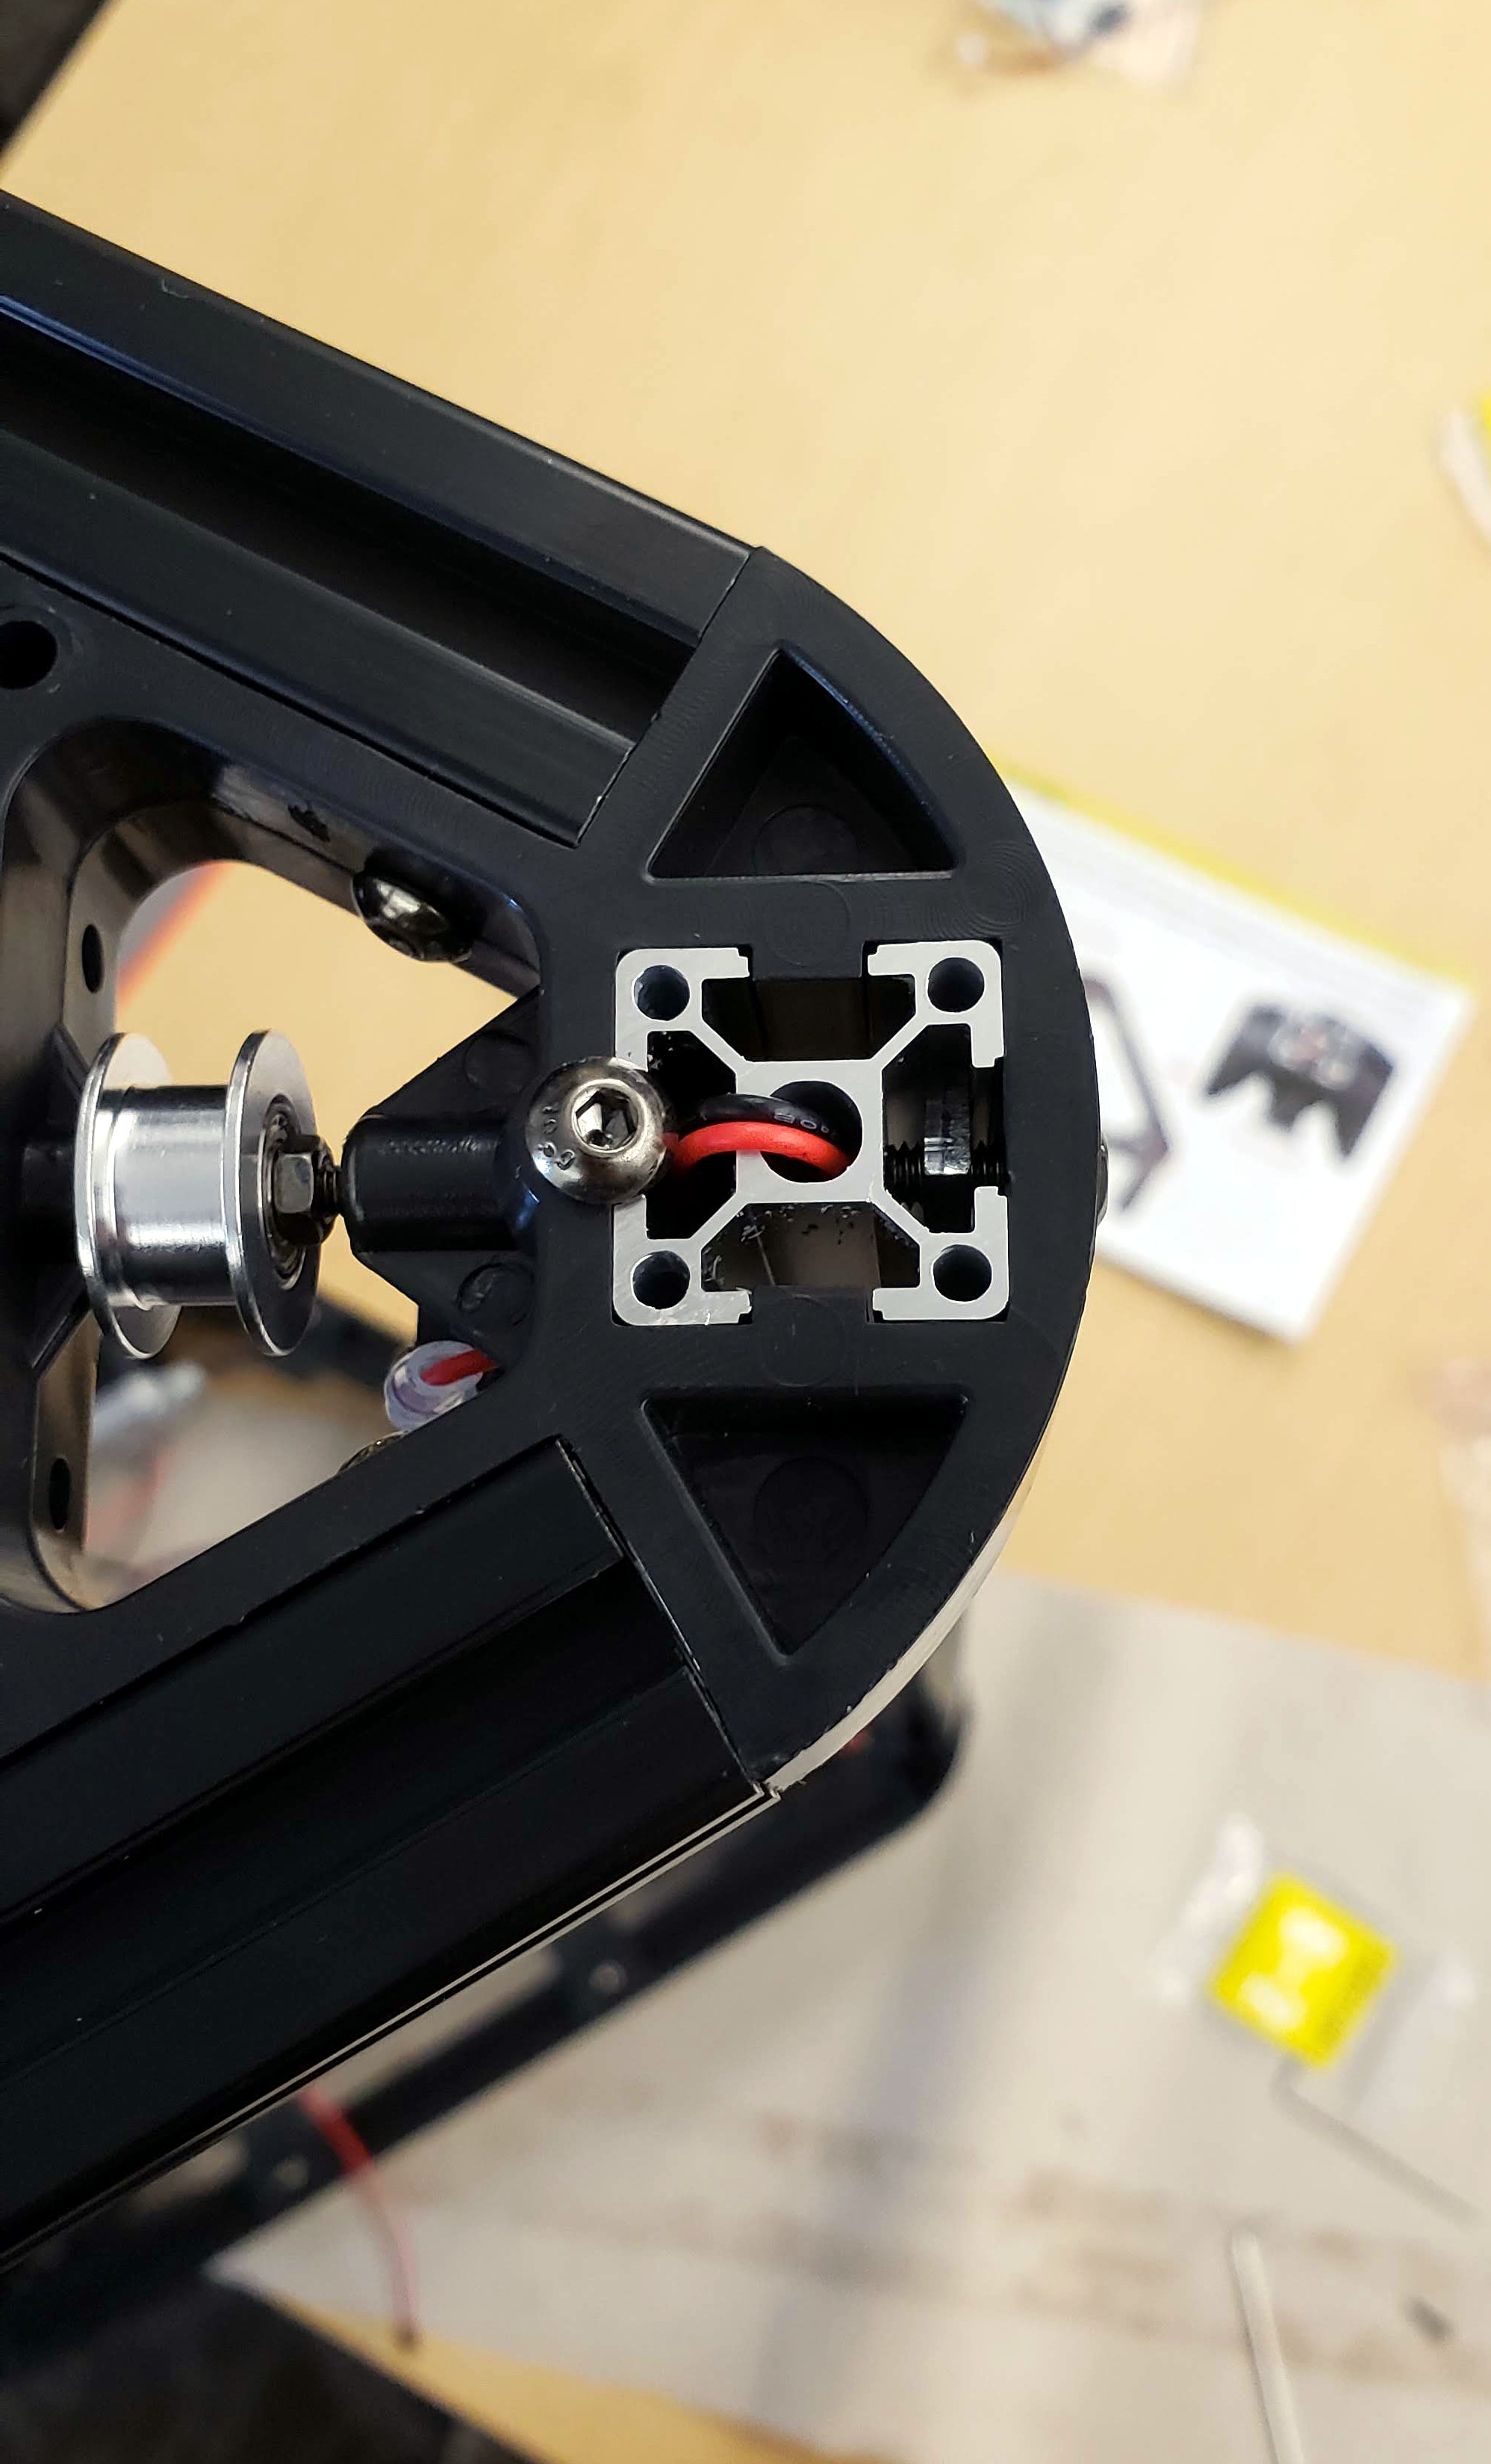
They need to be adjusted so the nuts tighten into the rails as/before the screws bottom out for maximum rigidity. If the towers feel wobbly in the mounts, try again. I think they include slightly too-long screws, which is an odd oversight given overall polish. - The endstop screw holes are very tight in the plastic brackets, and the included screws’ heads are made of cheese-grade chinesium. I found a spare M2.5 screw (a SHCS with a larger head no less) to use as a tap after I stripped a head out and had to wrestle it with vise grips.
- Watch the orientation of the effector when you mount it to the frame, you want the motherboard plugs on one side, the screen on another, and the effector cable bundle and bowden tube on the third. Somehow I get this wrong the first time I put every single machine together.
- Lightly grease the ball joints on the effector arms and the carriages on the rails before first use. They’re prone to make irritating noises unless adequately lubricated.
- Make sure the screw terminals for the high-power connections are very tight. Then, heat and cool the printer a couple times (by, you know, using it), open it back up, and tighten them again. Those terminals will melt if they get loose – it happened to one of ours.
- I’ve tried a couple different zip-tie configurations for securing the end of the effector cable bundle. I think my favorite is tying the end of the comb to the empty screw hole on the corner of the motherboard, but as long as it’s anchored somewhere it seems to be fine.
Critical Fixes
- 2 examples (both with newer firmware) have had problems with spurious thermal runaways or heating failures on the hotend due to apparent sudden temperature drops; one out of the box and another after jostling the cable bundle. For search-ability, it will lock out with error messages like “
Heating Failed PRINTER HALTED Please reset” or “THERMAL RUNAWAY PRINTER HALTED Please reset” if you are having this problem.
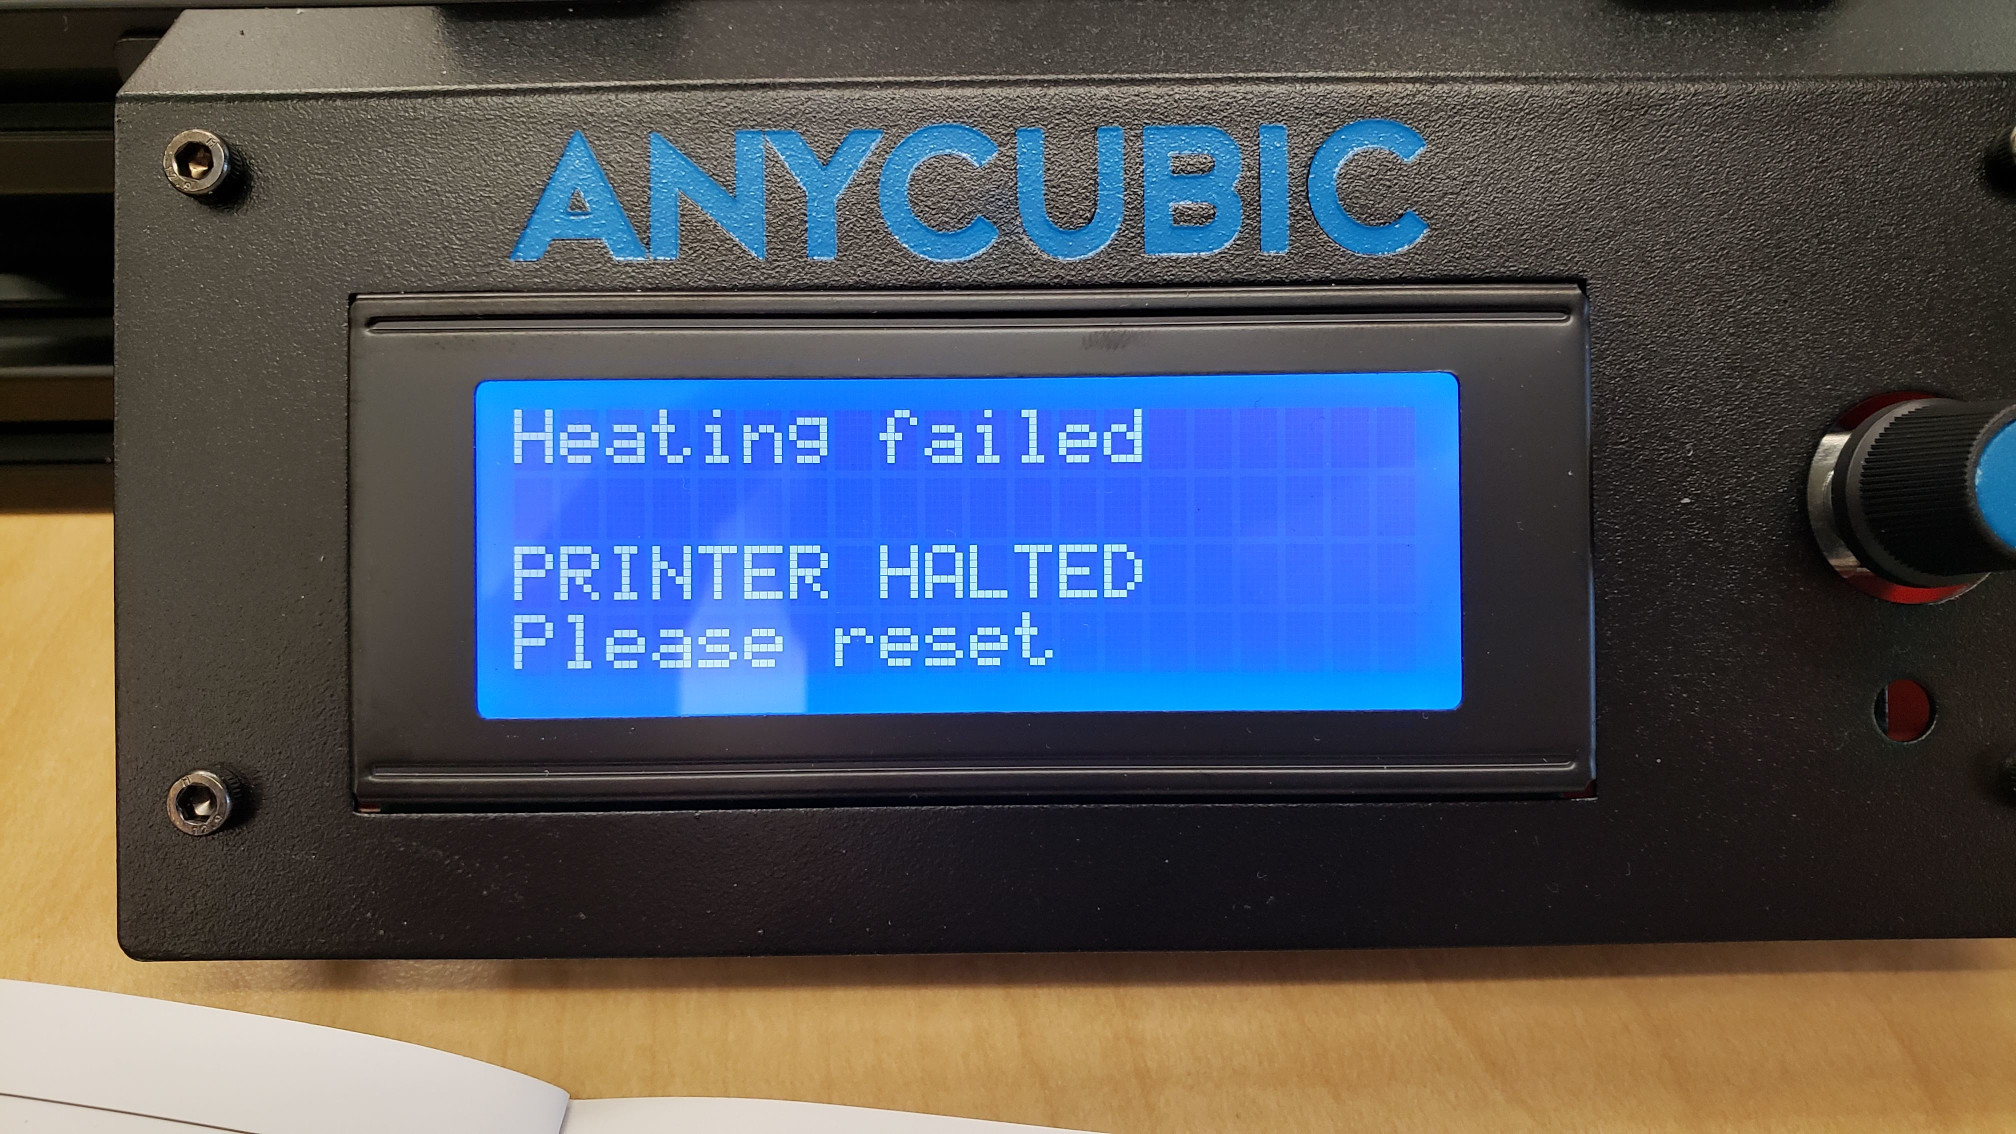
In both cases it appears to be a thermistor mounting issue compounded by an overly-sensitive thermal runaway detection setting in the newer stock firmware configuration.
The hotends (Anycubic calls them “J-Head v5” but they are more similar to an E3D clone than any J-Head design…) are clearly drilled for cartridge thermistors, but instead have glass bead thermistors loosely crimped into metal (brass?) tubes installed.
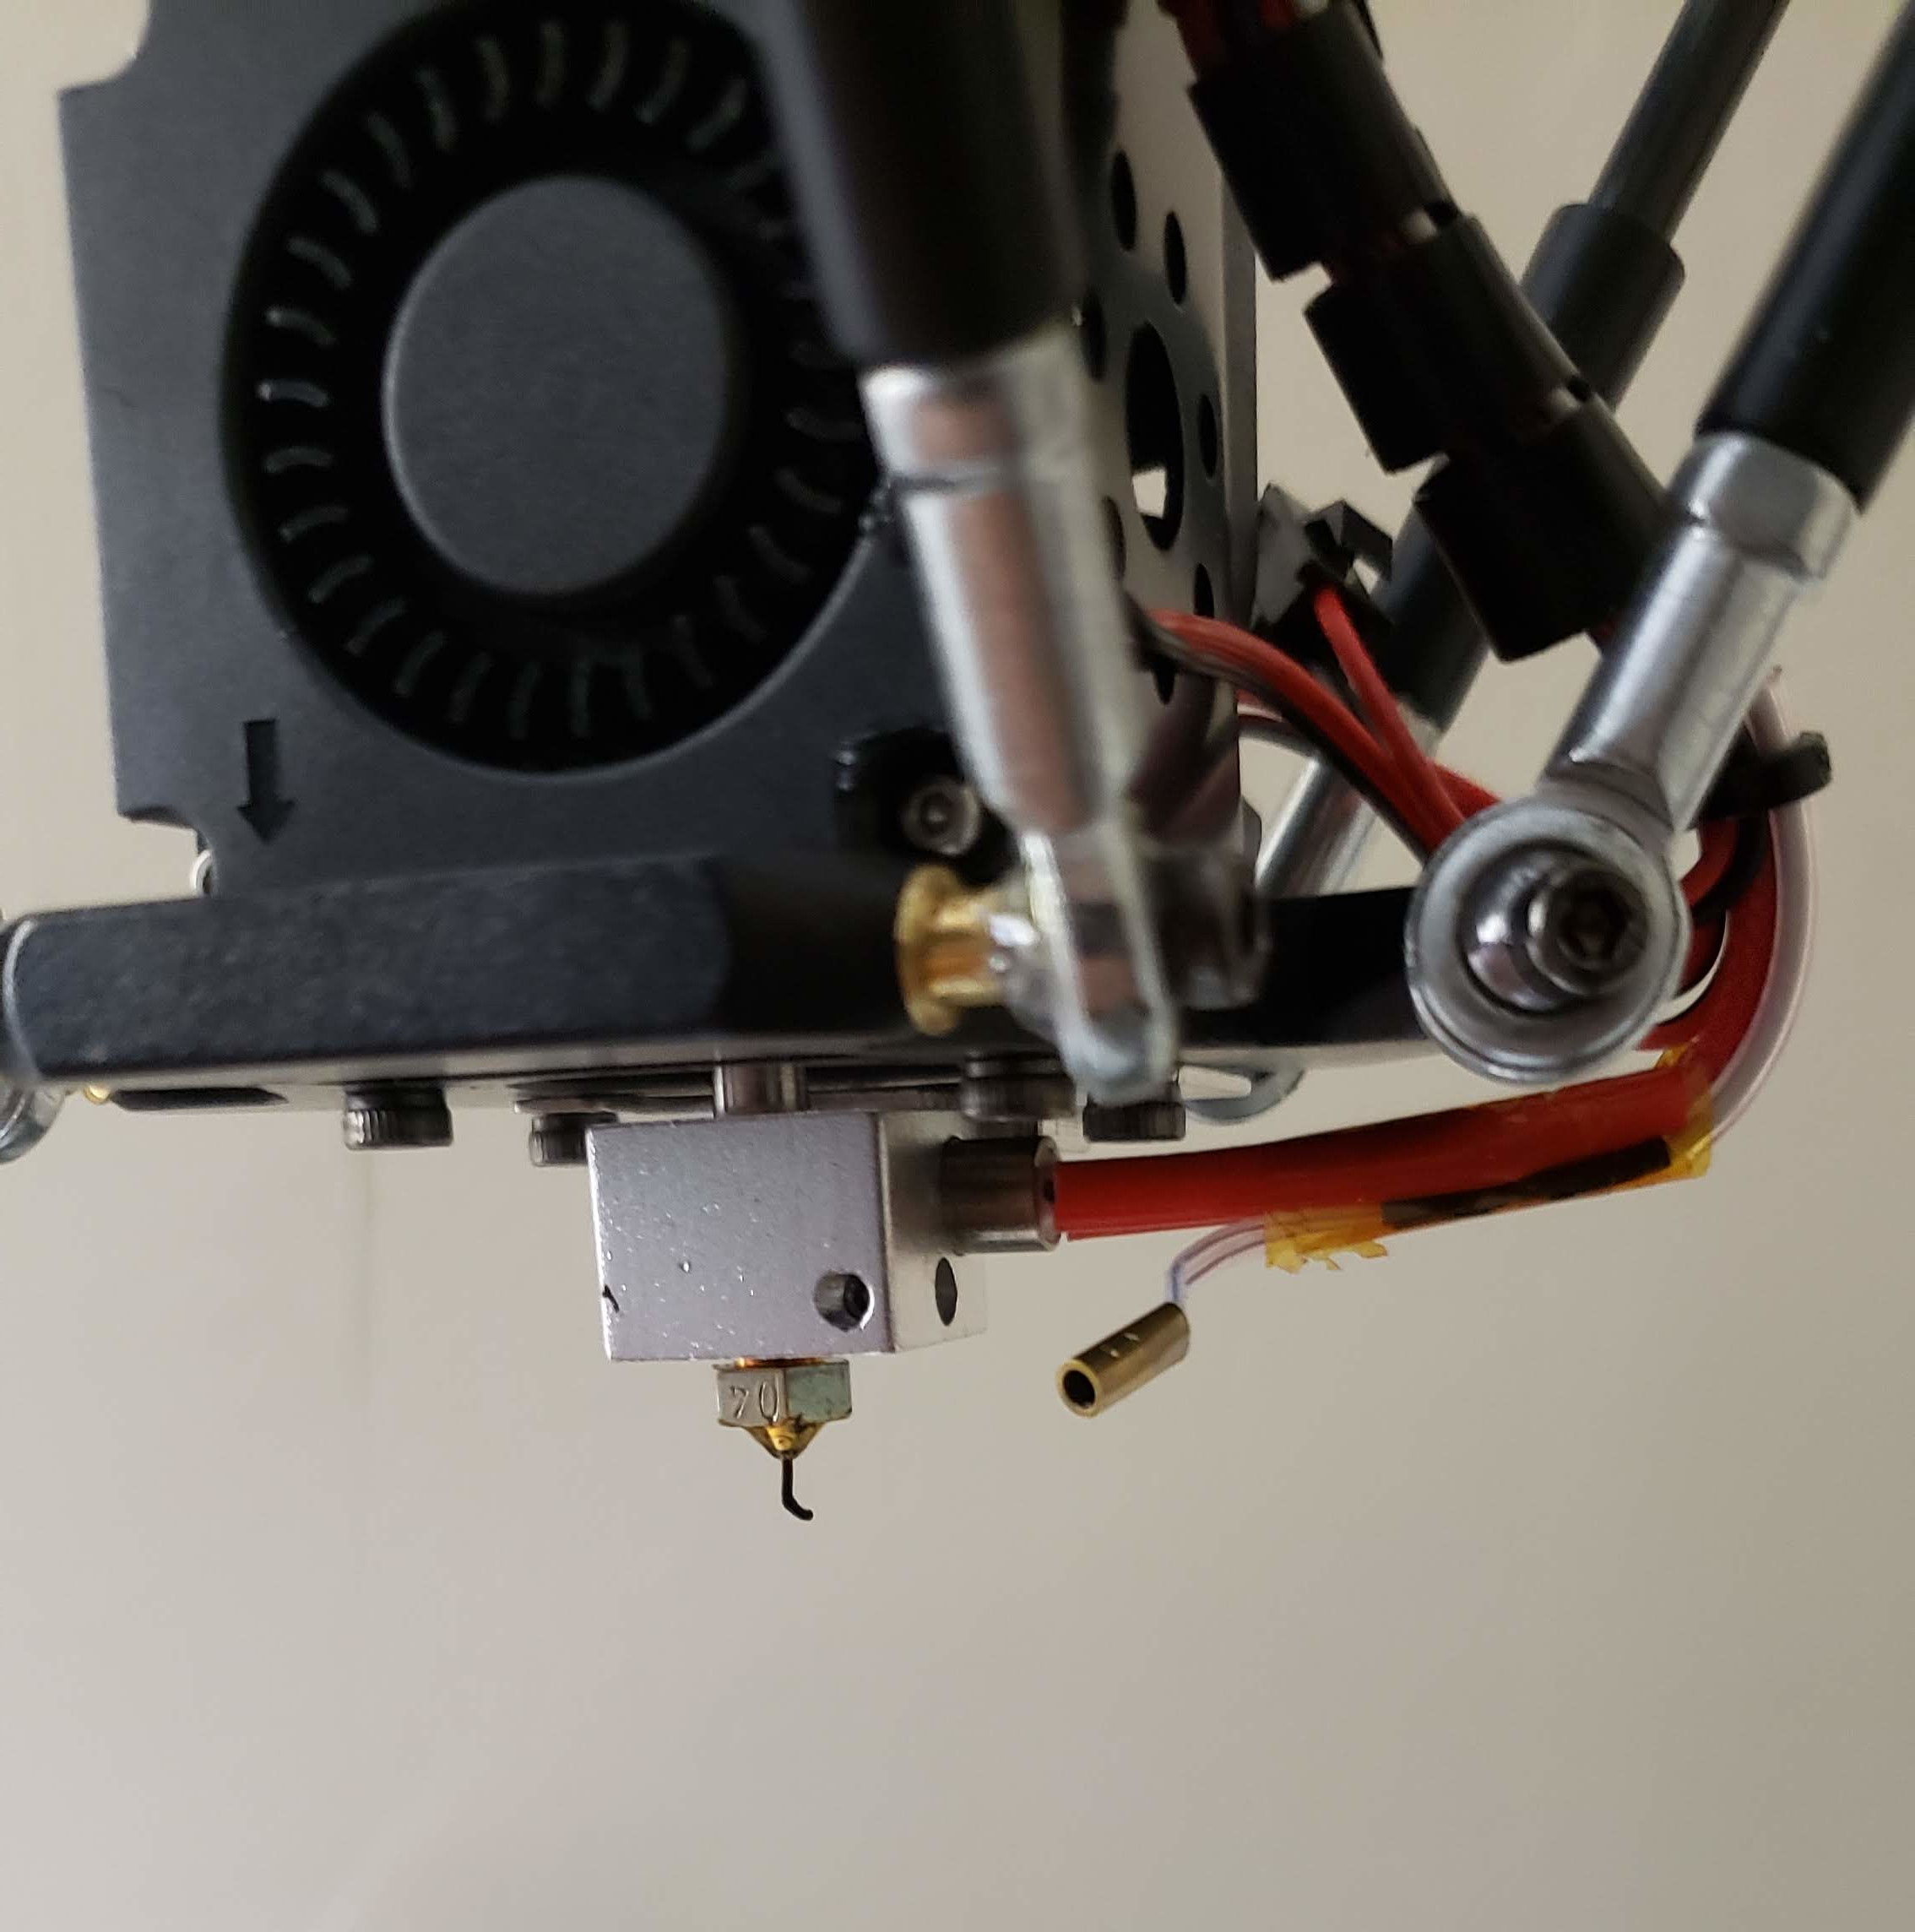
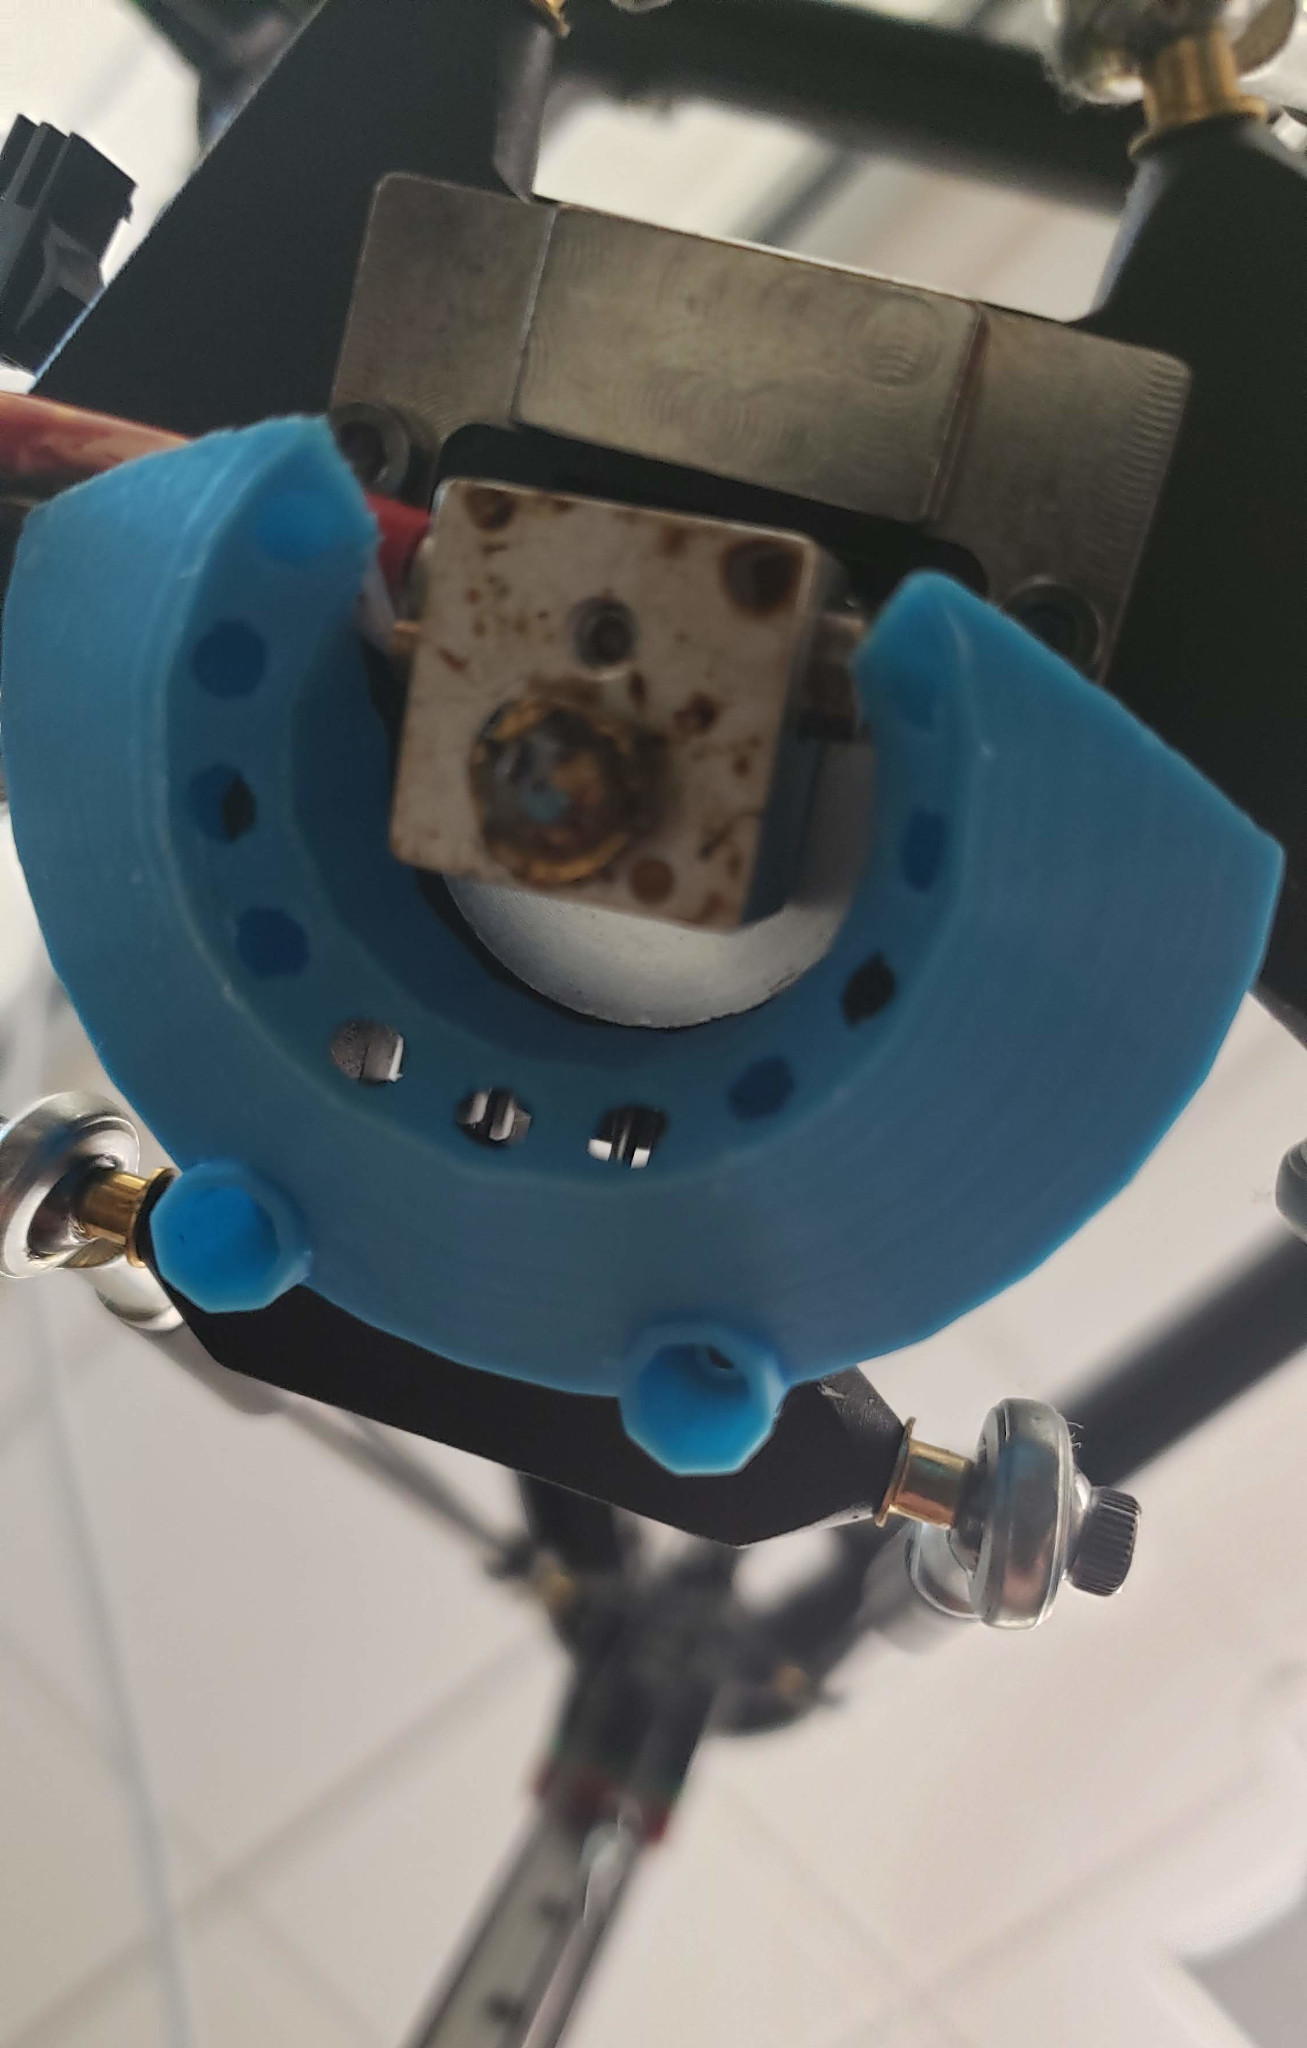
In both cases, the problem was fixed by backing out the set-screw, slipping the thermistor tube out, packing the tube with something thermally conductive, and reinstalling. The tube is not completely a menace in this case because it lets you pack it without permanently adhering the thermistor to the head.
One has been fixed with a dab of ceramic thermal compound, though I’m not sure about longevity because Arctic Silver Ceramique is really only rated for ~180°C. My personal machine was fixed by packing the thermistor tube with some J-B Weld SteelStik epoxy putty, which stank a little on first run but appears to be stable, and is rated for a safe 300°C. - One of the printers had a loose glue joint on one of the delta arms, Anycubic was contacted, a replacement was sent, and a DIY epoxy job fixed it even before the replacement arrived – just make sure the length is exactly right by pinning it to another arm while it sets. Another machine had an arm come loose after some use and jostling, so it appears to be a systematic weakness.
Upgrades
- The stock fan shroud suuucks, even though the blower is producing more than enough air flow. The stock one causes cooling asymmetry and stringing problems and … you have a 3D printer now, just replace it.
There are several nice options other users have posted, I like this one from lexaiden on Thingiverse a lot.
You probably want to print it in something not prone to thermal sag, IMO best choice is a Natureworks Ingeo 3D870 filament, but any “PLA+” type heat treatable material will do fine. - The effector cable bundle tends to sag into in places you don’t want it. The kit comes with some stiff wire to use for fishing the endstop leads, it also makes a serviceable hanging support to keep the cable bundle captured out of the way. A much cleaner solution is to re-route the cables to the top of the head, I like this clip from Atziano on Thingiverse. The stock screws are just barely long enough to reach the threads with it installed; you may have to shave/sand/tweak it sightly for fit.
- The stock bed surface is ok-not-great and wears with use, consider replacing it. Any 240mm round glass plate will work, most of ours have this “Iverntech” plate for around $17 from Amazon on them.
- It’s trivial, but adding a little pointer to the extruder motor shaft makes it much easier to tell at a glance with the printer is doing. Hank designed this one that we’ve added to all of ours.
- Also trivial, but the extruder stepper wire is kind of dangling. The kit comes with zip ties, but I’ve secured it with a couple printable clips on the ones I’ve worked on. Being me, I tried a couple different designs, I think this one by yoshie1997 printed in PLA+ at 100% was my favorite.
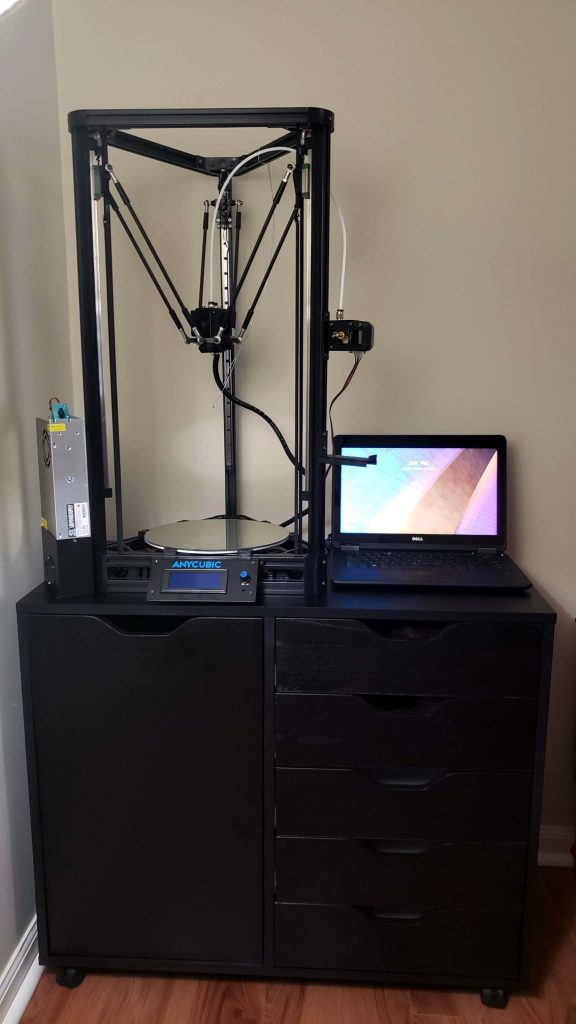
- This isn’t strictly about the printer, but the Winsome Wood 20630-WW Halifax is perfectly sized as a stand for these things. The cabinet side is a good shape for filament spools on both levels, all the requisite accessories pack nicely into the drawers, there is space to plop a small computer on there too … It is a little low to use as a work surface though. Not complaining for $165 of flatpack, especially because it doesn’t make any irritating vibration noises when the printer runs.
Variations
Depending on when yours was made, it may have slightly different firmware. Every one I’ve seen has shipped with Marlin 1.1 from 2016, but different builds with different bugs.
Older Kossel’s Version string:
echo:Marlin 1.1.0
  echo: Last Updated: 2016-12-06 12:00 | Author:(ANYCUBIC PLUS, 2017/9/18)
  Compiled: Oct 13 2017
Bugs:
– May fail to connect to some computers until you pump reset in your control software ~3 times.
– Screen sometimes garbles. Harmless?
– Knob moves selection in counter-intuitive direction.
Newer Kossel’s Version String:
echo:Marlin 1.1.0
  echo: Last Updated: 2016-12-06 12:00 | Author:(ANYCUBIC PLUS, 2019/03/09)
  Compiled: Mar  9 2019
Bugs:
– Sometimes triggers thermal runaway inappropriately, especially if the head heater is turned off, allowed to cool part way, then turned back on while still warm. See above for mitigation.
– Screen sometimes garbles. Harmless?
– Knob moves selection in counter-intuitive direction.
I’ve seen suggestions that it would be wise to just flash with Marlin 1.1.9, there are some credible configs floating around, but I haven’t done it to one yet.
Strictly, this is a non-variation, but where the descriptions say printers come with a spool of “assorted color” filament, every one I’ve seen has been the same spool of mediocre white PLA. It’s usable, it’s white, it’s not particularly nice. For those not used to sourcing materials, spring for some reputable brand filament; Inland and Hatchbox are both cheap and consistent, fancy brands can be even nicer, but IMO are only worth it if you’re looking for something specific.
Concerns and Possible Future Upgrades
- As above, I
haven’t flashed one to modern Marlin yet, but it seems like a good ideaupgraded one to Marlin2 following Lukas Pomykal’s excellent guide. It fixes many minor annoyances (like the reversed knob), significantly alters several operations, especially the the probing and calibration procedure, but is thus far feeling like an overall upgrade. - The A4988 drivers are not the fanciest (which feels weird to say, I remember when the Allegro A3928 were the new hotness replacing L297/L298 setups), and they are socketed, so these machines could at least be made dramatically quieter by dropping some Trinamic TMC2100 or TMC2208 based drivers in, and it might also slightly improve performance.
- Potentially some external flyback diodes (TL-Smoothers in 3D printing community phrasing) on the motors could slightly improve performance, but A4988s don’t really have a dead-zone problem, so I doubt it’s worthwhile.
- The electronics are mounted in a passively ventilated cavity under the bed heater, this does not seem ideal for thermal management, but has not yet been a problem.
- It probably wouldn’t hurt to mechanically isolate the whole printer. One of the lab ones sits on some little neoprene cork pads, but a proper tile/paver over foam style fire-proof vibration damping rig would be a good quick upgrade, especially for home users who want to avoid surprise fire.
- It should be cheap and easy to hack one for 2-color operation, there is an unused stepper driver socket on the motherboard, space to mount another extruder on the third leg, and room for a Y coupler in the bowden tube…
- They would make a fine host for experimenting with fancy control boards. I’m still waiting for a 32-bit printer motherboard+firmware that isn’t a disappointment, obscenely expensive, or both.
As a final note for shoppers, the big sister model Anycubic Predator is not a terribly similar design, and has …problems. We have one in the lab and I haven’t made up my mind about it yet.
