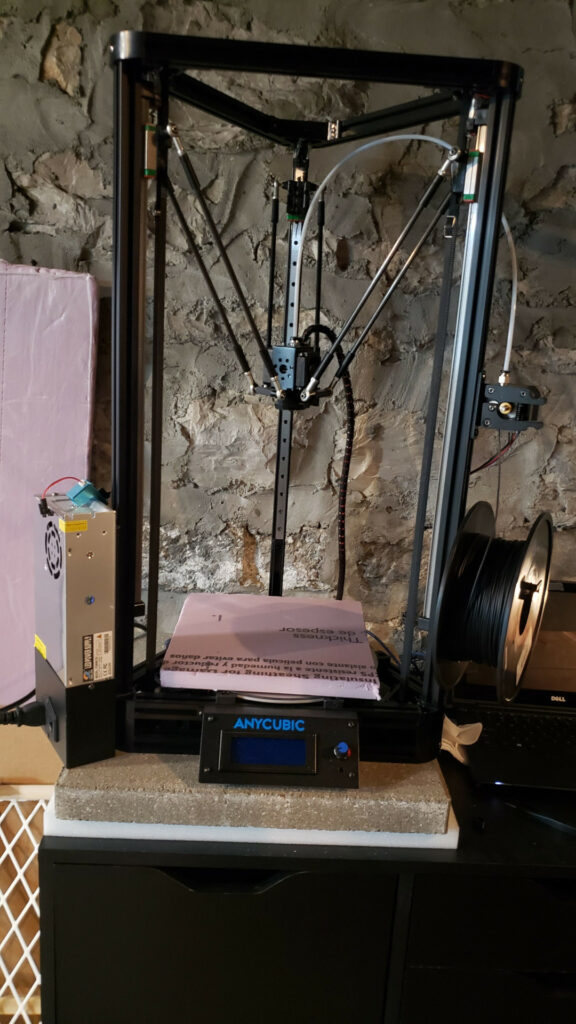
I’ve had an Anycubic Linear Kossel for several years now, and have generally been quite pleased with it – if Anycubic were still selling them I’d still be suggesting them as ideal first printers.
It has produced quite a number of useful pieces, a decent assortment of household conveniences, and the usual selection of toys and meme trash for myself and others.
I’ve made a couple recent upgrades that seemed worth documenting.
I’ve been noticing some minor artifacts that look like the tower flexing during acceleration, especially in tall thin prints, so I was looking at the various stiffening and decoupling schemes people use on Kossels. During that reading I watched and read Stephan (of CNC Kitchen)’s experiments with vibration isolation and decided to replicate his paver-and-foam approach before I tried anything invasive. A 16″ square concrete paver (Lowes, $4), and a piece of firm upholstery foam (Michael’s, $15/2) later, and it’s nicely decoupled and shows a bit less of the layer artifact I was hunting, though it isn’t completely eliminated.
The paver approach also provides two bonus features. First, the concrete base offers bit of fire resistance in the event of a catastrophic failure, which is great since it often runs minimially-attended in the basement on a fiberboard cart. Second, the machine is a bit loud (owing, now doubt, to the A4988 driver waveforms rattling the beaver-barf flat-pack stand), and having it decoupled like this makes it almost inaudible outside of the basement.
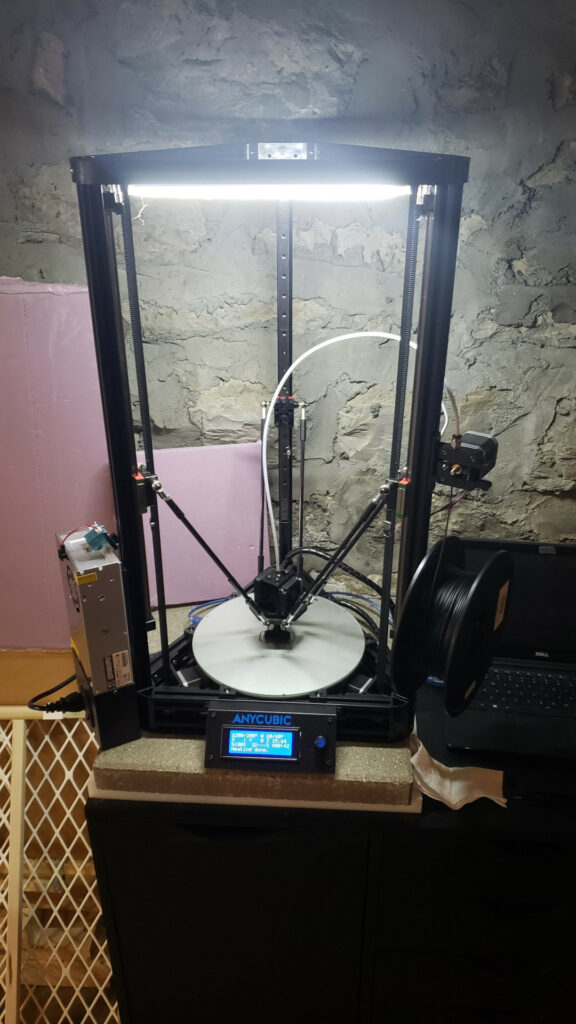
The second recent upgrade is that I installed a USB-powered LED light bar across the top of the frame. I picked up a couple of these nominal 5W USB Light Bars from Banggood to magnet above a work surface, and have been pretty pleased with them in that application. I noticed the extra one was just about the right length to mount across the top frame of the Kossel and..

Two M4 button head cap screws through the mounting holes into insertion nuts for 2020 extrusion (the ones I used were actually the leftovers from the printer; I promptly bought more spares) later, I have a printer light.
I printed a couple of cable clips from TalynTechnologies on Thingiverse to route the cable down and out the back of the printer, and it’s a great setup. It also has a bonus feature of being a stiffening member through the top frame. Not sure how much it’s doing on that front, but it feels slightly less prone to twist.

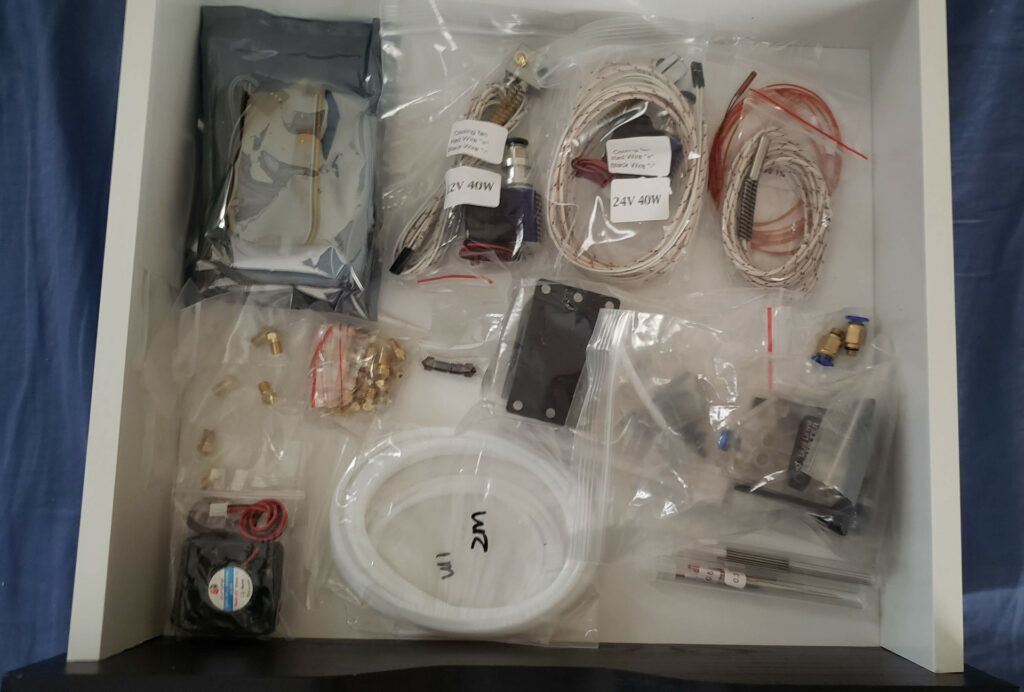
I also bought a …pile… of 3D printer parts from AliExpress seller 5A Plus. The intent of that order was just stocking up on spare nozzles, thermistors, heater cartridges, fans, and other common service parts, but I got a little click-happy and ended up with extra stuff, and a whole array of nozzles in different sizes and materials.
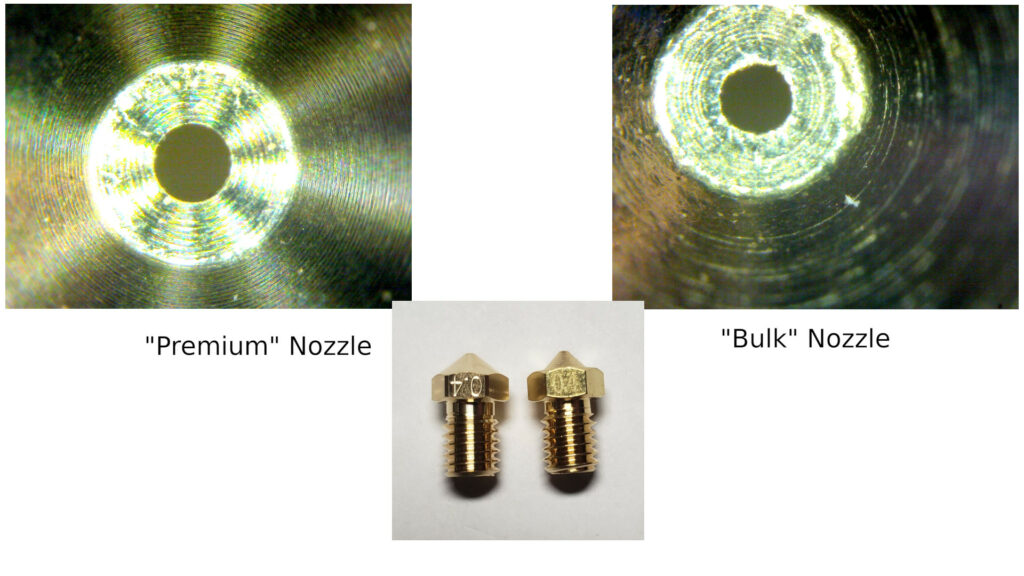
While I was looking at nozzles I got curious about the difference between their “Premium” (about $1.46/pc) and “Regular” (About $0.14/pc offerings.

It turns out the difference is real, not just that they’re slightly different shapes, and actually pretty perceptible even with my crappy bench microscope and bad fixturing job. The finish on the aperture is noticeably better in the premium nozzle. I’ll probably reserve the cheapies for abrasive filaments, giving away as quick fixes to friends, and other abuse.
I also got a L+R pair of clear BMG clones, a whole 24V E3D clone extruder assembly, and some BLTouch knockoff probes to use in projects that have been bouncing around in the back of my mind for a while, but we’ll see if I get around to those before the heat-death of the universe.

