
I built myself a little adjustable bench power supply from Chinese modules, partly because I thought it would be handy to have one, and mostly because I wanted a small, straightforward project to do for my own sanity.
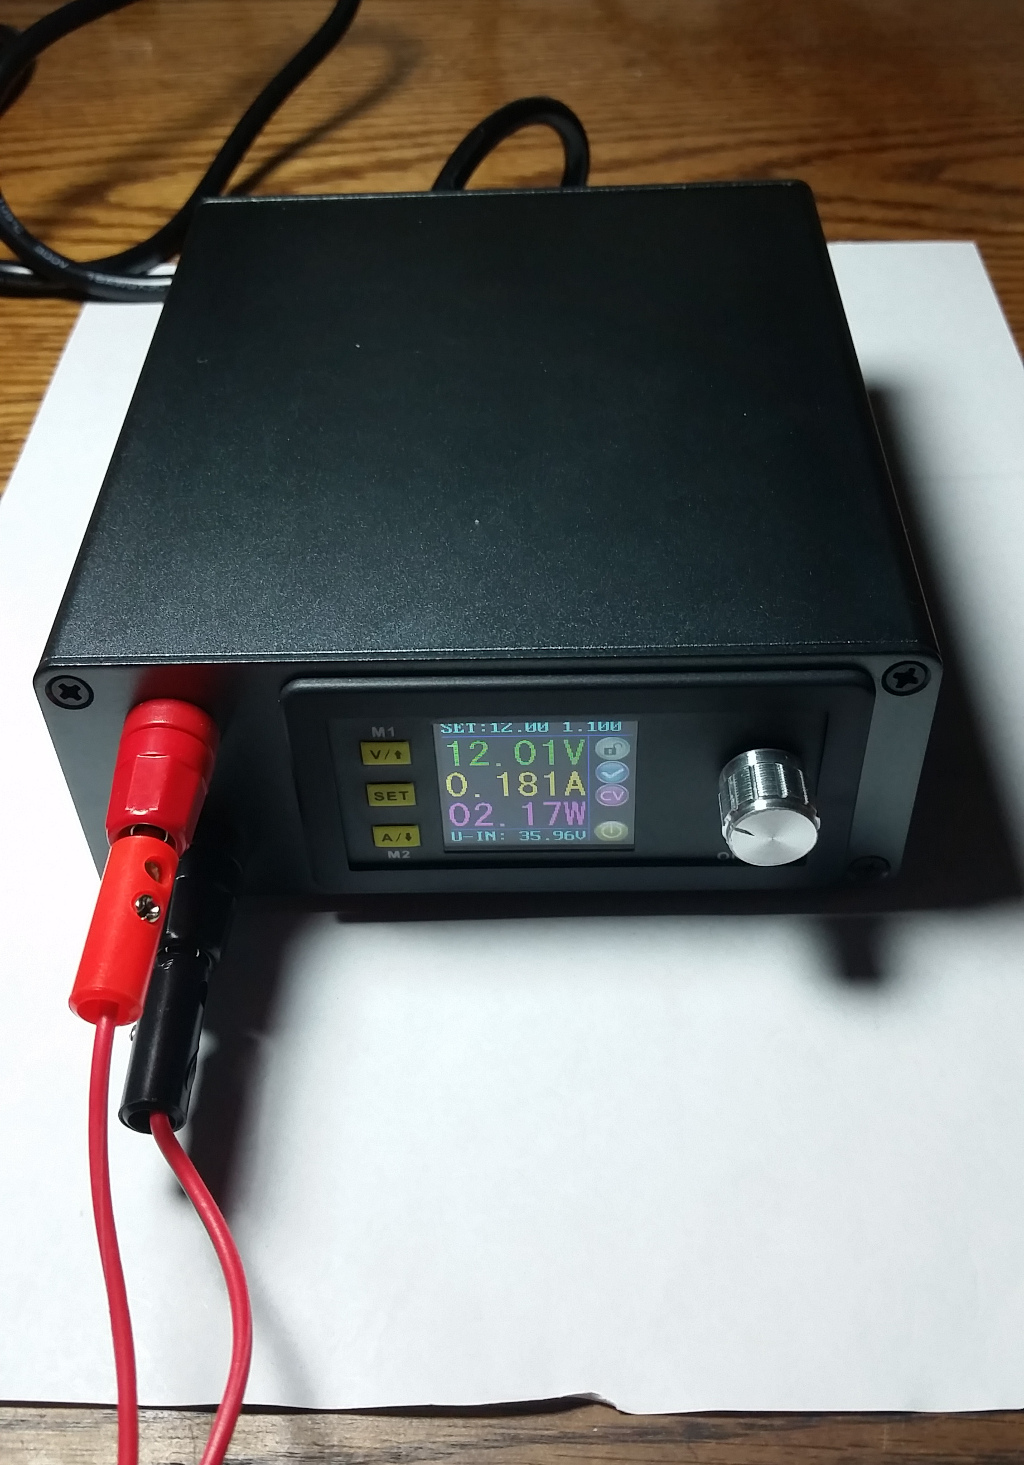
I set up a slightly different configuration than is typical, and am documenting it for funsies and/or to ease clones if anyone is so inclined. The whole project was about $60 all-in, for an (approximately) 0-34V, 0-5A adjustable bench power supply.
My central element is a Ruideng DPS5005 CC/CV buck regulator, which have become quite popular of late. I equipped it with a 35V/5A switch mode power supply, and one of the first-party Aluminium cases. Everything came from Banggood, though the same parts seem to be available from all the usual China-export suspects.

The exact parts list is:
- RUIDENG DPS5005 50V 5A Communication Function Constant Voltage Current Step Down Power Supply Module Buck Voltage Converter LCD Voltmeter (Banggood P/N: 1161704- recommend, maybe skip the USB option)
- RUIDENG DP And DPS Power Supply Housing 2 Kinds Aluminum Housing Constant Voltage Current Casing Digital Control Buck Voltage Converter Only Box(Banggood P/N: 1146253 – recommend)
- AC-DC Inverter 100-240V To 36V 5A 180W Switching Power Adapter Converter Module(Banggood P/N: 1161864 – recommend)
- 1M Alligator Crocodile Test Lead Clip to Banana Plug Probe Cable Wire Red(Banggood P/N: 1126115- do not recommend)
- A handful of 18GA wire, a 3-prong AC cable, a JST-XHP male connector, and some basic electrical tools.
(Pictures are not all great, I was moving fast and shooting with my phone.)
The parts combination works out nicely with my habitual de-rating of Chinese goods – I have the whole setup soft-limited to about 34V output at 4A which is safely clear of the advertised 50/5 of the control unit, and the control unit appears to be smart enough to automatically stay clear of overloading the fixed supply. The cheap banana-to-alligator leads I got are …uncomfortably… cheap and will probably be replaced with ones that don’t feel like they’ll burst into flames under 2A in the near future.
The DPS5005 snaps right in the front panel, the bundled banana plugs all fit perfectly, and (via selection and a little luck) the SMPS fits right in the PCB retention slots of the case, and everything more or less fits together.
There are, however, a few fitment problems that needed to be taken care of to run it as a single unit.
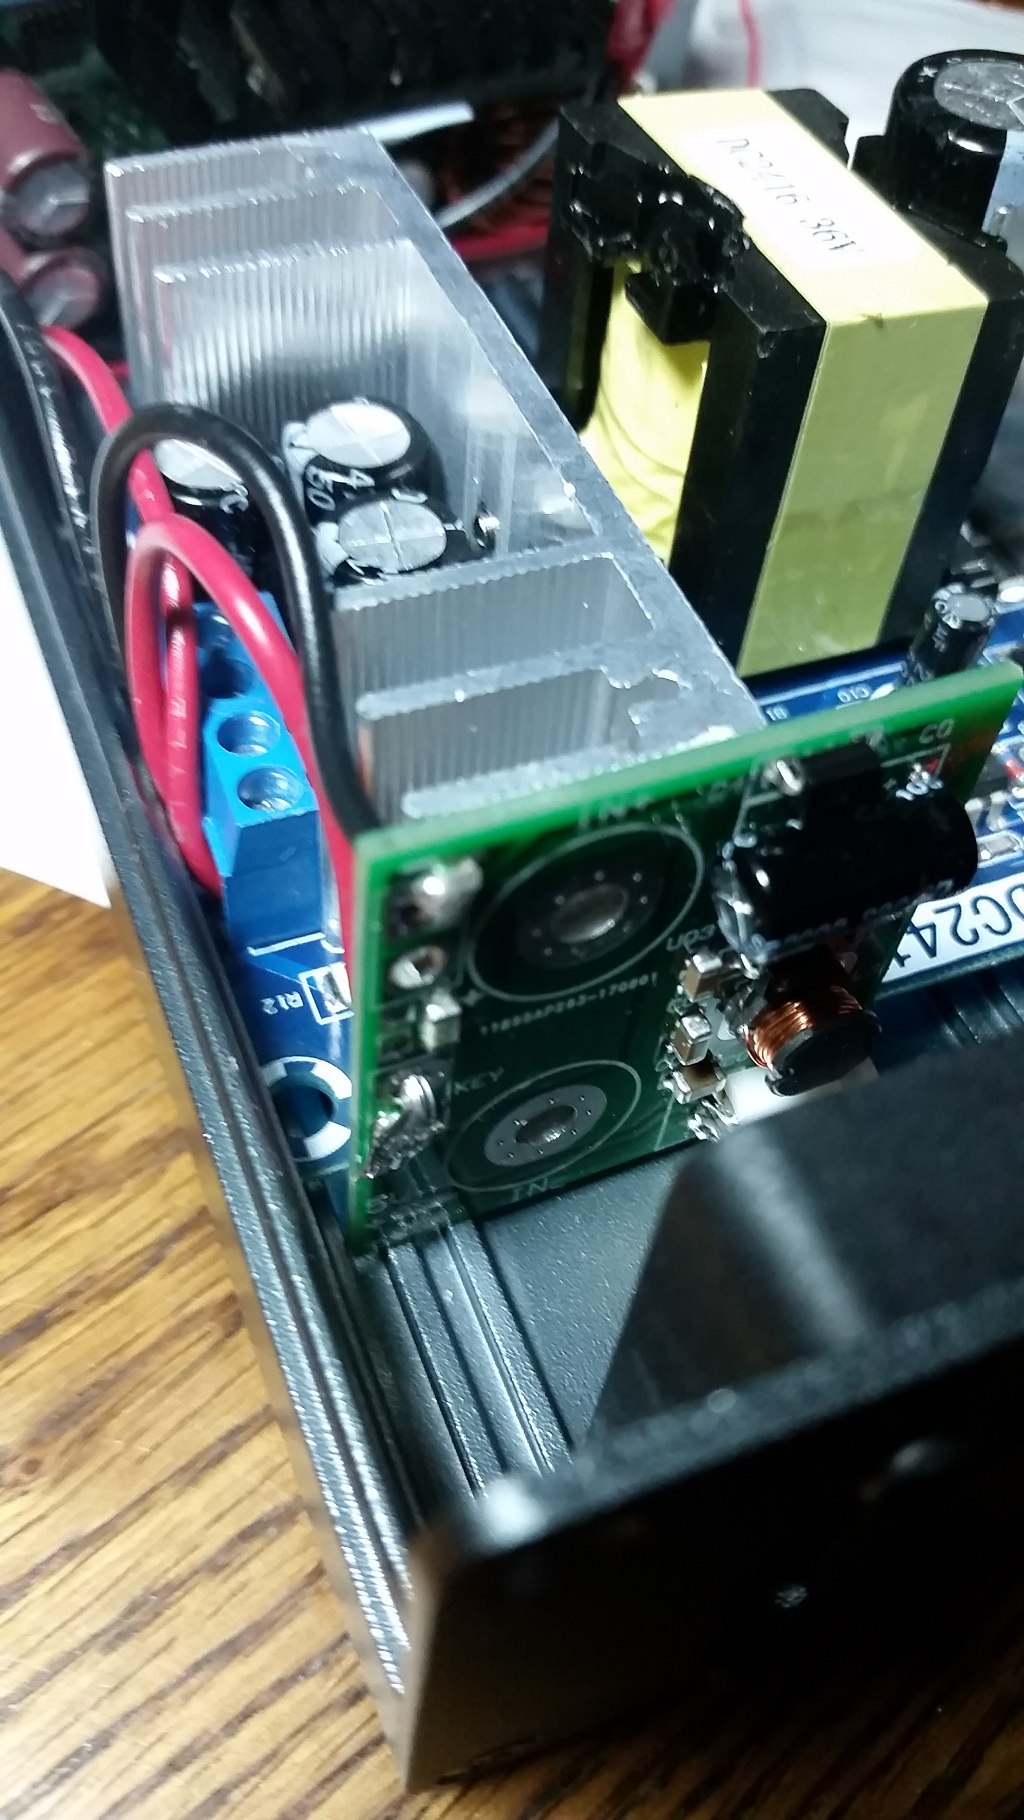
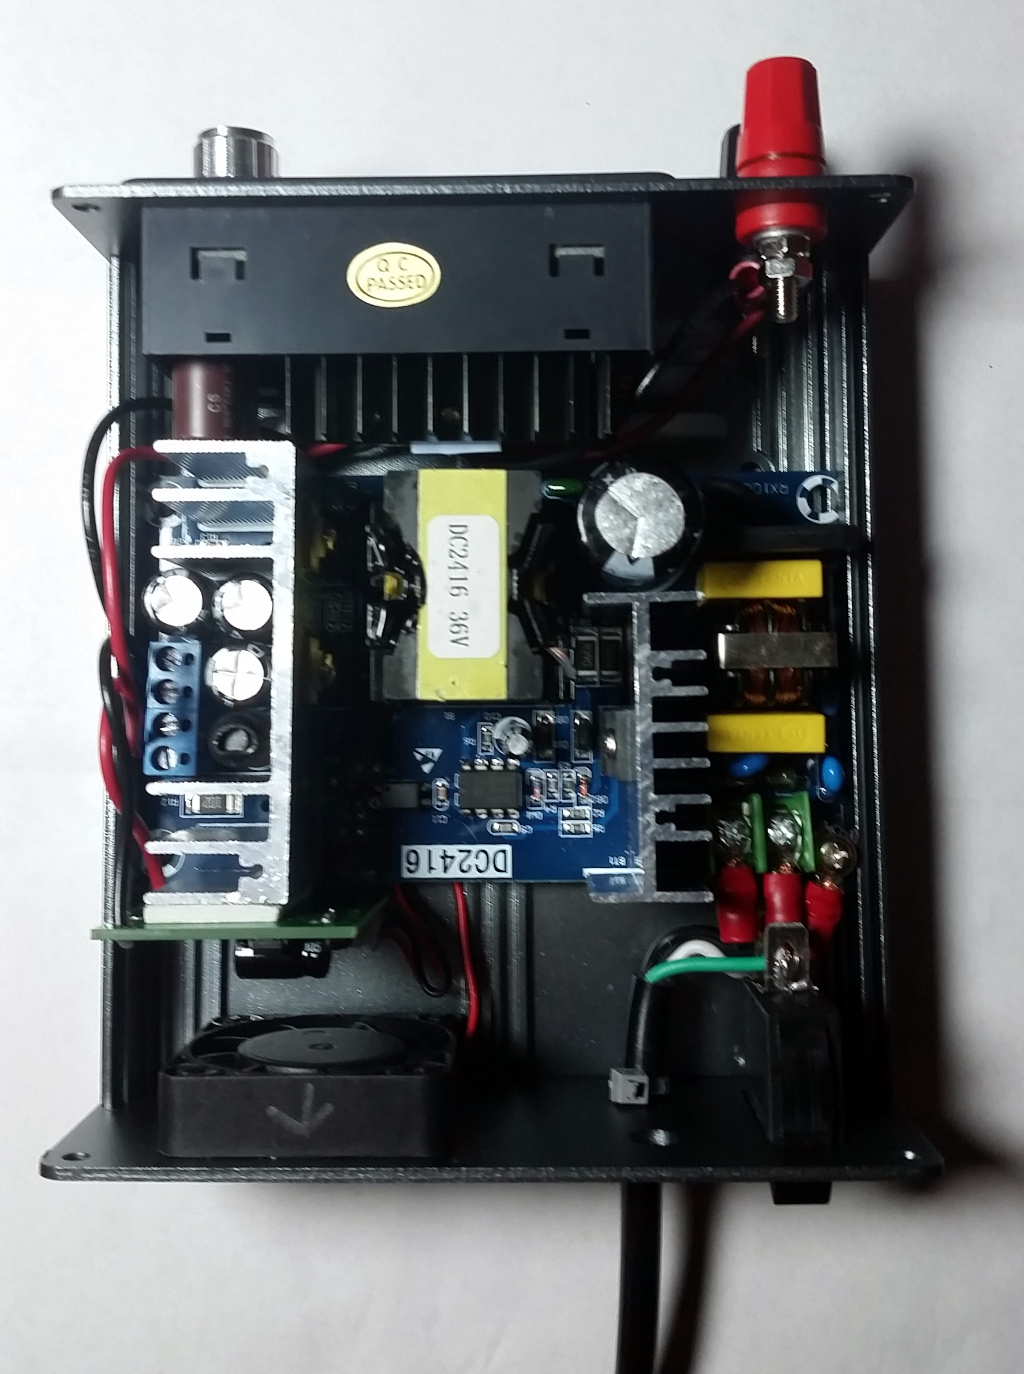
The enclosure has a pair of 6.25mm holes-with-flats in the rear, intended for a pair of banana plugs for DC input. The included fan control board is also designed to be tied across the studs on the rear of the banana plugs, with the switch and supply module wired into it. I wanted a single-case unit, so I re-purposed. For AC input, 6.25mm is a nice fit for one of the thinner earthed AC cables I had around, slid in and relieved with a ziptie on either side. This does not take care of rigging the fan board in. My almost-elegant solution consists of running wires from the second set of output terminals on the SMPS to the inputs of the regulator board, jumping the switch pads, and sticking the whole thing in with a piece of double-sided foam tape to hold it on to the SMPS’ low-side heatsink. I also added a JST-XH plug, set at a right angle, to the board rather than just soldering the fan in, though I did also shorten the fan cable and put new crimp pins in the included header.
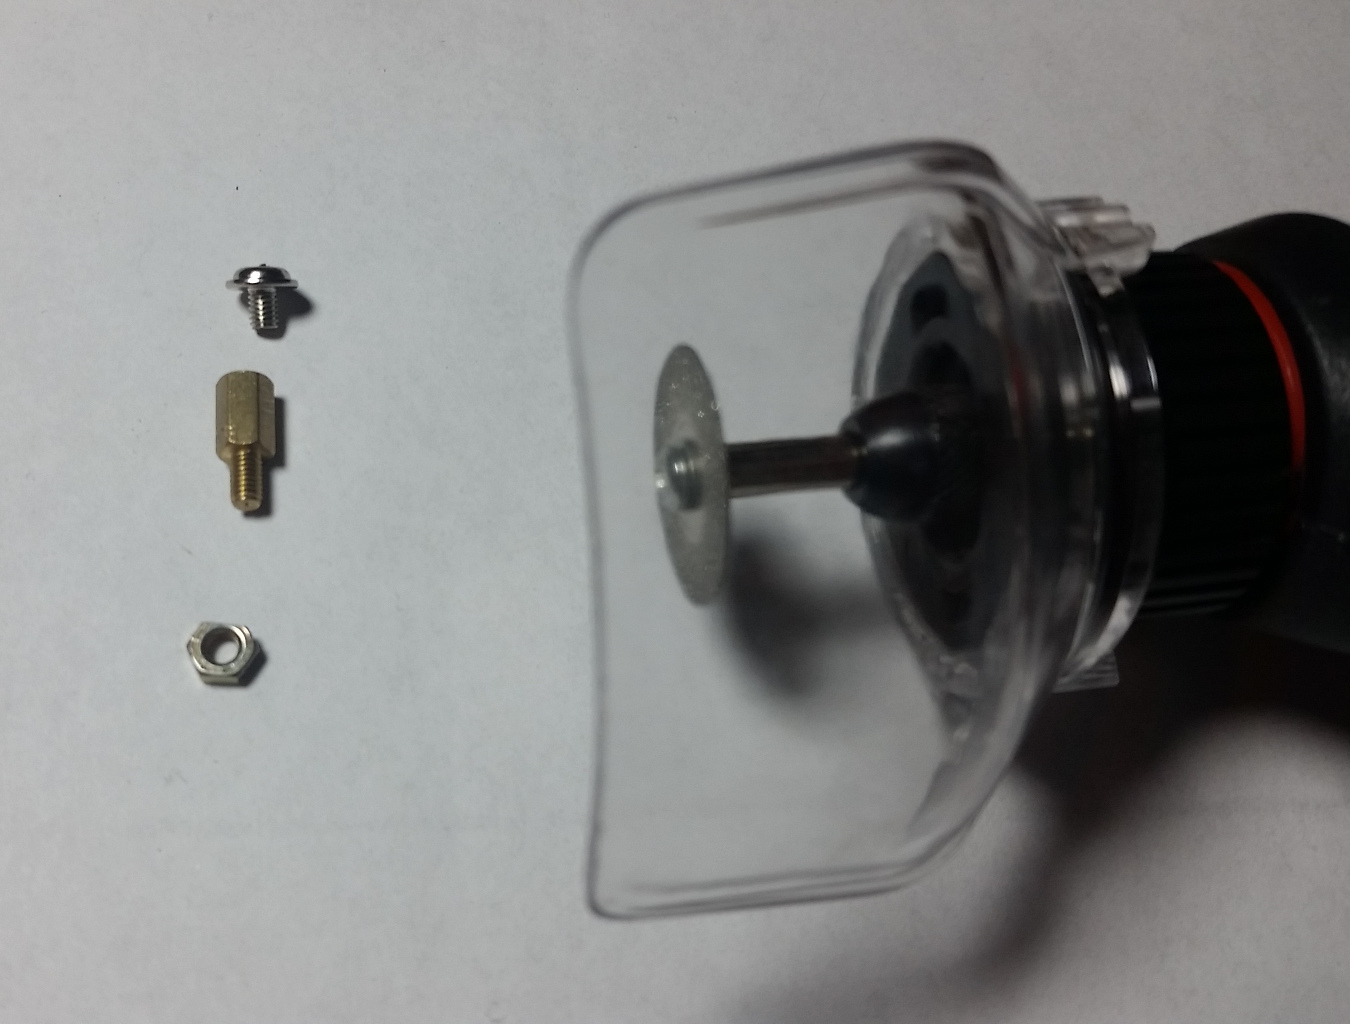
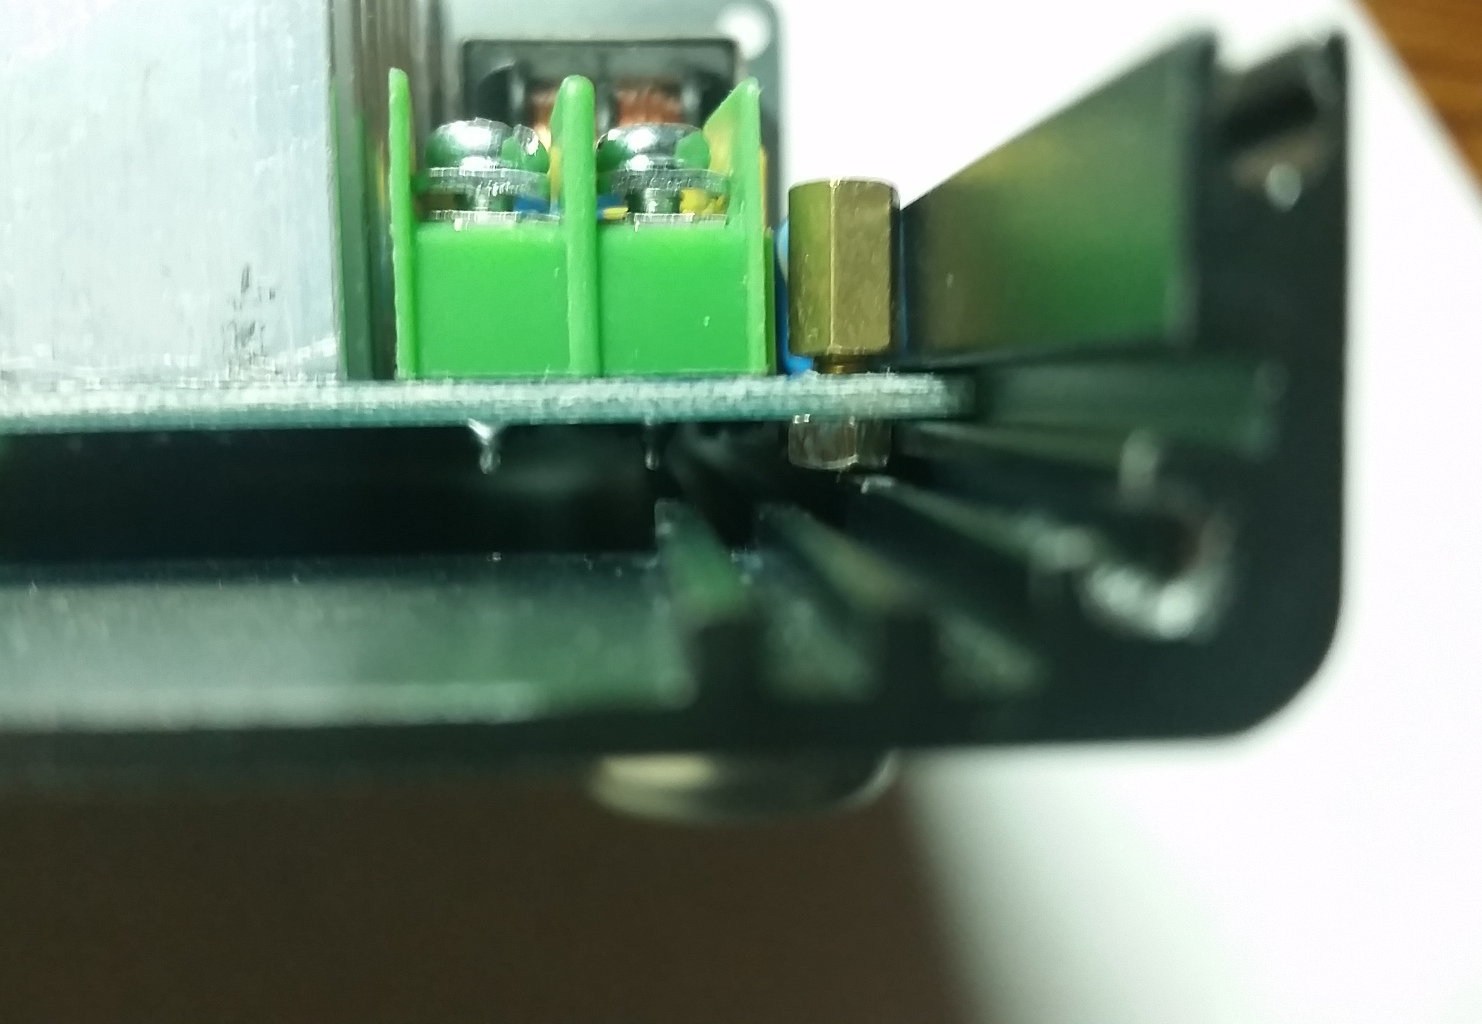
Getting the earth lug connected and the SMPS anchored so it can’t slide in the rails required a little work, but both problems were solved by the same solution: I ground down a M3 nut to fit the clearances around the features in the base of the enclosure, and secured it with a standoff through the ground-lug hole of the SMPS, locking the board to the case. The standoff then makes a convenient spot to anchor the earth cable to the SMPS and the case.
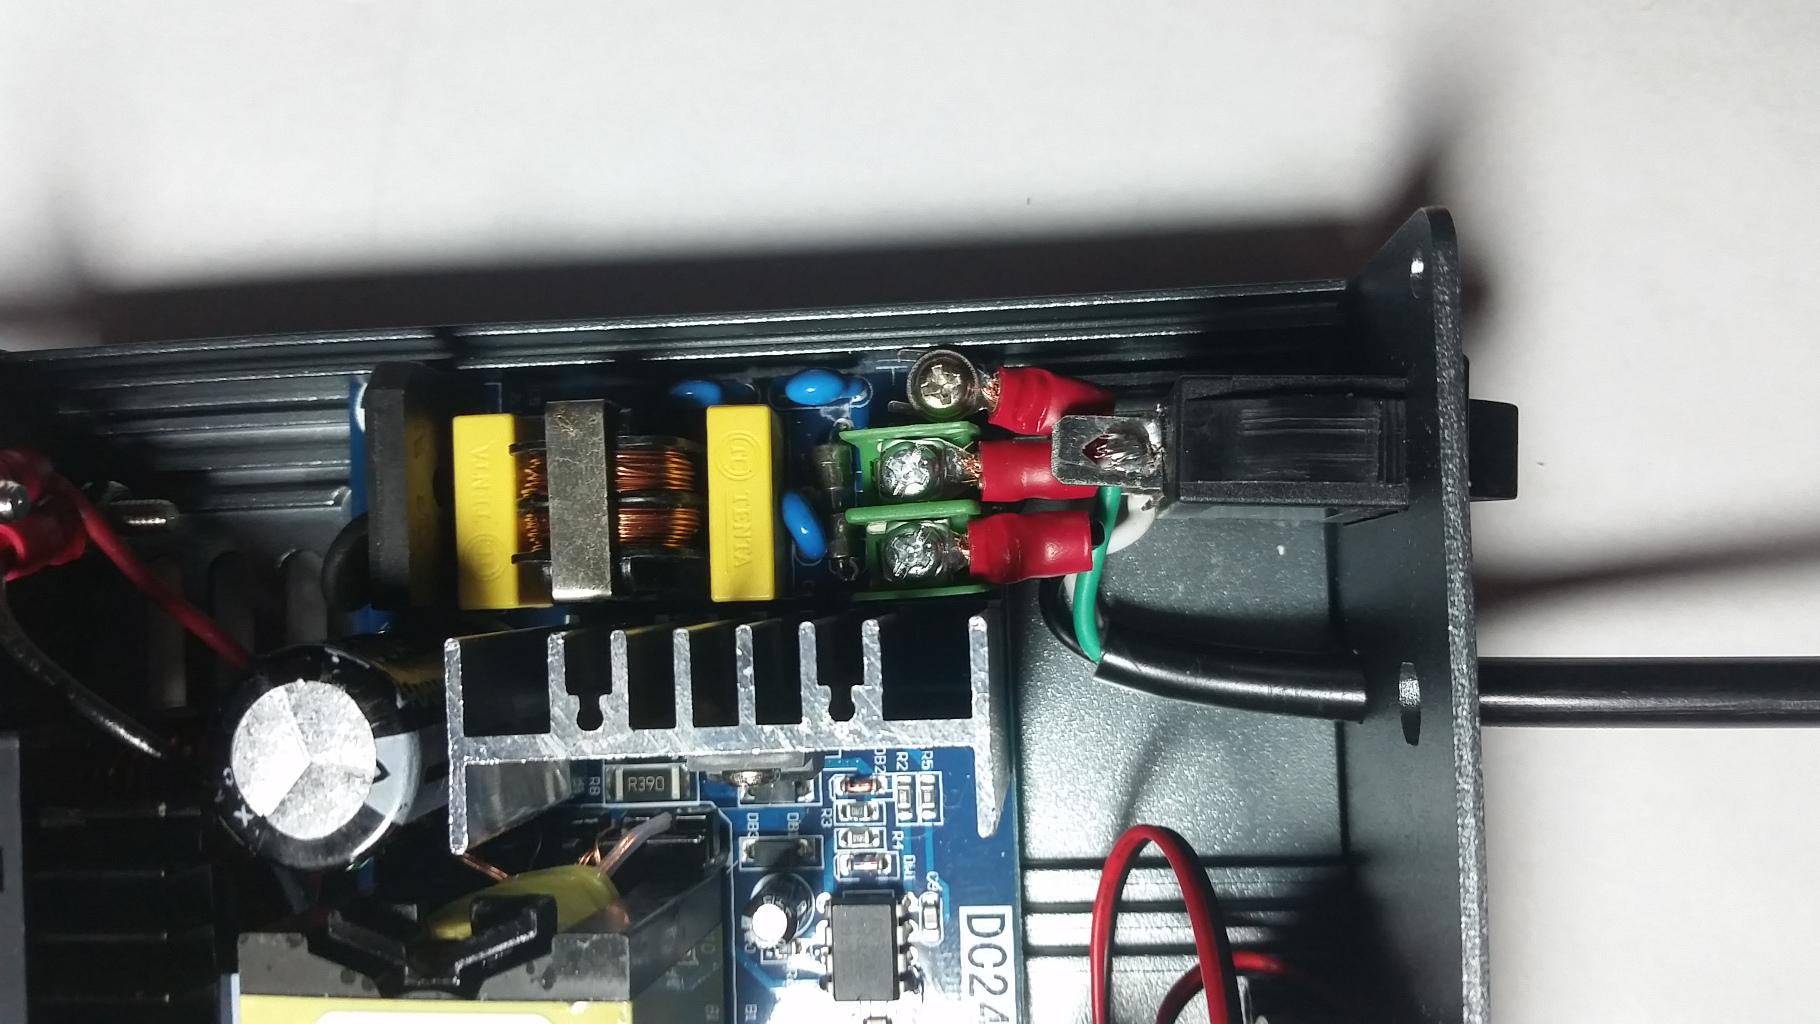
The other major fitment issue was getting the AC inputs rigged with adequate clearance and whatnot. My solution isn’t ideal, it doesn’t really leave enough standoff; the earth cable is running through the terminals of the switch, and it makes disassembly a little awkward since the back plate is locked in place by the connection from the switch to the line terminal.
The only major remaining issue is that the fan is a bit rattly… unfortunately at a frequency that resonates my desk. I’m considering just disconnecting it, but I haven’t used it with more than a ~12W load, and not for long, so I don’t know how much it needs the airflow. I might go for an intermediate step by installing some buffers and/or slow and/or replace the fan.
I got the version of the module with a USB-Serial bridge, but don’t have it hooked in as I haven’t found a compelling use (or any decent software) for it. The adapter appears to just be a standard CH340 USB-Serial adapter with a JST GH header. I might save the $5 and skip the USB if I were making a second.
I am currently running the stock Ruideng firmware, though I’ve looked at OpenDPS as a possible alternative.
Overall, fun project, useful result, would definitely recommend most of the parts I used as fit for purpose.
