Category Archives: School

Ebay DB25 Arduino Nano grbl Adapters

A second consecutive CNC post, because I haven’t had time to write up long-form posts for months, and something requiring documentation came up today.

While I’m still quite happy with LinuxCNC (especially since I discovered NativeCAM), my adviser bought himself a GRBL-DB25 adapter board for his 3040T mentioned in my previous post. He has been unsurprisingly unsatisfied with the performance of the terrible old SFF P4 box he has been using to drive it with LinuxCNC, and we’ve (read: I’ve) become reasonably comfortable with grbl due to the several shitty diode laser cutters that have recently proliferated around here (One or more of the involved parties will be posting about those shortly). As I’ve noted elsewhere, grbl is not my first choice, but has reached baseline required functionality in versions >1.1 and is unarguably convenient.

In particular, he went with one of the Arduino Nano based boards floating around ebay with titles like USB 3-Axis CNC TB6560 Driver Board Controller Converter GRBL Arduino Nano DB25, which are unfortunately both undocumented and (as it turns out) unsuitable. He asked me to help set it up, and this post serves to document and warn based on my findings.

It seems like it should be a great solution, but it will not work with the typical black control boxes that come with many little aluminum CNC machines or most other common 3 or 4 axis breakout boards. It has the (dead) URL www.getlofi.com/grbl-to-3axis on the silkscreen, and while getlofi.com does appear to be a valid page run by some hackers mostly into circuit bending, I couldn’t shake any mention, much less relevant documentation out of the page. What I did find with a continuity tester and some patience is the following unfortunate arrangement:

The problem is that the designer decided to tie DB25 pins 2,6,and 14 together to nano pin 11 (D8) with traces on the adapter. This renders it completely unusable with the 2-7 StepX/DirX/StepY/DirY/StepZ/DirZ pinout the vast majority of boards use, as StepX and StepZ are wired together. If I’m inferring which shitty blue TB6560 3-axis board it’s designed to work with correctly, 2, 6, and 14 are intended to be per-axis stepper enable pins, but that is not a particularly common configuration.

For contrast, I picked up one of the Arduino GRBL to DB25 CNC Shield Kits available from “Ron” on Tindie to throw in my parts bin for testing. It’s actually documented, supports the pin-out most parallel control boards I’ve encountered use (with the default grbl pinout no less), and has each individual pin broken out like a sane designer, so it should support any reasonable configuration. I tried my tindie board with the machine that was supposed to get the fail board, and it seems to work fine, so I’m going to encourage picking up one of those instead (unless we get ambitious and just cut our own DB25-Nano board).

Posted in Computers, DIY, Electronics, General, Objects, School | Leave a comment

Install Viavdo 2016.2 on ArchLinux (x86_64)

As of the date of this post, Xilinx Vivado 2016.2 works fine on Arch with minimal coaxing. Said coaxing is documented here in case it will be useful for others.

1. Install ncurses5-compat-libs from AUR, or the installer will hang during a later step. It appears to be required at runtime as well.

2. Mark the installer executable, eg. chmod +x Xilinx_Vivado_SDK_2016.2_0605_1_Lin64.bin, and run it with the confirm flag, ./Xilinx_Vivado_SDK_2016.2_0605_1_Lin64.bin --confirm

3. Hit Y at the “unpack” prompt, then go into the directory it creates at /tmp/selfgz[RANDOMSTRING], and edit xsetup to replace `uname -i` with `uname -m`, which is what they should have used in the first place.

4. Pre-create and permission the install path, a reasonable choice is the default /opt/Xilinx, which needs to be writable by the user doing the install (eg. chgrp users /opt/Xilinx, chmod g+w /opt/Xilinx)

5. Return to the terminal and hit Y to continue until the GUI installer runs.

6. Follow the GUI installer instructions, Feed the prompt your Xilinx credentials, Select Vivado HL WebPACK, etc.

7. The activation prompt at the end of the installation procedure is misleading, in the 2016.x versions if you simply quit without activating, the install automatically goes into WebPACK mode. If you don’t have/need any of the non-WebPACK features, activating the 30-day free trial of the nonfree version is asking for a headache when it expires.

8. It works. (and as a bonus convenience over the old toolchain, at least the Digilent Basys 3 boards use a normal FTDI usb-serial as their onboard programmer, so you don’t have to fight with drivers to program boards, that just works too.)

Posted in Computers, General, School | Tagged , | Leave a comment

Makergear M2 Upgrades

M2UpgradeComplete

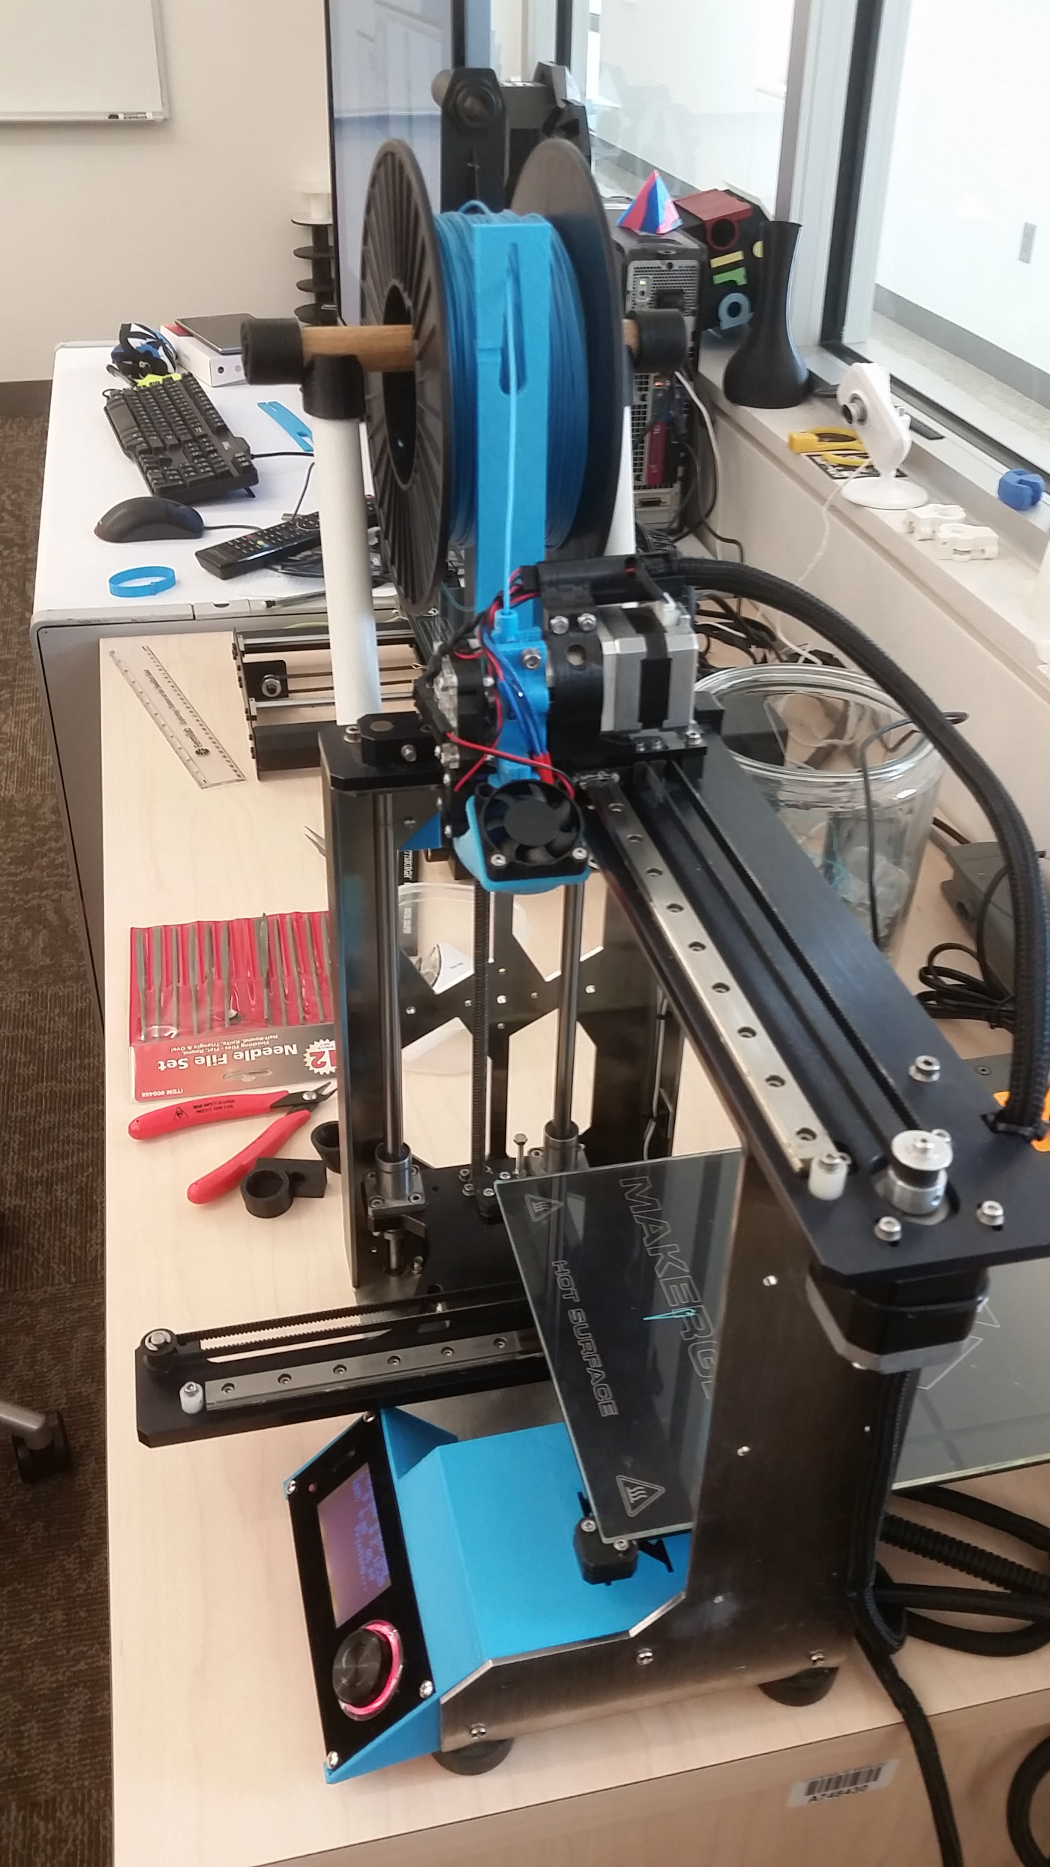
The lab Makergear M2’s heated bed power supply died a few weeks ago, so we decided it was time for a serious upgrade, and set out to equip it with basically the best parts currently on the market, as we’re convinced the M2’s mechanical construction is still about as good as it gets.

Our M2 was a very early M2 from early 2013, with a split-voltage 19v/12v power supply setup, was on its second RAMBo after the first one melted around some connectors (high-current 12V is not a good idea), and RAMBo #2 was already abused with an external transistor on a heatsink wired in to the bed heater. It was also on its second hotend after the first one failed catastrophically during a sensor-separation incident some years ago, and was running a mutant Makergear V3b w/ 12V cartridge custom ordered to suit our machine.
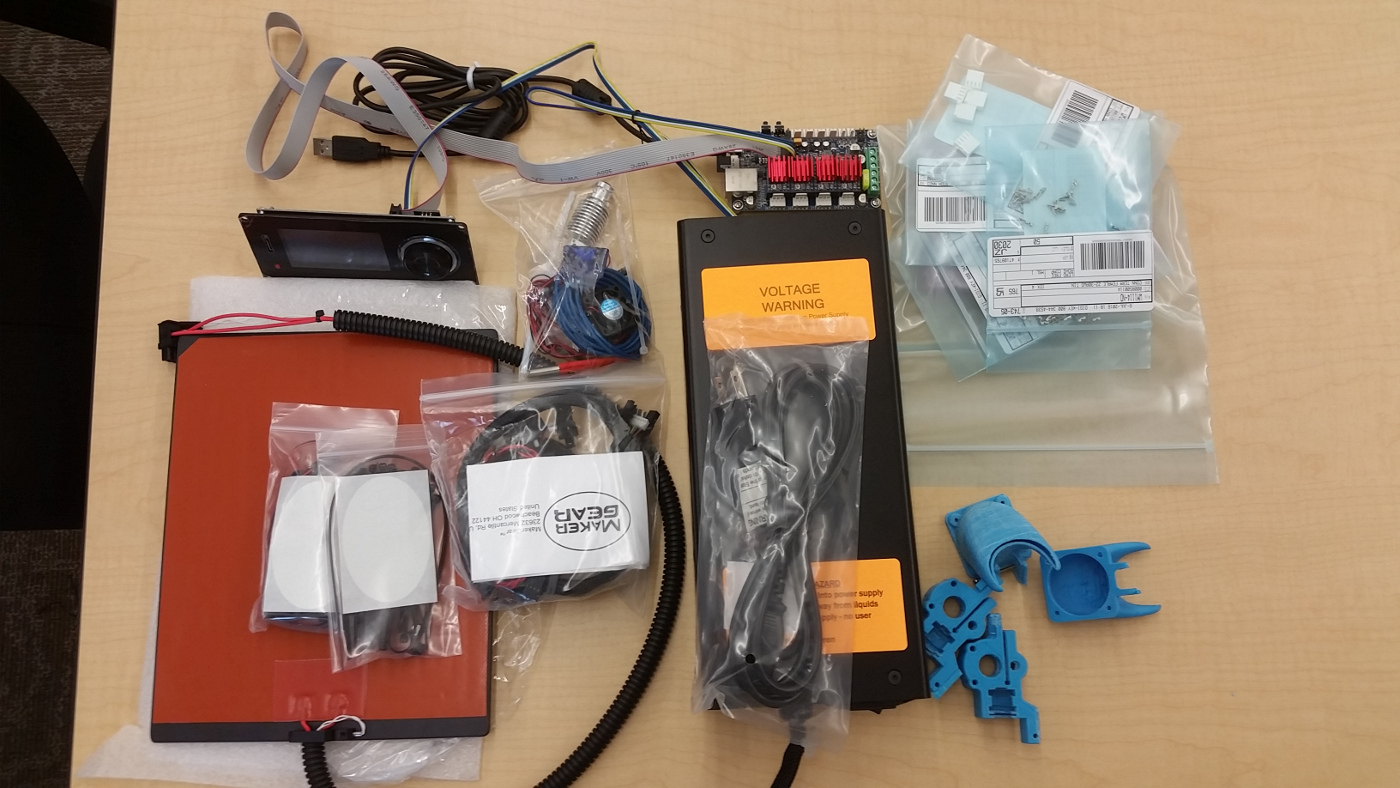
So, shopping list:

Plus a whole boatload of connectors. For reasons known only to themselves, Panucatt doesn’t (or at least didn’t at the time) actually document which kind(s) of connectors are on the board, or offer a wiring kit. Some measurement and educated dead-reckoning got us there, so for anyone else looking, it uses Molex KK connectors in 2.54mm with both keys and locking ramp, in 2,3,and 4 positions. Specifically:

  • Motor (4x): 4 position, Molex p/n:0022013047 (Digikey)
  • Endstops/Probes (4x): 3 position, Molex p/n:0022013037 (Digikey)
  • Thermistors (2x): 2 position, Molex p/n:0008500114 (Digikey)
  • Crimp pins for the above (>32x): Molex p/n:0008500114 (Digikey)
  • Fan (2x): Standard 100mil pinheader, 3 positions. We used generic 3pos Dupont connectors from a Chinese kit.

I’d suggest buying at least one extra housing in each size, and a substantial number of extra crimp pins (They’re like a dime each in quantity, we bought 50 and had plenty to spare). I got a bit of a chuckle that they use 2.54mm molex KKs with locks and keys for everything except the fans, while standard PC fans use 3p molex KKs with locks and keys, but we’re running a 24V system so PC fans would be inappropriate anyway. I personally bought myself an Engineer PA-09 crimp tool because this crossed the line on crimp terminal projects where I’m willing to do it by futzing around with pliers.

M2PartsPile

The parts for this little project could have bought us a second low end printer, but that wouldn’t have given us any interesting new capabilities (particularly since we already have a Wanhao i3), and the machine we ended up with is approximately as capable as any FDM printer on the market.

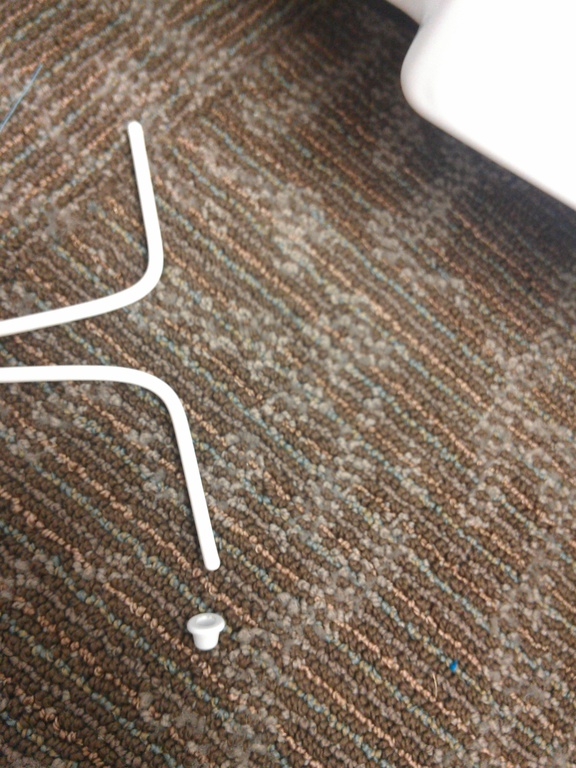
The Makergear specialty parts are lovely, and improved in various ways as compared to even the newer M2 the lab PI owns personally; the power supply is in a ridiculously nice metal case and has ferrule-tipped color coded wires, the new bed heater covers the aluminum spreader more fully, is constructed with a very nicely machined wire and thermistor bracket, and includes a semi-rigid split-loom to keep it clear. I built a couple slightly weird cables and did some aggressive polish and longevity tweaks, including putting ferrules on everything going into a screw terminal (I did it partially because I decided I wanted an excuse to own a ferrule crimper and assortment). Probably the weirdest bit is that all the fans have male 2pos Dupont connectors on them, and the always-on cooling fans around the head are connected via a Y cable that terminates in a 4-position female dupont wired +24,Gnd,+24,Gnd (Picture has the wires routed wrong).
M2FanFork

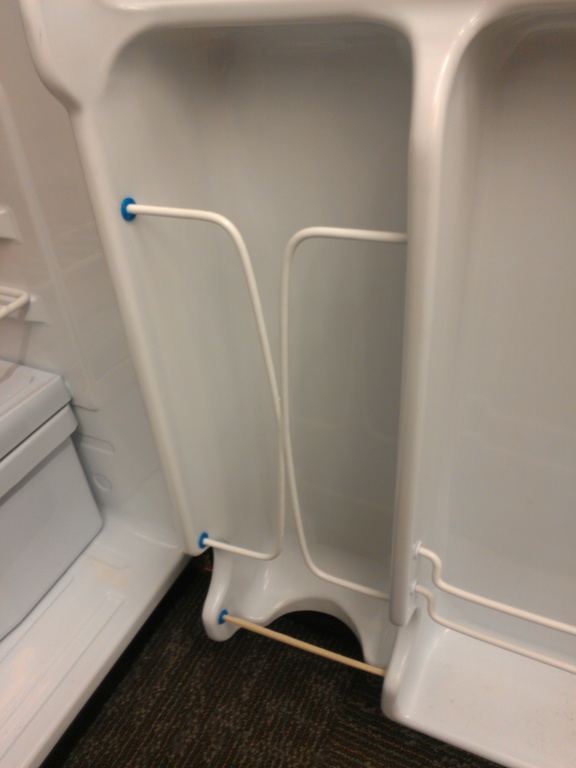
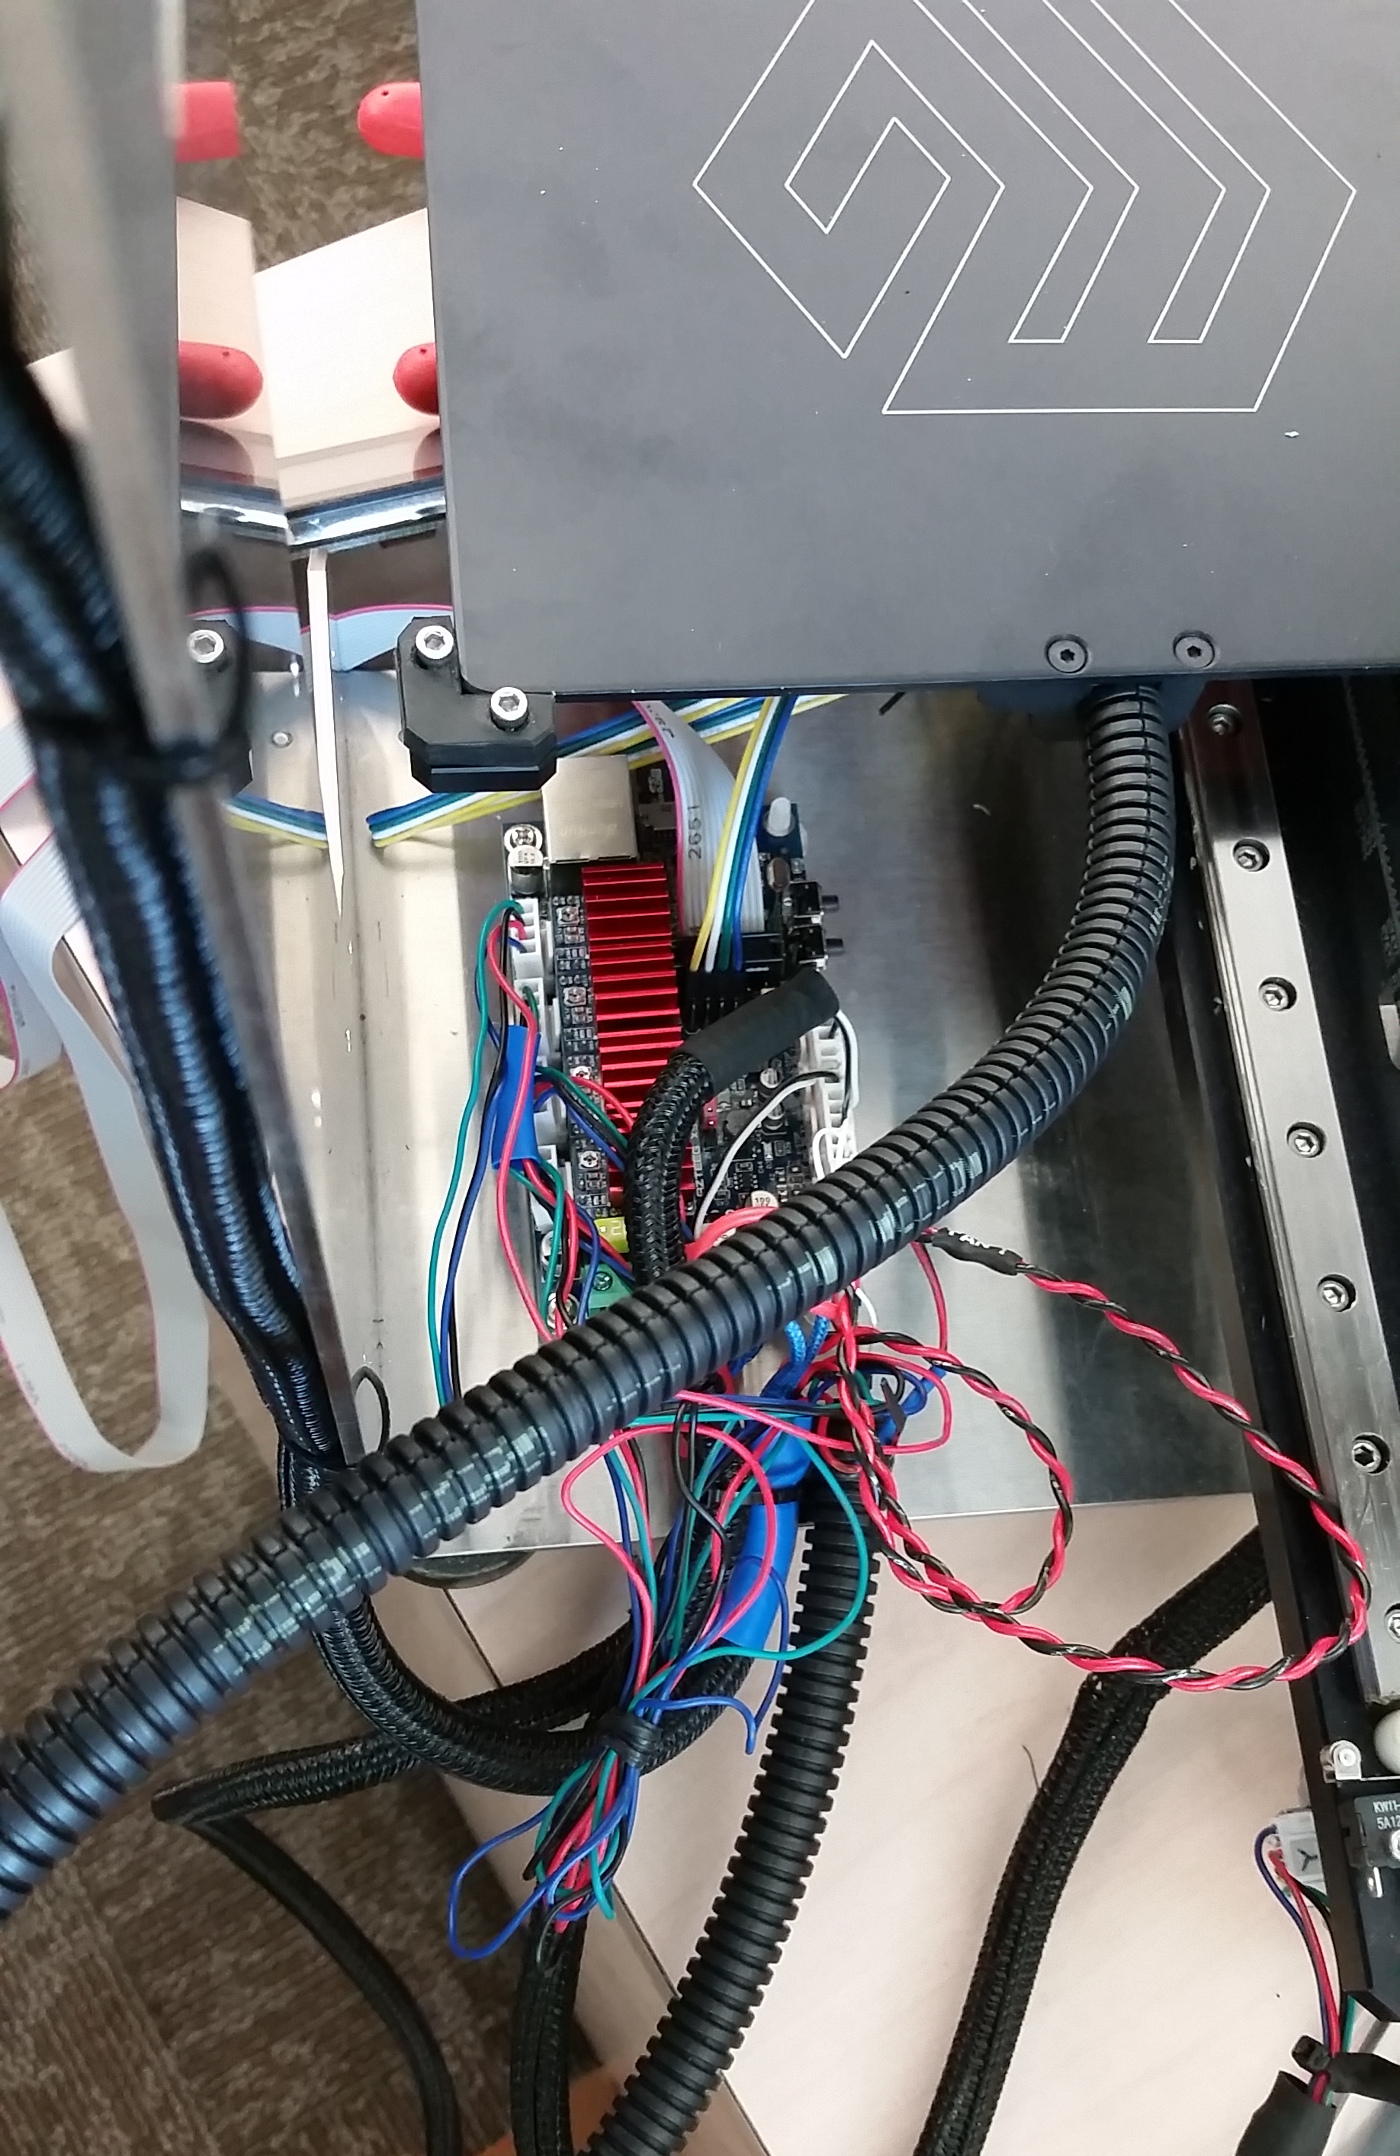
All the cabling then retreated into the awesome mesh split-loom wire guides Makergear uses, and went on in more or less in the same configuration as the original cabling, including the weird little ball of wire at the back of the frame.

M2InitalElectronics

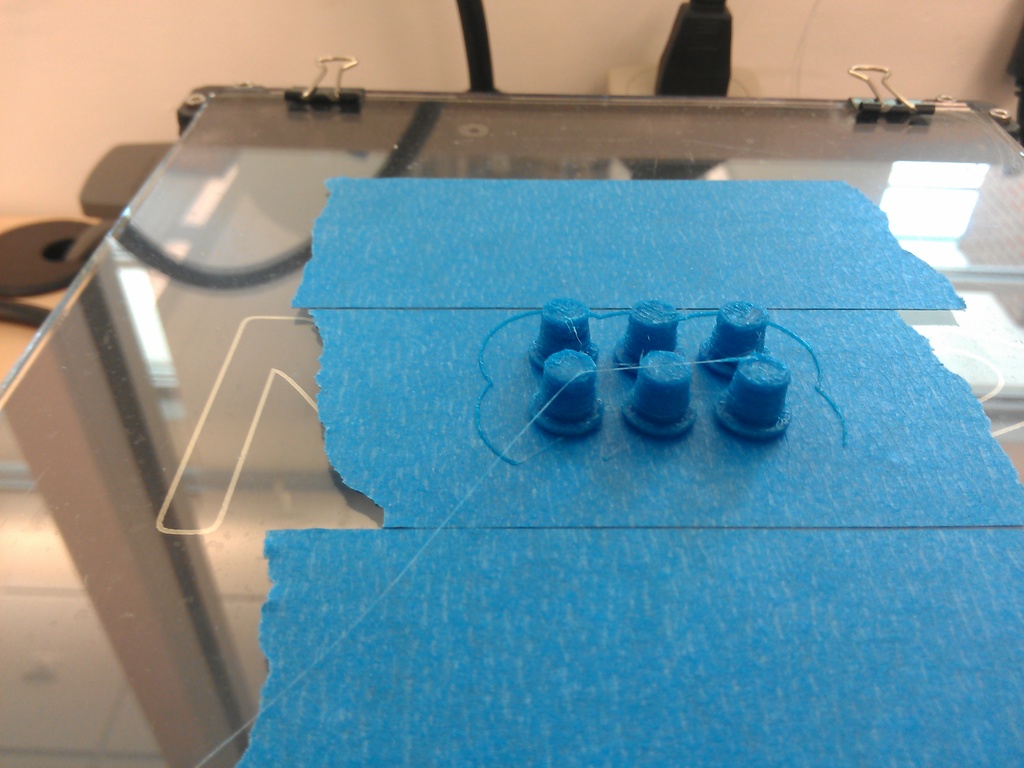
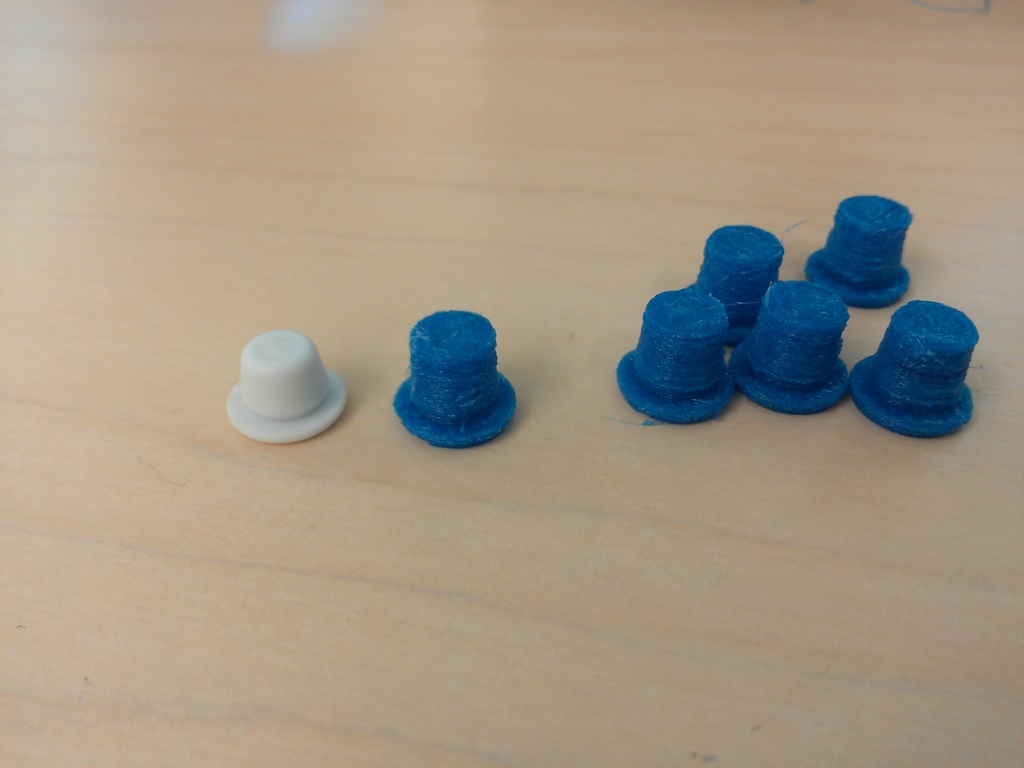
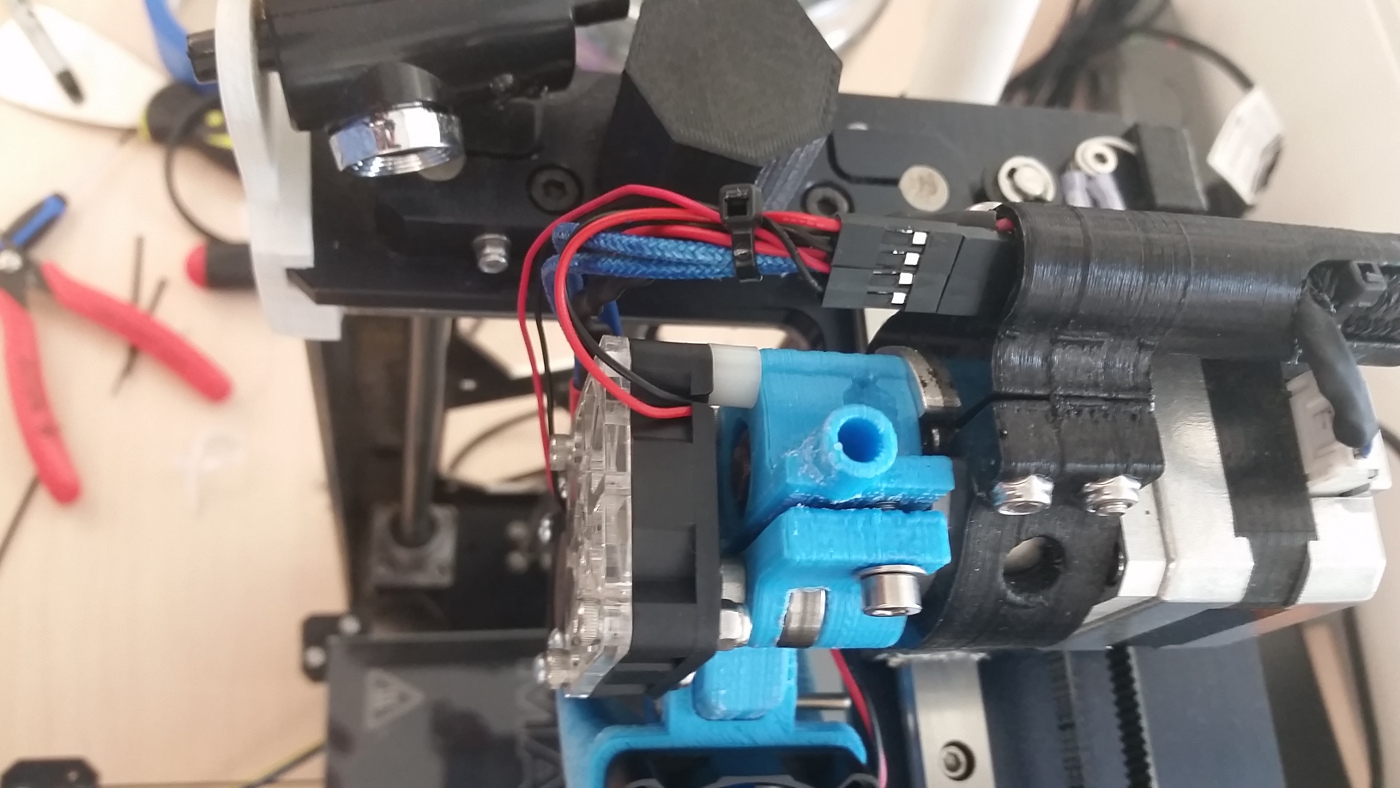
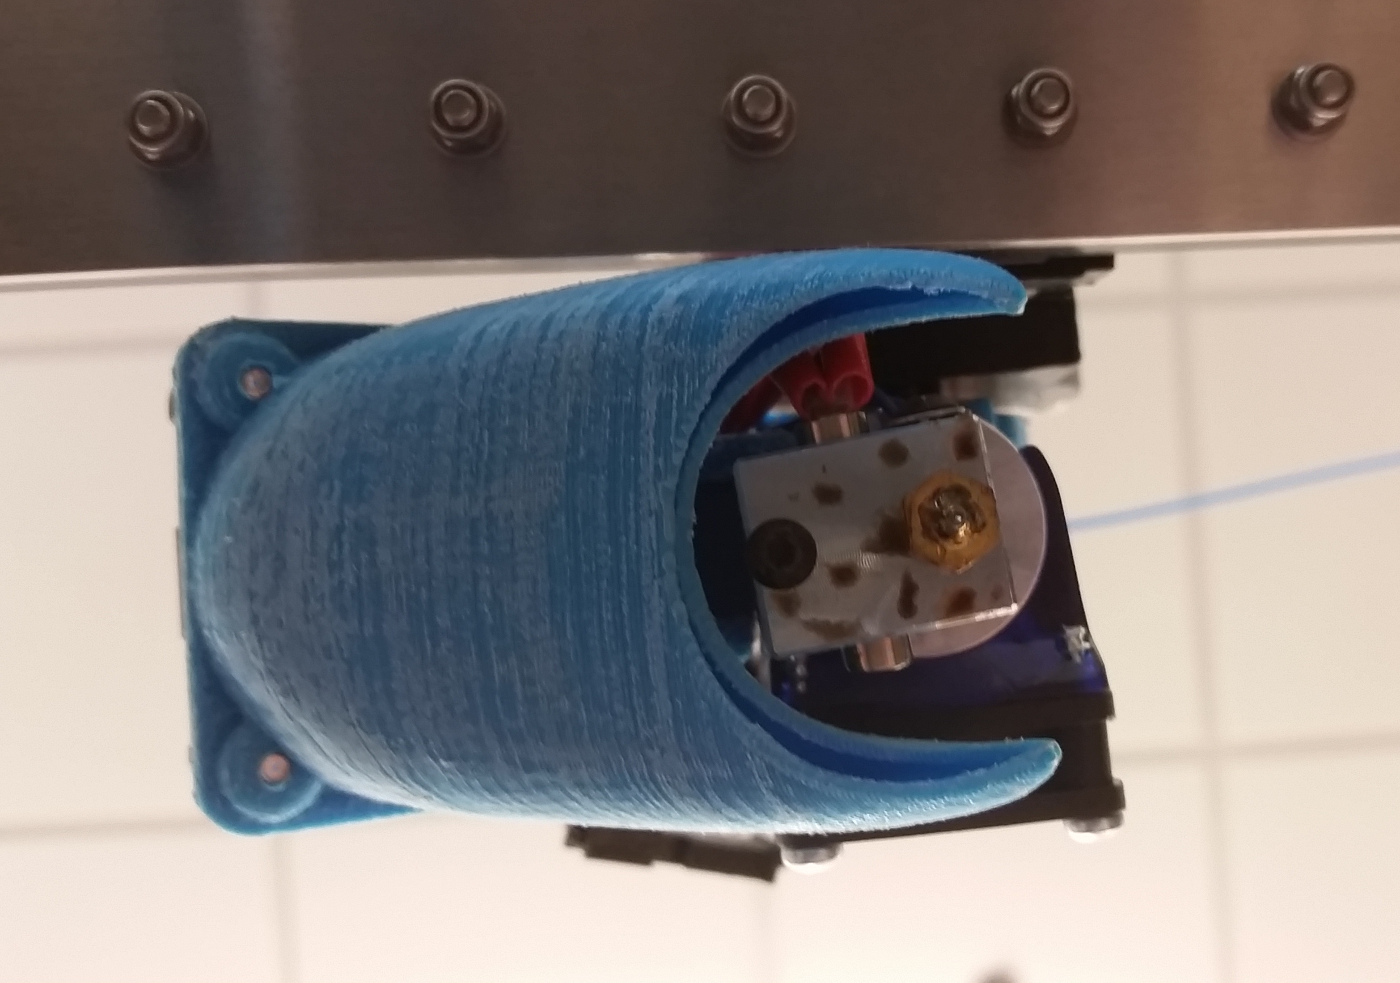
We also printed a number of parts for the upgrade, including a set of thingiverse user Neo Usagi’s E3D v6 40 mm Fan Duct and Extruder for MakerGear M2, which is an excellent design, though ours came out seriously over-tight and had to do a bit of grinding then perform the install with a vise – the dominant theory is that it was our fault for using 3 walls. Once fitted, it’s proven to be an excellent assembly with very good well-focused airflow and no tendency to bump into parts or the machine. The area around the head in this setup is extremely congested, and you must run the hot-end wires to the X+ side (the same side as the fan shroud mount) or they will hit the frame before the X endstop triggers, but once everything is situated it makes a nice package with no dangly bits. Even though it isn’t showing much noticeable difference in performance relative to late-model Makergear heads, I’m thoroughly impressed with the E3D hotend; the machining, the quality of the accessories in the kit, the efficacy of the heatbreak, the ease of assembly, everything is excellent, and in the mount we used, it only eats about 3mm of Z travel. They richly deserve their reputation.

M2E3DAssembly

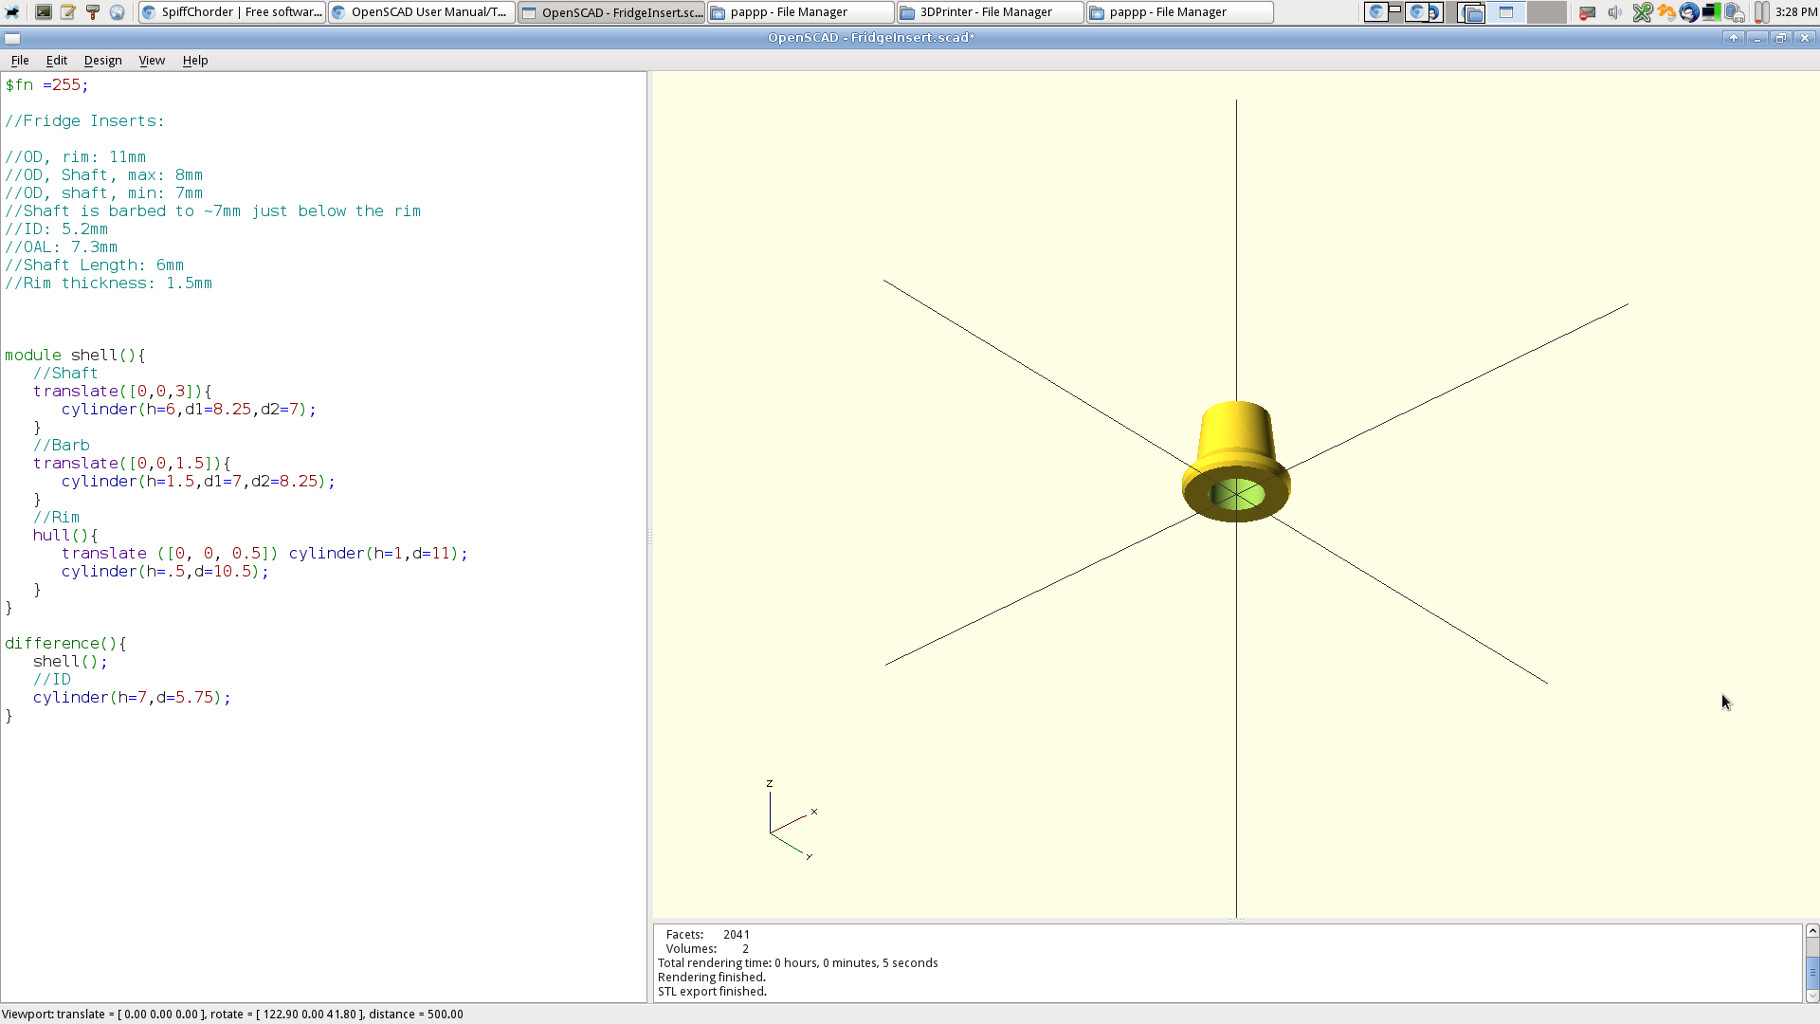
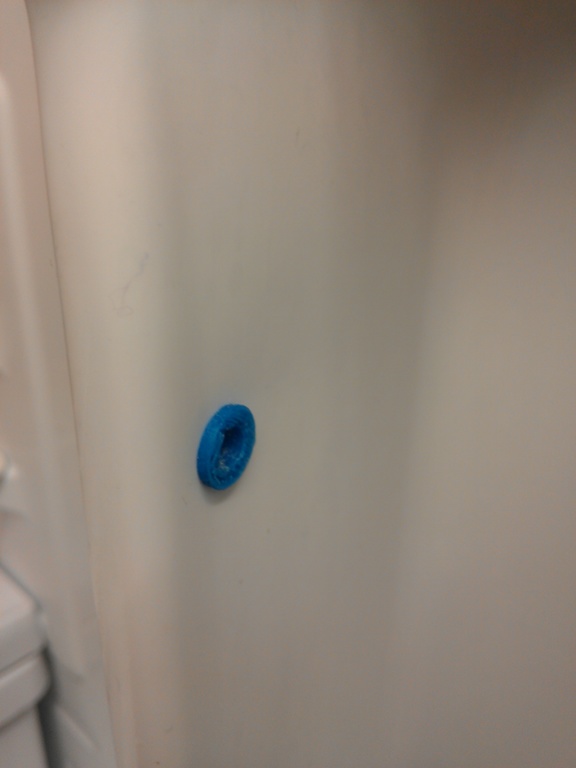
As for the X5 Mini, two of the Makergear original mounting holes are close enough (though not perfectly aligned) to mount the board in a reasonable way with a pair of standard brass threaded standoffs, and a pair of those little barbed plastic motherboard standoffs trimmed to size to prevent tilting, all taken from the lab’s vast collection of PC assembly hardware. Leaving it exposed didn’t seem like a good plan, and we were seeing a slightly uncomfortable amount of warming on the motor drivers, so it needed a case and fan shroud. To that end we designed our own cover/enclosure/fan duct/bracket for the X5 Mini V3 and Viki2 (visible in the header picture – it has a 24V 40mm fan facing the Z motor blowing into the case, powered directly from an extra pair of PSU taps), a more detailed post about which will probably appear on profhankd’s thingiverse page shortly. We did all the printed components for the upgrade in our new favorite material, MakerGeeks’ “Raptor” PLA, incidentally in blue.

Software-wise, I’m satisfied but not enthused by Smoothieware. We’re now running this config.txt, which assumes 32x microstepping on all axes and produces very smooth, quiet motion with a minimum of idle heating. The major tuning efforts are just in the heater PIDs and on the Z movement, as the M2 design tends to make terrible noises if the Z movement is outside of a very narrow velocity window.

I wanted to like Smoothieware a lot more, and it is working well enough for the most part, but it is frankly kind of a garbage fire once you start looking at the code. It’s “modular,” but in an entirely ad-hoc way, so the parts don’t interact in entirely reasonable ways (Ex: AFIK it is currently incapable of setting up a “prevent cold extrusion” behavior, and would take pretty substantial changes to make it able to), with random parser fragments spread throughout the code. It also fails silently on unknown configuration keys, so I wasted the better part of a day on the extruder not responding after I wrote extruder.head.module_enable instead of extruder.head.enable because I misunderstood their half-updated documentation from when they hacked it to support multiple extruders. It looks and smells like a Reprappy hacker/hobbyst “move fast and break things” software, which is fine, but is so much so that I really don’t have high hopes for it maturing into something survivable without a complete redesign. This does make me feel better about sticking with LinuxCNC for my latest personal CNC project (Which I will eventually get to writing up and posting…).

Is ridiculously quieter than even the 24V stock M2, prints nicely at 150mm/s in PLA, heats up almost as fast as you can get a file loaded up and sliced, and can do so more or less independent and minimally attended. From a working current-gen 24v M2, none of the changes we made are particularly substantial upgrades, but from it’s state before the improvement is spectacular.

Posted in DIY, Electronics, General, Objects, School | 4 Comments

Breaking In to your Own Devices

I gave an informal talk for the IEEE student branch about breaking in to your own devices this evening. I did the low-postable-content notes with live examples and links thing, but at least one person wanted to watch the video links, so here are the notes. There is something delightful about giving talks that require legal disclaimers. I don’t think there is anything in here that will get me in trouble…

Continue reading

Posted in Computers, DIY, Electronics, Entertainment, General, School | Leave a comment

University Email Simulator

A generic version of the email you will receive on a daily basis from the University of BS (Which is probably the school you deal with), as you will read it after the first few repetitions. Graduates can relive their college experience, or, for current students, simply stop checking your email and skim this page every day.


From: Dean of Posterior Coverage <sanjay@ubs.edu>
To: ALL-STUDENTS@UBS.EDU
Subject: Mandatory CYA Training
Body: All students need to take this course that the university paid a fortune to a third-party ed-tech carpetbagger to license, which provides the absolute minimum coverage of an issue required under a new federal regulation. Everyone must take it, because otherwise we might be liable for your behavior.
This is why tuition is so high.
Continue reading

Posted in Computers, Entertainment, General, School | Tagged , | 1 Comment

Rescuing Ancient FreeBSD Discs with Linux

The ancient FreeBSD/i386 box that was running cgi.aggregate.org finally keeled over. I just blew my afternoon/evening scraping the data off of it because while the most critical stuff was backed up, not everything was. Some keyword and error string filled notes that will hopefully save others swearing and googling:
Continue reading

Posted in Computers, General, School | Tagged , | Leave a comment

3D Printing KC Talk

I gave a quick primer on 3D printing as a Keeping Current (CS departmental) seminar yesterday.

It’s not a great standalone deck but posted (in reduced quality, gs -sDEVICE=pdfwrite -dCompatibilityLevel=1.4 -dPDFSETTINGS=/ebook -dNOPAUSE -dQUIET -dBATCH -sOutputFile=/path/to/output.pdf /path/to/input.pdf is good magic).

It seemed to be well-received, printed objects were played with, thoughtful questions were asked, I think this is the first time I’ve given a 3D printing primer to a wider group and not been asked the “guns” question.

Posted in Computers, DIY, Electronics, General, Objects, School | Leave a comment

Command Line Bullshittery?

I started responding to Philip Guo’s Helping my students overcome command-line bullshittery that passed through my news feeds today, and my thought quickly outgrew the appropriate size for social media, so it’s going up here.

I understand and often share his frustration, but only selectively agree with his conclusion, and would like to clarify the distinction because I think it is very valuable to understand it.

It is often annoyingly difficult to leverage existing tools, especially the various development toolchains whose install process involves blood sacrifice or perfect replication of the (naturally, undocumented) platform they were developed on, but I object to dismissing all such difficulty as bullshit.

Continue reading

Posted in Computers, General, School | Tagged , | Leave a comment

Course Impressions Fall 2014

Most of my online presence has been in other venues recently, but I’ll at least make sure my semester before/after chain here remains unbroken.

Taking CS571: Computer Networks
I’m pleased with the general design of the course. There is nice mix of textbook structure and primary document context, and the assignments look to offer the generally desirable mixture of explicit problems and programming. Unfortunately, while it is well designed, the instructor seems a little weak in classroom execution, so the lectures are fairly traditional and not particularly good at that. I’m also a little weirded out about differences in background affecting which things are expected context – wire encoding and line delay are being presented as more novel concepts than packet encoding and topology, while I think of of them as things we do with sophomores. I’ve long felt guilty about my lack of formal networking background for ages, so it’ll be good for me.

Taking CS535: Intermediate Computer Graphics
Taking to finish out my core requirements, because it sounded more fun than numerical methods. The instructor is a bit of a slide-reader, and so far we’ve had more context than content. I’m all for context-heavy instruction, but it’s getting to the point where it’s misleading because what we are being provided is out of date and slightly hand-wavy, and what content we have had has been distressingly shallow. It’s a small class and we’re almost all pretty friendly, so it’s working out anyway. At worst I finally have an excuse to learn some rudimentary OpenGL.

Taking EPE672: College Teaching & Learning
Like all Preparing Future Faculty program courses, it’s a room full of jaded grad students, being jaded. That situation is always fun, and it’s no more grim than all those courses. We’re mostly reading a whole bunch of primary publications and discussing, which is a good course format that I don’t get to do often because it’s unpopular in engineering disciplines.
I’m a little pissed that it manages to block both the weekly Keeping Current seminar and Collexion open hours every week, but I’ve been trying to get into it for over a year, so I’ll take it.

Teaching: EE101
I’m not a standard instructor, I’ve been brought in to run the embedded systems unit that I helped design a couple years ago. Leading 230 freshmen through recognizing all the little embedded systems their world is built out of, and building neat shit with Arduinos and bags of parts to get an appreciation for them.
I’m not exactly being well-compensated for doing it, but they are paying me, and both the material and course composition are always a good time.

It’s not lining up to be a terribly stimulating semester, but it also won’t be terribly difficult, and will get me fundamentals and basic credentials in some things I should have them in.

Posted in General, Navel Gazing, School | Leave a comment

Lab Fridge Repair: Thinking with 3D Printing

I’m posting this because it’s such a nice example for the standard “What are 3D printers really good for?” question.

When I got to the lab today, I was told the can chute in our mini-fridge was broken. Inspection showed that too many of the little plastic inserts/bushings that retain the bars were missing and/or broken. This is a years-old cheap GE minifridge, so it isn’t even worth looking for OEM replacements.

Now we get to the “Thinking with 3D printing” part: I plucked one of the remaining ones, went over it with some calipers, transferred the measurements into OpenSCAD, and printed one off to test fit. The ID was a little tight, so I adjusted the model, printed 6 more, and fixed the problem.

In case the model is useful for anyone else: OpenSCAD and STL.

Important Details:

  • This took like an hour from start to finish, and wasn’t the only thing I was doing at the time. The printing itself was around 1 minute per insert.
  • The new inserts are better than the originals. Not quite as pretty in some ways (though they are blue and glow-in-the-dark, because that’s our current junk filament), but the fit is considerably better.
  • That “iterate” step in the middle, where you just try it and adjust if needed is among the most beautiful things about 3D printers.
Posted in DIY, General, Objects, School | Tagged , , , | 4 Comments