
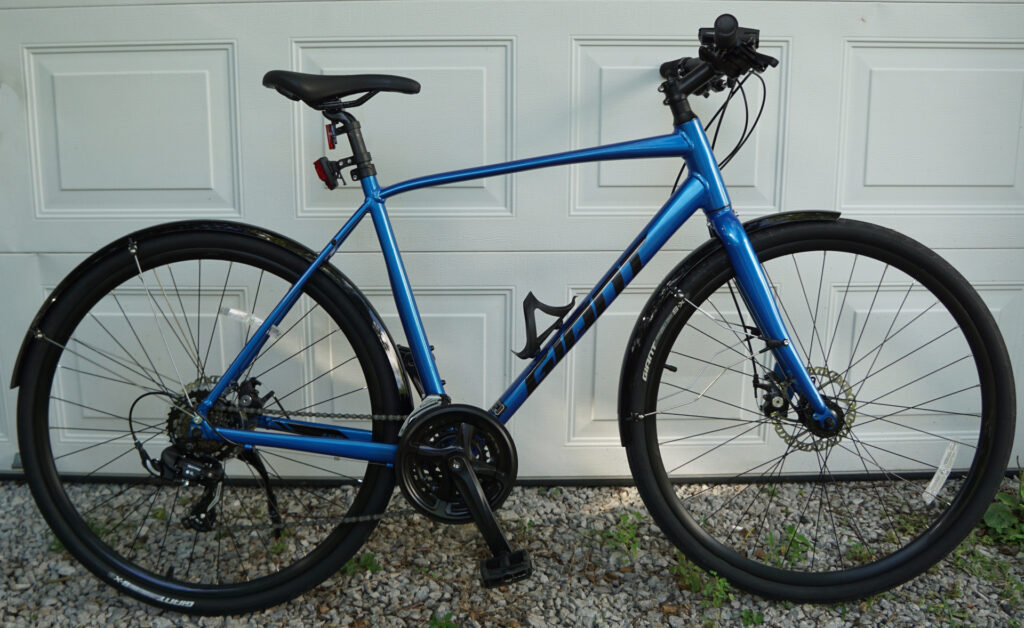
I’ve been biking a fair amount lately after a 20-odd year hiatus; I decided last year that I wanted to start biking, bought a Giant Escape 3 Disc near the end of summer, but didn’t get confident enough riding to use it around campus last year among the students texting their way to their first (next?) vehicular manslaughter charge before they flocked back.
This summer, I’ve been dong my commute into campus on it, plus a significant amount of fun/exercise riding, and the top fixable annoyance has become getting sprayed at the slightest hint of wet. I did some hackin’ that I haven’t seen on the interwebs to fit the fenders I picked to the frame, which is the point of this post.
Giant clearly makes (probably meaning “brands”) a bespoke fender for the Escape frame, since the sister “city” models come with factory rack and fenders (and … in retrospect I probably should have bought the Escape 3 City Disc version, it would have got me an appreciably better Altus 2×8 groupset at little extra cost over adding the rack and fenders). This fender attaches via the upper hole on the forks with a single-spoke stay.
They, however, do not appear to sell said bespoke fenders, at least not outside their dealer network, and I enjoy doing my own work, so I shopped around and settled on a set of SKS Commuter II Bluemels in 700cx38-47 (also sometimes listed as “B53”) based on my 38mm wide tires, and the fact that my frame has ~59mm of clearance in the fork and ~64mm under the bridge in the seat stays.
Sidenote: It was substantially cheaper to buy directly from sks-us than from Amazon, and my fenders showed up next day.
B53s are “Compatible with disc brakes,” but there was still a significant amount of fitting to be done, and I got a little creative, which is really the point of this post. The available instructions, written and video, are little more than some suggestions about how to use the bundled hardware and a “You’ll figure it out.”
There are two major problems mounting SKS Bluemels on a (2021) Escape frame with disc brakes:
- In the front, you can’t use the mounting hole in the dropout because the brake caliper is in the way.
- In the rear, the hole in the seat stay bridge is vertical rather than horizontal.
For the front, the SKS documentation suggests using spacers to get the mounting bracket out far enough to not interfere with the brake caliper, and even comes with a set of plastic lock-together spacers and longer SHCS to use with them. Unfortunately, the largest stack of spacers the longest included bolt can fit and still make it in to the dropout threads still collides with the brake caliper.
I rooted around in my considerable collection of metric fasteners and found an even longer M5 SHCS and some 25mm aluminum M5 spacers (both left over from a NEMA stepper motor standoff, IIRC) and that stack up still touched the case of the brake caliper. It also put so much uneven side load on the stays that there was no way to adjust the fender to ride square on the wheel. I’m pretty sure the spacer I dug up is essentially identical to the ones that trek and planet bike sell for adapting their fenders for disc brakes, though mine came from McMaster-Carr based on the bag they were in.
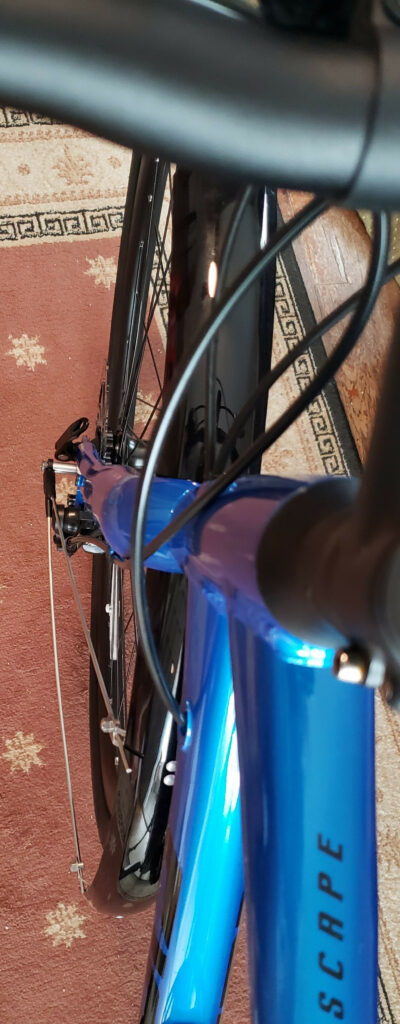
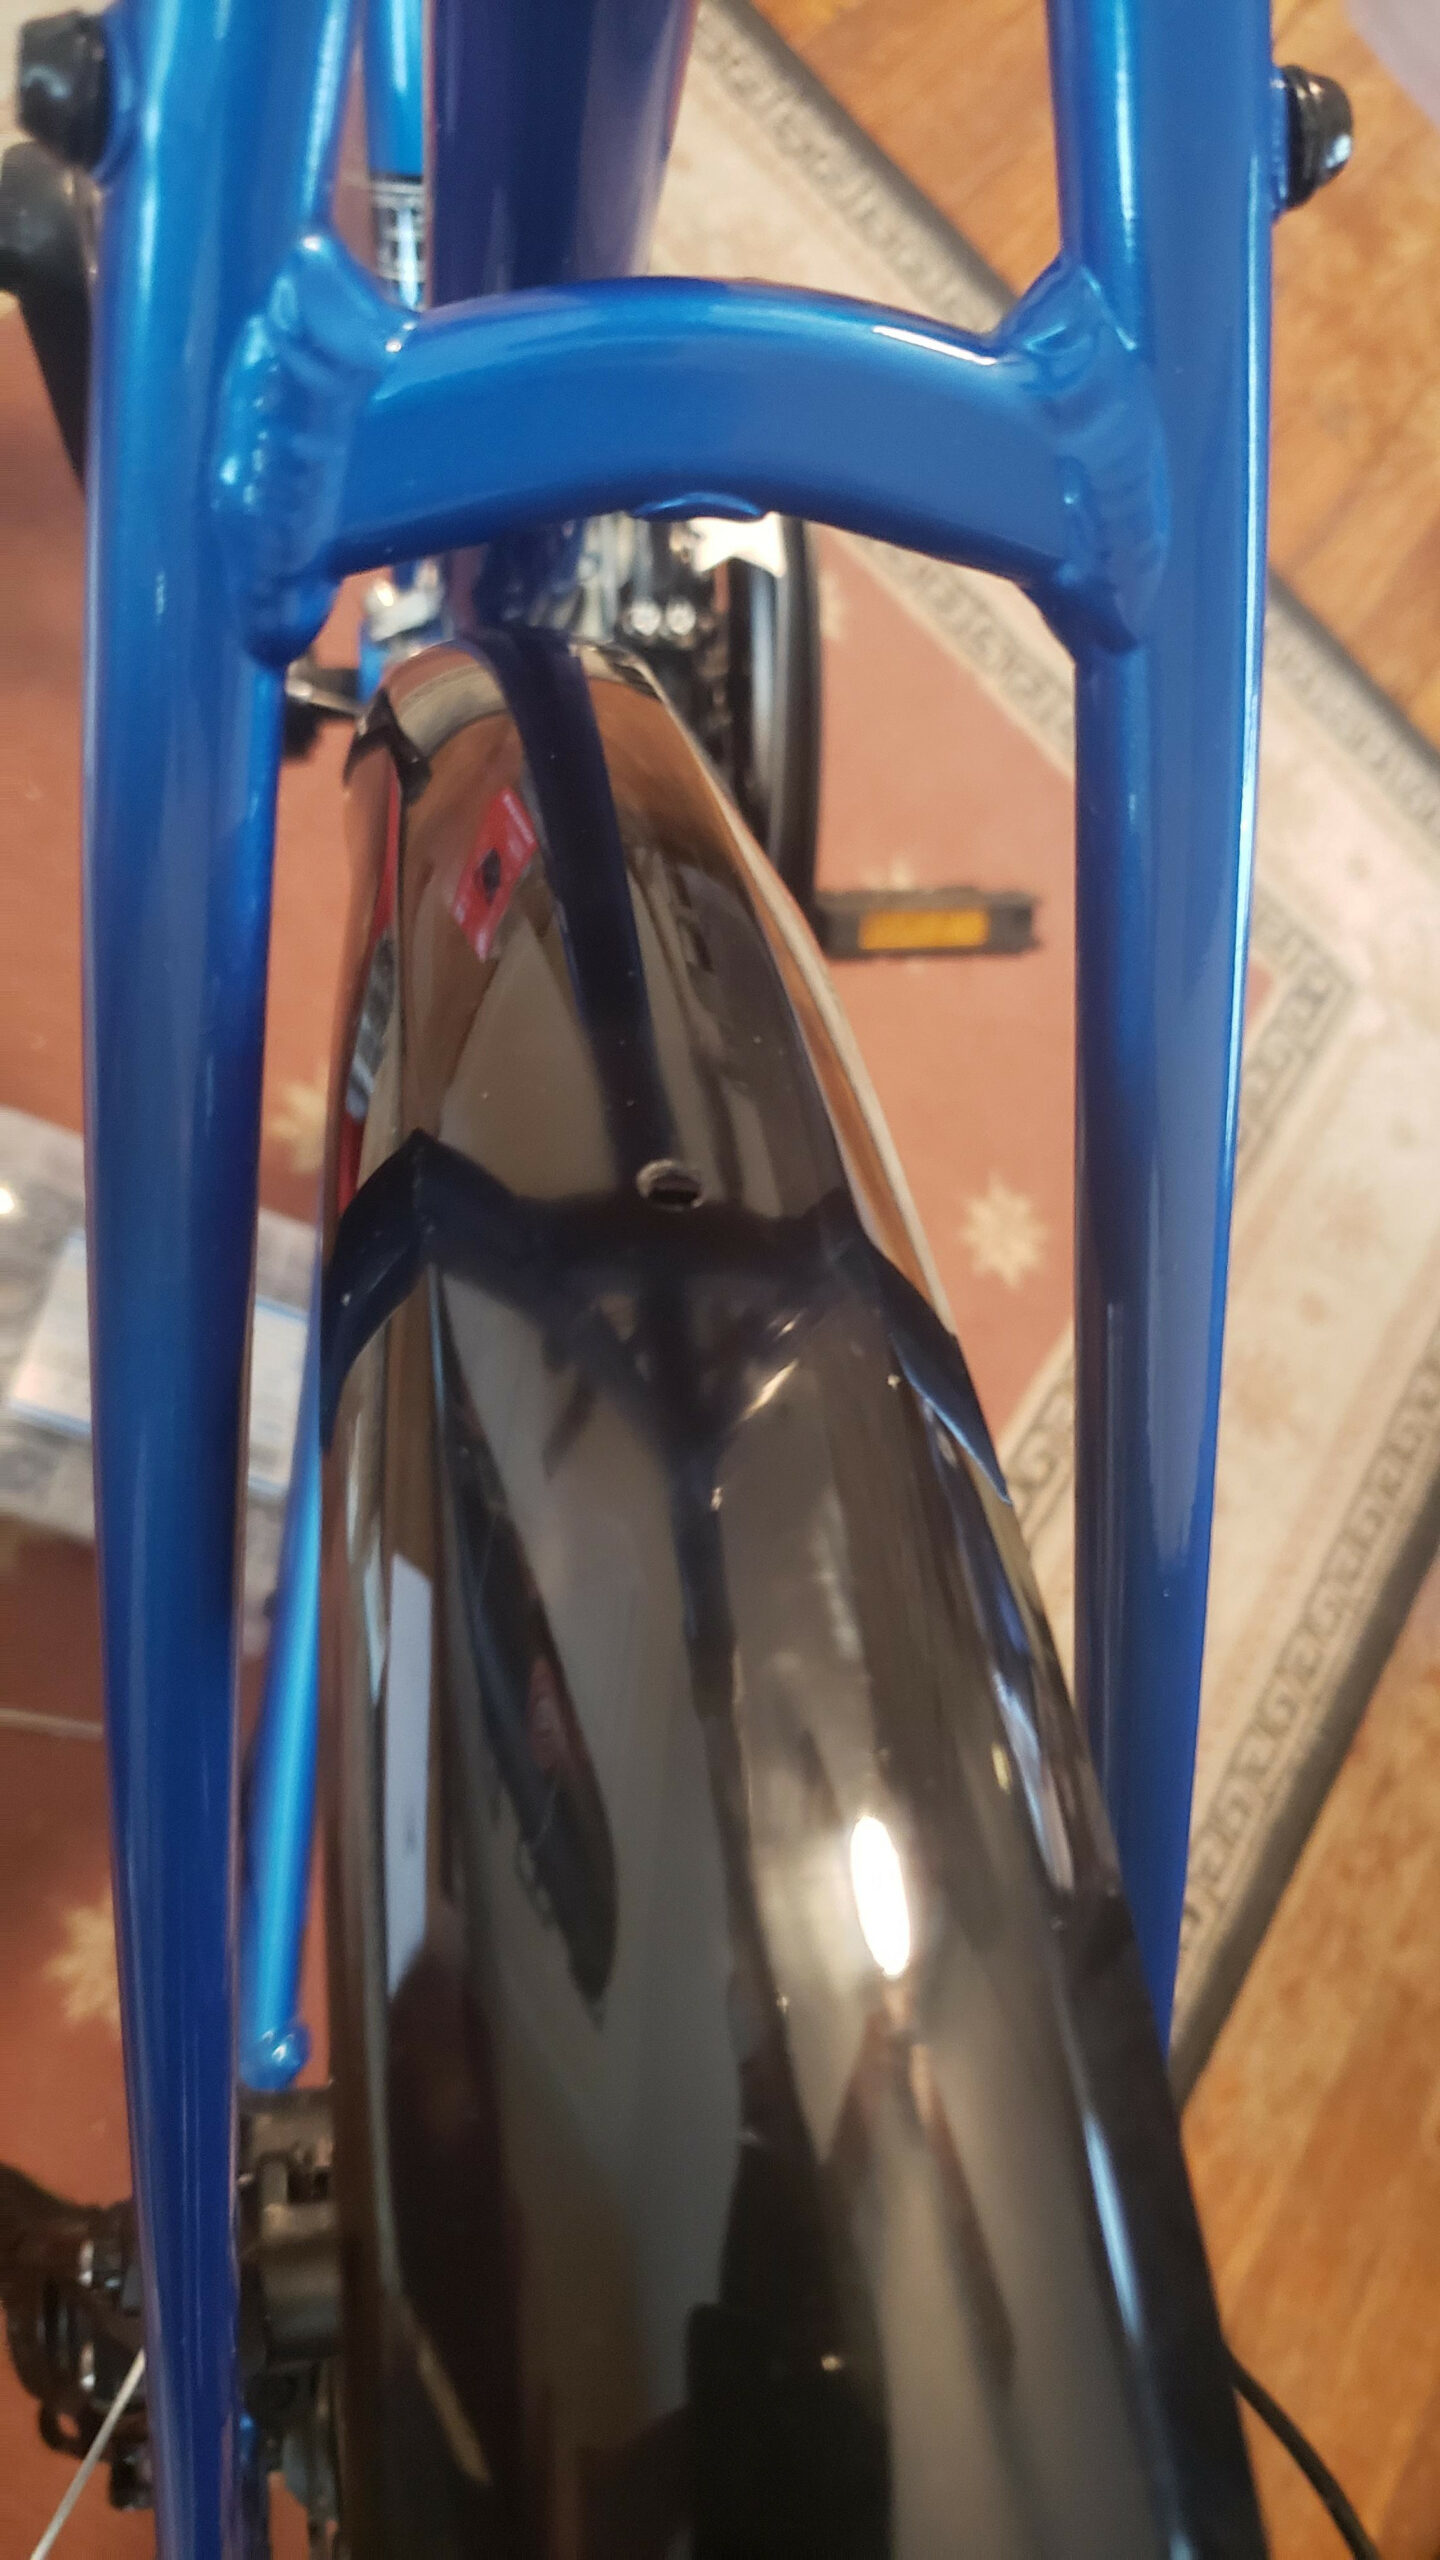
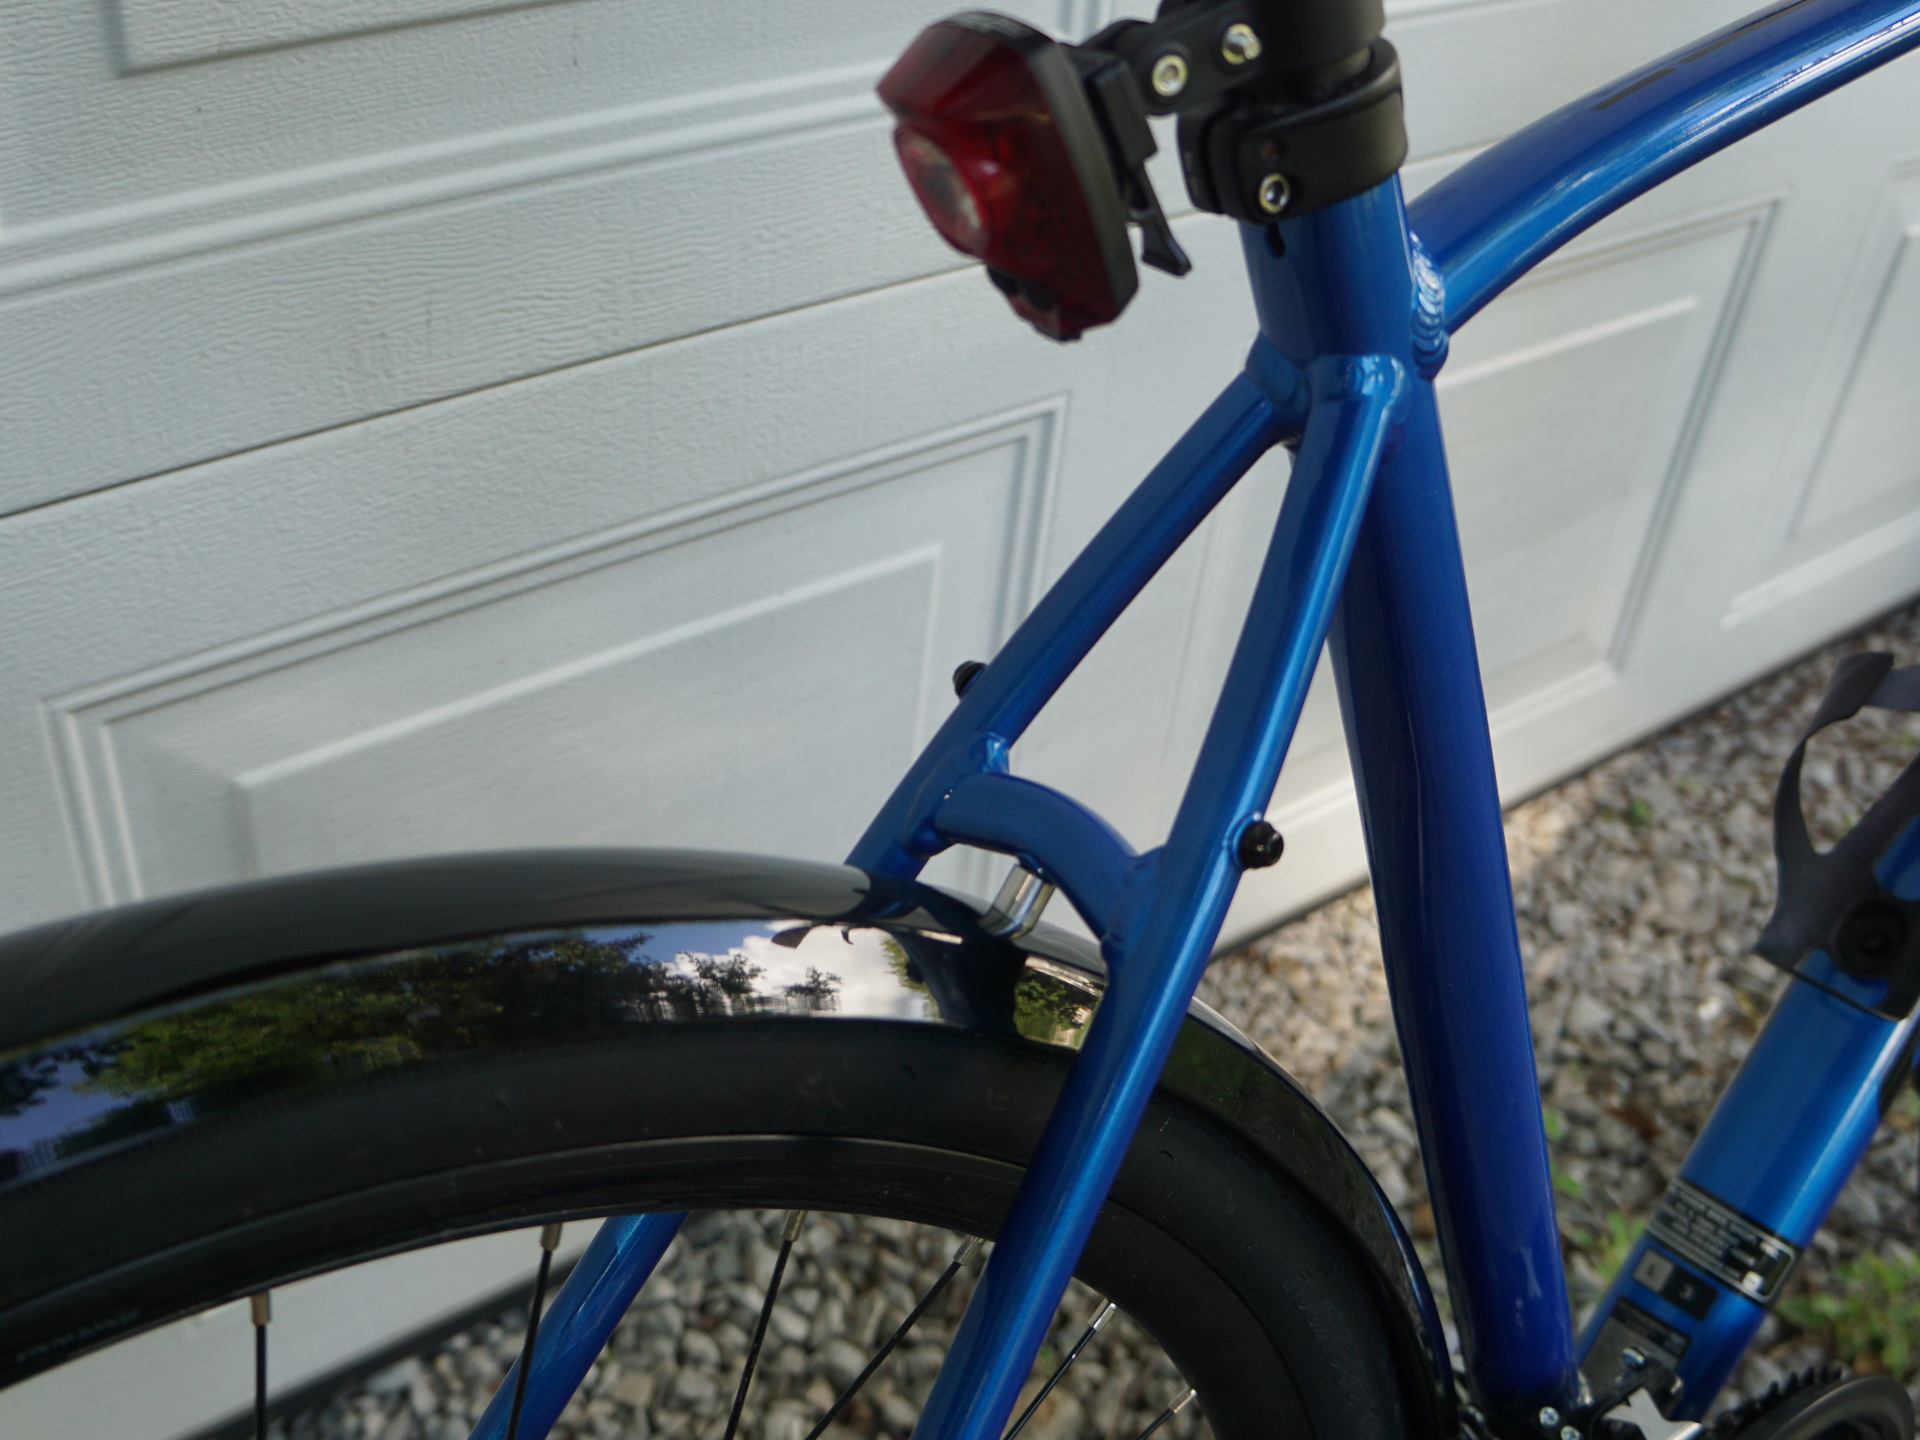
I read around quite a bit and didn’t see any obvious “right” solutions, until I saw this picture showing how fahrradmanufaktur attaches fenders to a hole further up the outside of the fork and uses stays bent to suit in some of their models. The Escape has a one M5 threaded hole with a plug higher up on the fork on each side, and I immediately decided I liked the bent look.
I put everything in place in the front, felt for stress points, took some measurements, sharpie marked the desired spots to try to get it symmetrical, then bent with two pairs of pliers grabbing to either side of the marked line until I hit a shape I liked.
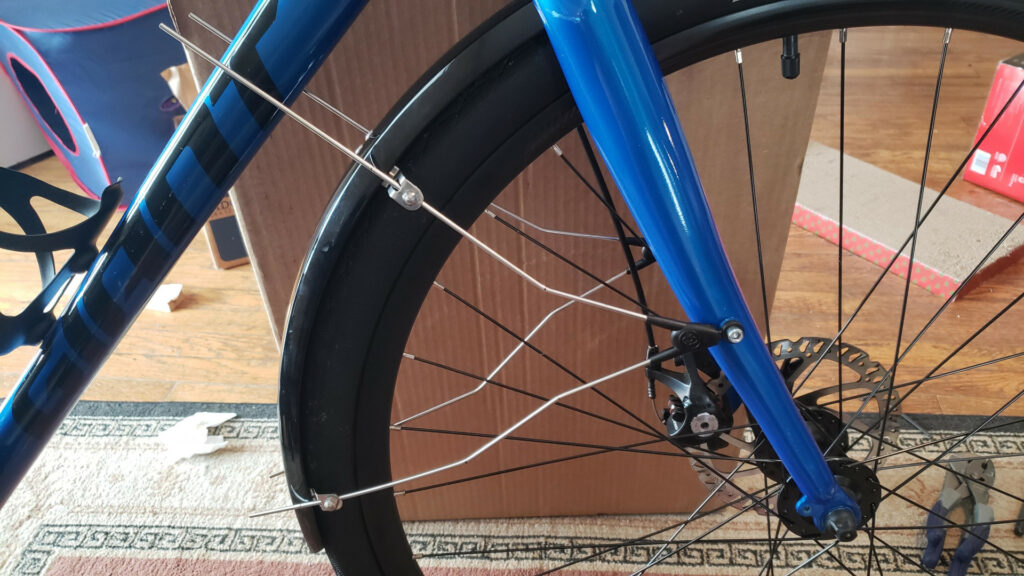
For this particular geometry, the top bend is 6cm from the end of the QD hardware, and the bottom is bent in opposite directions 6cm and 14 cm from the end of the QD hardware. I didn’t actually measure angles, I watched the angle the stay met the tab in the fender until it was roughly straight, then looked through the wheel to make sure the sides matched.
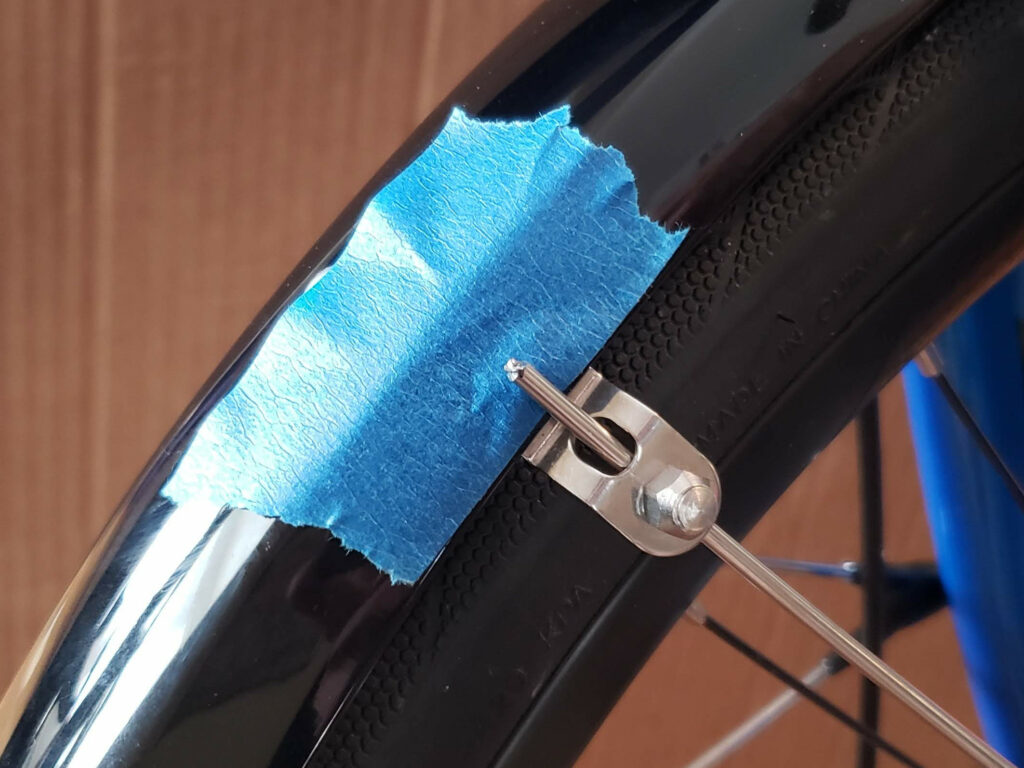
In the back, there is an internet-accepted solution. Throw out the little sliding plastic right angle support the fenders come with, line everything up, and drill a hole in the fender. Then, put a button-head screw through the hole into the seat stay bridge.
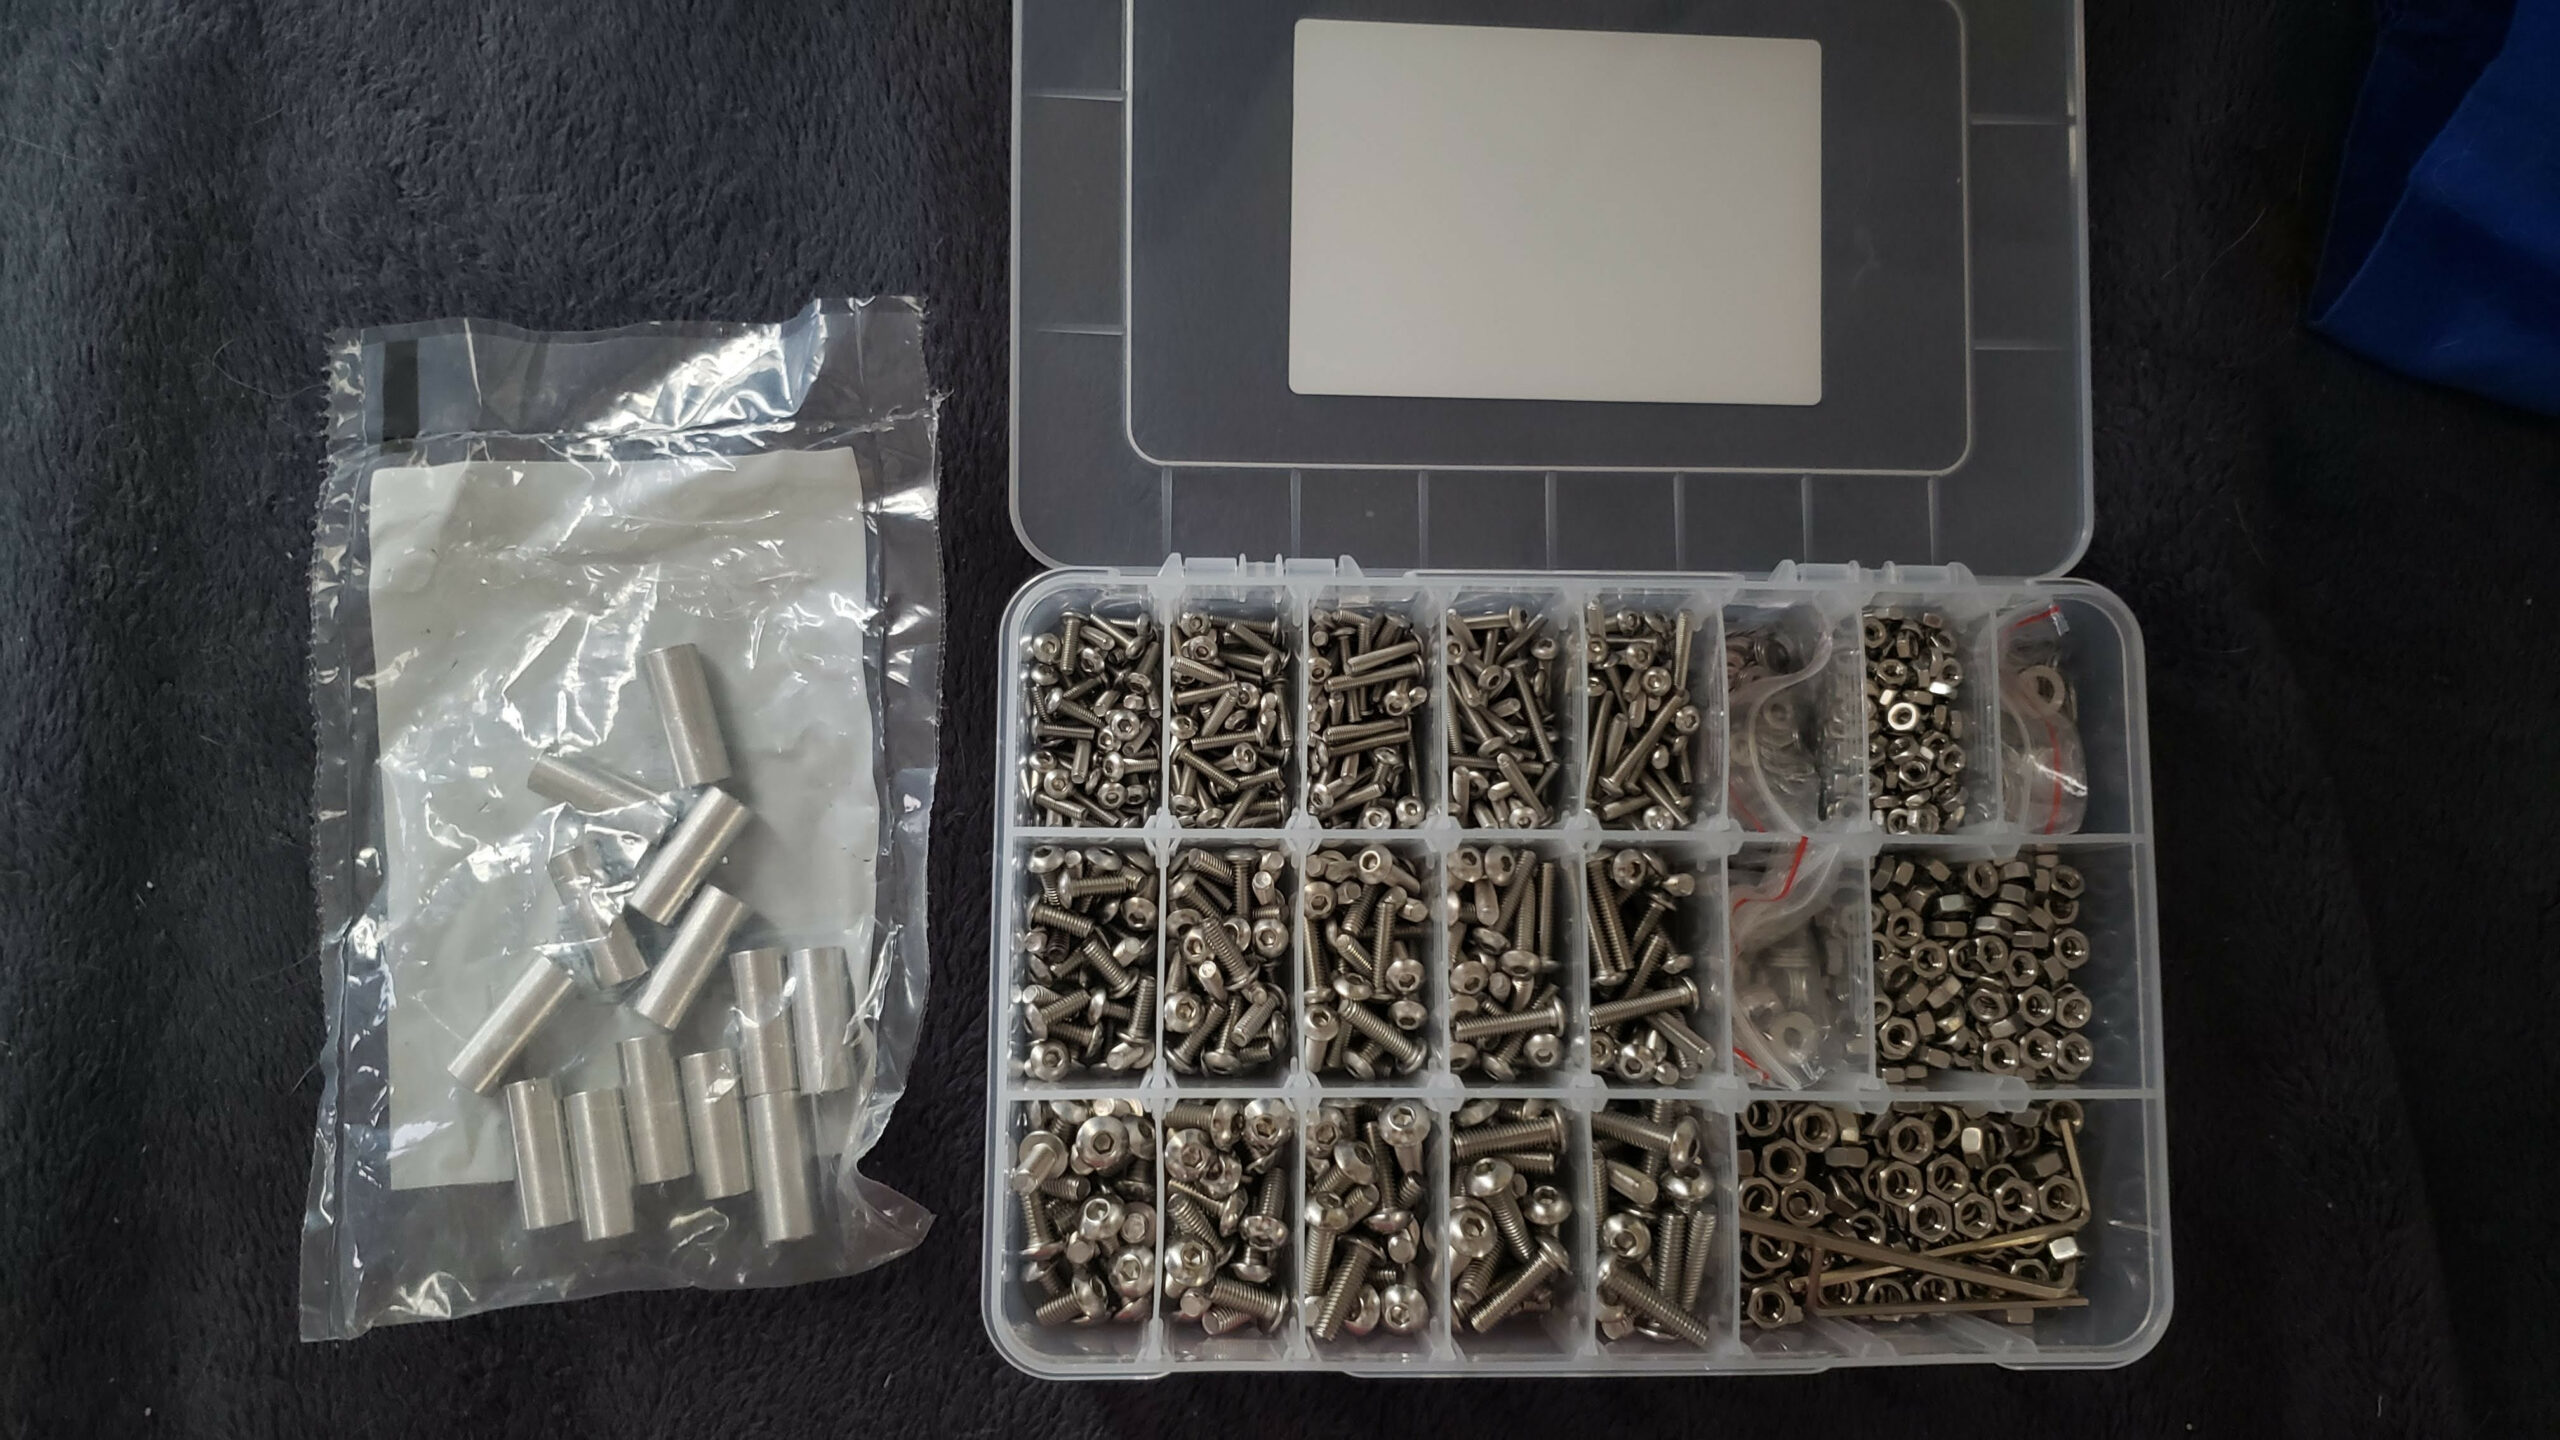
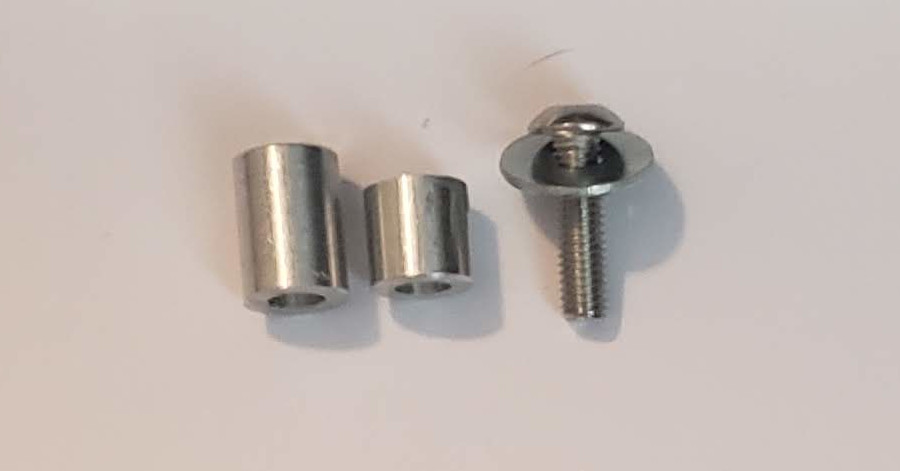
I looked at how that made the fender sit and decided it was too high. Remember those 25mm long M5 aluminum spacers that didn’t solve the problem in the front? – I cut one down to 10mm with a hacksaw, cleaned up the cut with a file, and popped it between the bridge and fender to maintain an even ~1cm gap between the fender and wheel.
To get everything lined up, I installed the fender the rest of the way, put the spacer in so it lined up with the hole in the bridge, sharpied (metallic, because the fenders are black) around the outside of the spacer, then took the fender part way back off to get a clear line to drill a 5mm hole, using the spacer placed on the marks as a drill bushing. Then I reassembled with an M5x20 button head screw going into the bridge. I did put a washer under the button head screw to make sure I didn’t point-load the fender too much, but bluemels have an aluminum shank all the way through and it doesn’t feel sketchy. In my opinion the drill-and-spacer solution is superior to the intended method with the plastic sliding bracket.
Another “ease of use” note, the SKS instructions say to assemble everything, mark the required lengths on the stays, take everything back apart, then hack saw the supports to length and file the ends and reassemble. I have some 18″ bolt cutters (for solving bolt-cutter type problems), so I just marked the desired end after I got everything assembled, lopped the excess off with the bolt cutters, and filed the end (with a bit of masking tape to protect the fender from the file) in place.
My instinct is that there should be some rubber/cork/soft washers various places in the installation, but I didn’t happen to have any, and it seems fine. An hour of test riding on mixed urban terrain later, no noises, no rubs, no fasteners coming loose, no unexpected contact points – I think it worked. I am certainly not an expert and half expect someone who knows bikes to tell me why this was a bad idea, but so far so good. The one cyclist friend I asked seemed to think it was a decent effort.
