
The Thrunite T10 light I’ve been carrying failed to come on when I reached for it the other day. It wasn’t a dead battery, and, yesterday, I determined that the 24mo warranty offers free repair contingent on you paying for shipping to and from Shenzhen, China, which comes out similar to the purchase price. I like my little T10, so this evening, I decided to fix it myself.
tl;dr: If you have a T10 die on you, it is likely to be the negative contact spring in the bottom of the body corroding/moving. Try cleaning and/or re-seating it.

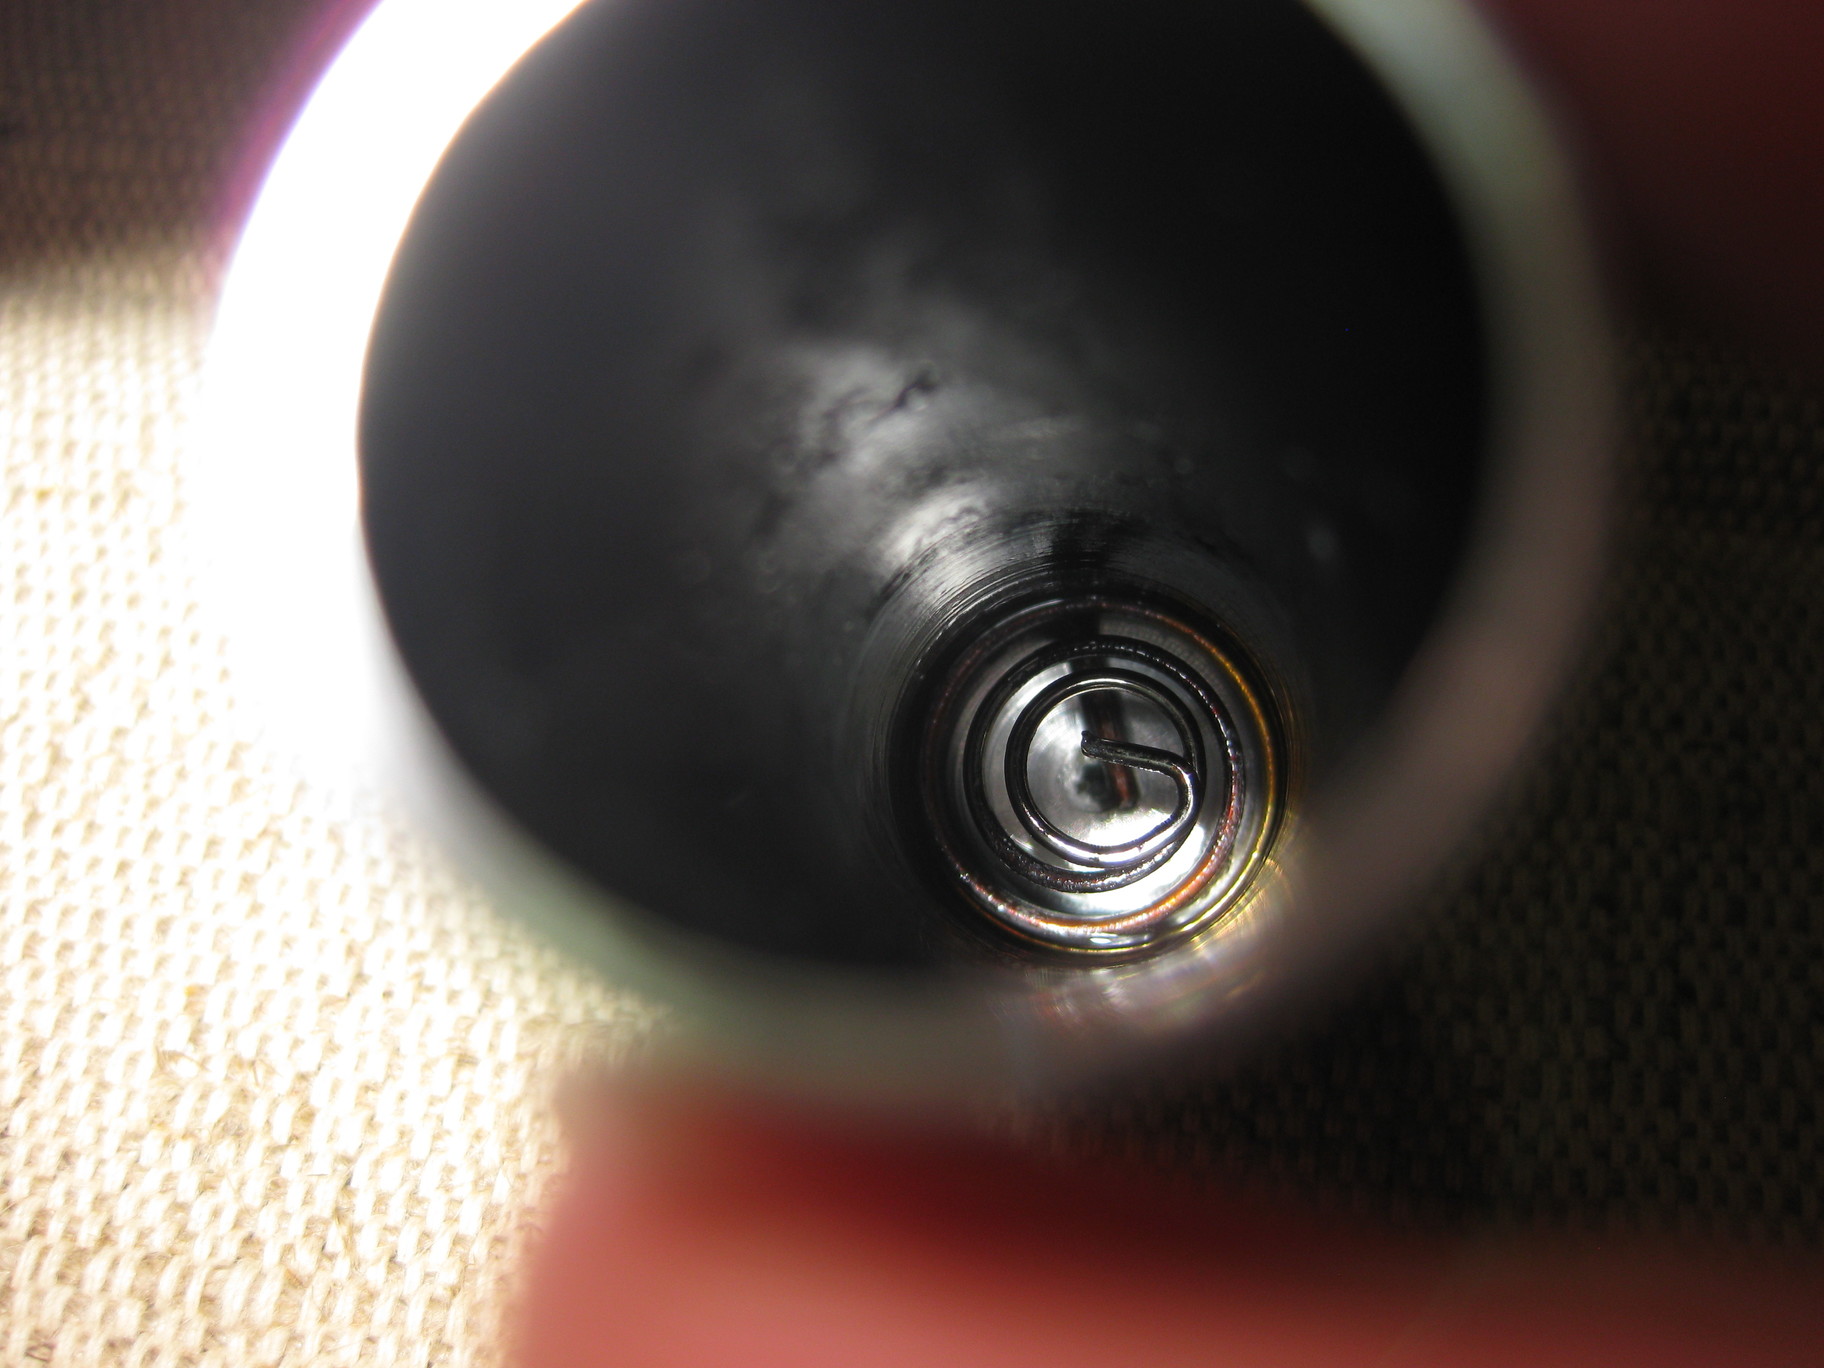
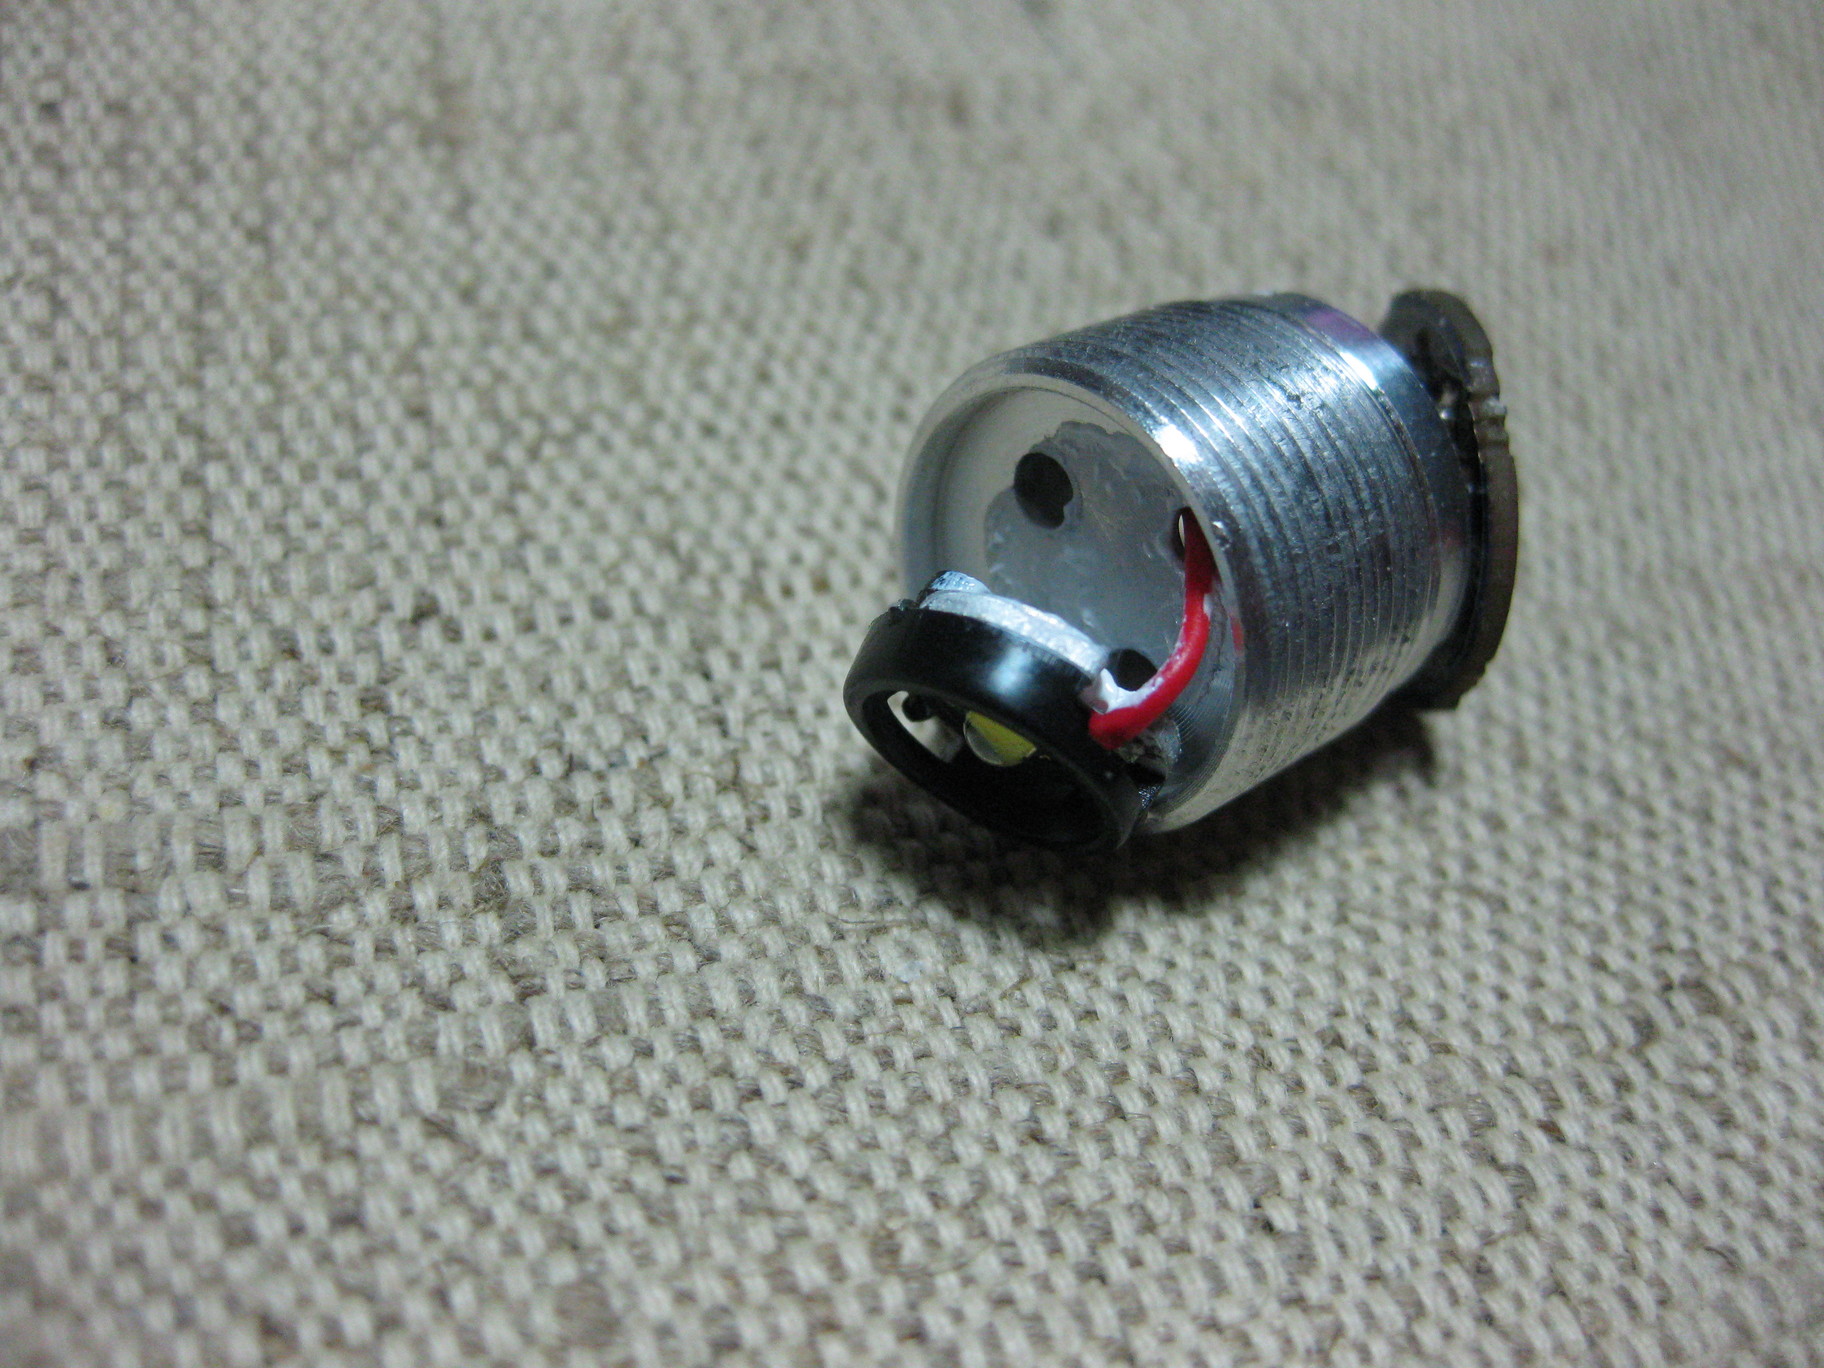
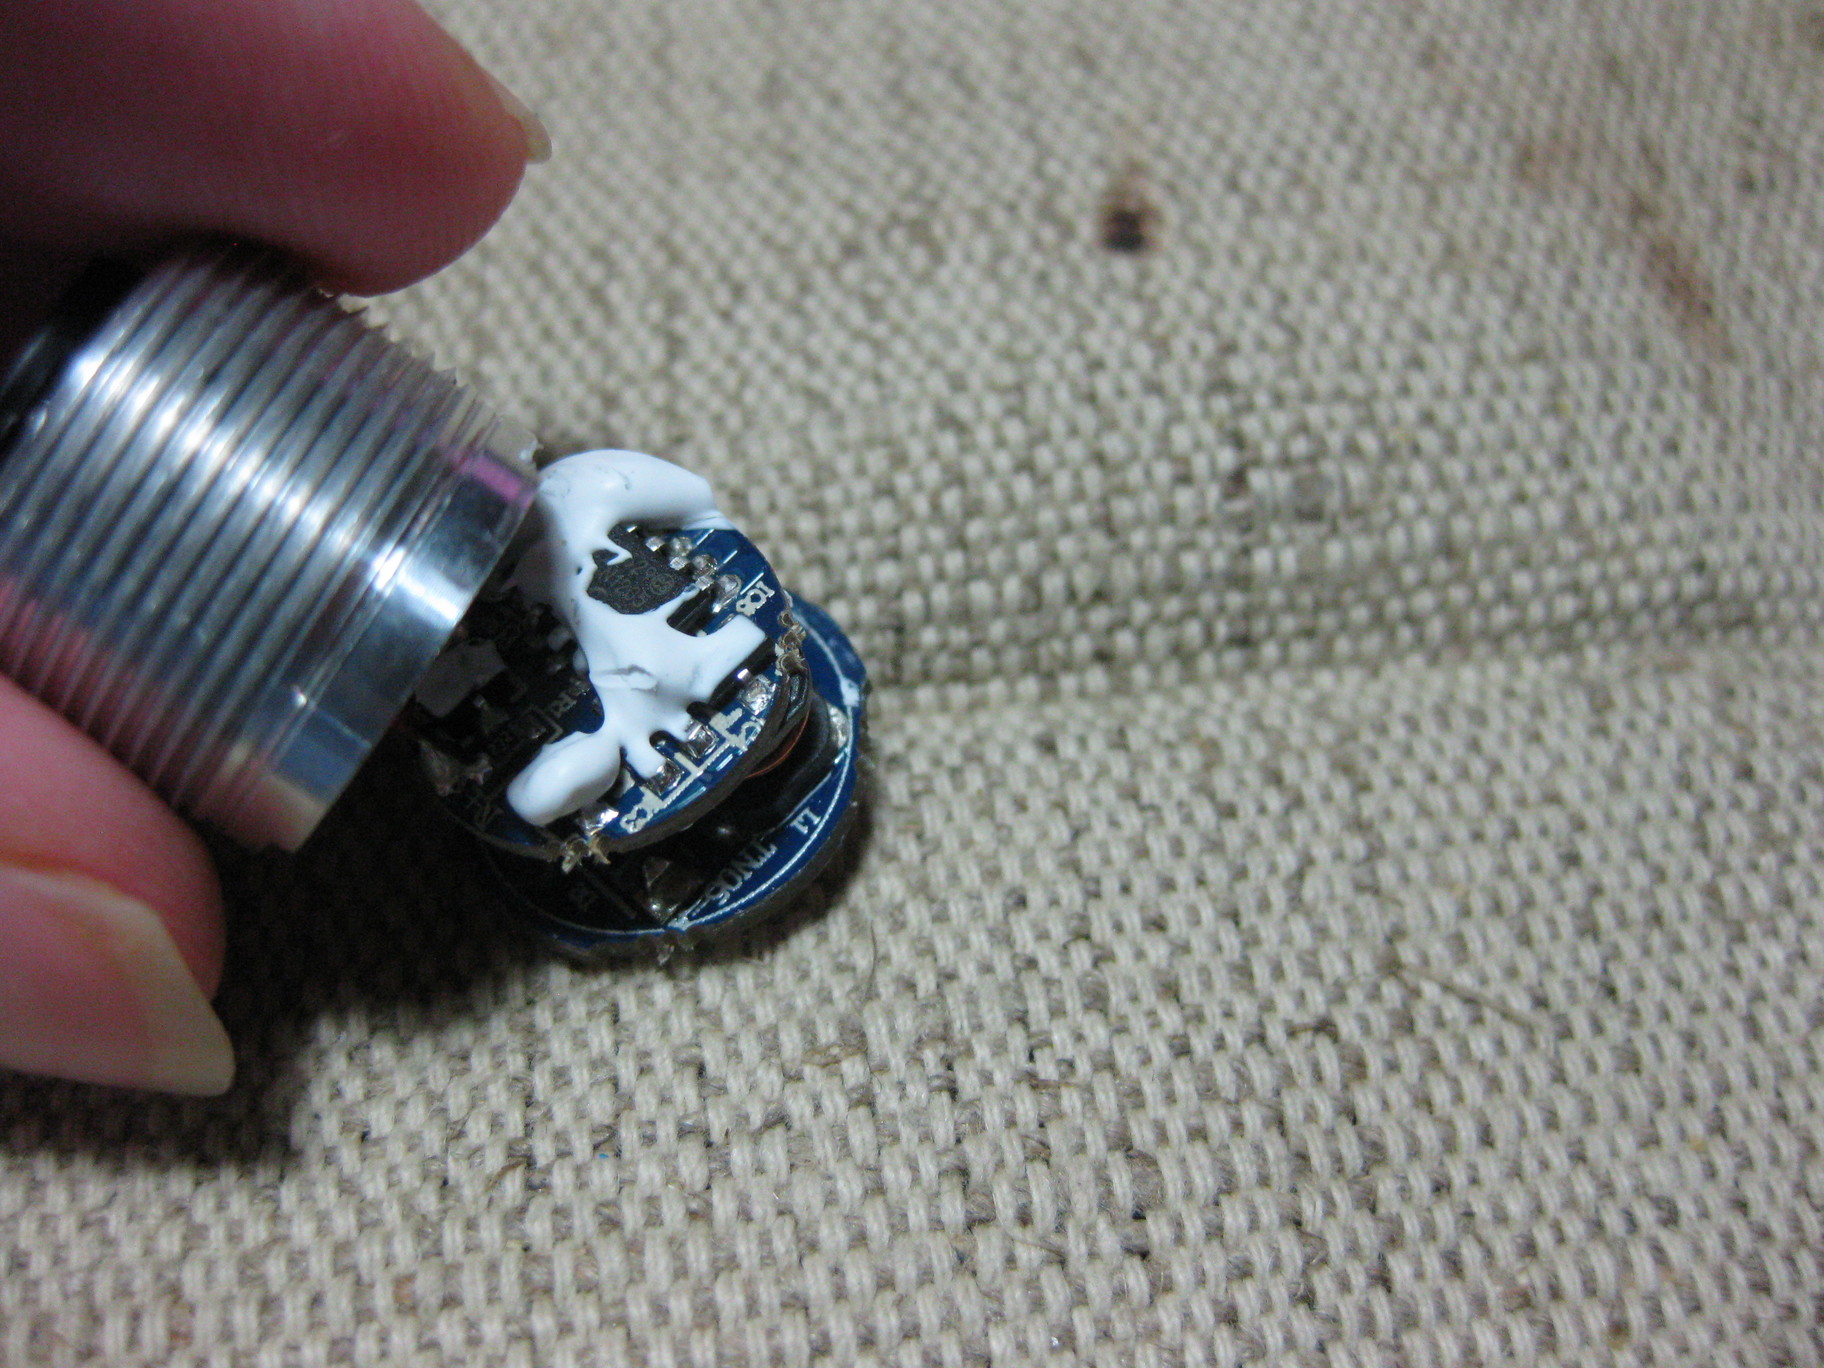
It comes down pretty easily, two spanner holes in the back of the pill to thread it out of the head, a little prying to get the two deck PCB assembly out of the pill body, and it’s as apart as it comes. I didn’t see any damage or broken connections, and all the paths that should look like a diode to a DMM looked like a diode, so I applied power with a pair of wires taped to a AA battery and… it worked. Then, I put the pill back together, pushed it on to the end of the body with a battery in place and … it didn’t work. Hooking up the assembled pill to the battery with wires did. This is bewildering, because the body is literally a spring and an aluminum tube. Probing around in the body with a DMM revealed that somehow, the aluminum-to-“copper” press fit had become non-conductive (?!).
I grabbed some forceps and pulled the spring. It still didn’t work when reassembled after I washed the spring and the tube with isopropanol. I did, however, notice that the narrow end of the spring is chrome (?) plated, while the fat end is bare coppery material. I dipped the spring in flux, and tried to plate it with some silver bearing solder, and even swimming in flux it would barely wet with solder. Whatever that spring is made of, it is not copper, and it forms a nasty, insulating oxide layer. I eventually got a few sections of the part of the spring that should be in contact with the body to take solder, re-cleaned the spring in isopropanol (which revealed that the flux did eat an oxide layer off the spring), shoved it back together, and all is well again. I’m guessing the whole spring is supposed to be plated, and it flaked (I found some gunk in the body when I washed it), causing my problem. If it dies again I may try re-cleaning the spring then coating the base in conductive glue before reassembly, I don’t think I can solder to the body or get the spring to wet reliably. Re seating the spring is simply a matter of wiggling it roughly in to place then thumping the complete light tail-down against a non-marring surface to use the battery inertia to (percussively) improve the contact between the spring and the casing.
This post is mostly up so if anyone else has a T10 die on them, they can try the easy fix. I’m curious if any other owners have looked closely at their negative terminal spring, I’d be interested in knowing if the plating defect is a widespread manufacturing problem or just my misfortune.
When I was thinking about needing to replace it, I determined that do appreciate having “soft glow” and “Blinding” as options, especially without having a stupid blink mode – I guess ideal would be a mode setting ring with detents at tactile bumps for the settings, but I haven’t seen anything (much less anything reasonably priced) with that kind of design. I probably would have just bought another T10, which is something of an endorsement even though it broke after a year on an apparent manufacturing defect.
EDIT 2013-07-10: The solder wasn’t adequate to keep the contact from being intermittent. However, I pulled the spring again, heated it with a torch, and dunked it in some soldering iron cleaning/tinning compound before reinstalling, which seems to have fully fixed the problem.

Thanks for the great article. I am wanting to take mine apart so I can anodize it (it’s titanium). What kind of tool are you using to unscrew that LED?
I used a pair of pointed-tipped forceps, with their tips shoved into the two spanner holes. I think the particular pair came out of an old Harbor Freight tweezers set. I’ve also used a bent-up paperclip, you just need something stiff that fits into both spanner holes in the PCB assembly that you can get some leverage on.
Thanks a lot. Had the same issue now it’s fixed. In my case it simply was some goop/oxidation that formed in the bottom of the body tube. Removed the coil, cleaned it up, reassembly and it’s as good as new